The other week I bought a white ink Sakura Gelly Roll pen from Opus on impulse, and my doodling addiction was refueled. I tested it out on a piece of scrap card stock in black, and knew immediately I needed to do more.


This series of drawings combines all the shapes I often doodle on repeat individually into one crazy composition that plays with the eyes. The white ink on the black paper seems to glow. The drawing above is the first of the full size pieces I did on 8.5″ x 11″ cardstock.

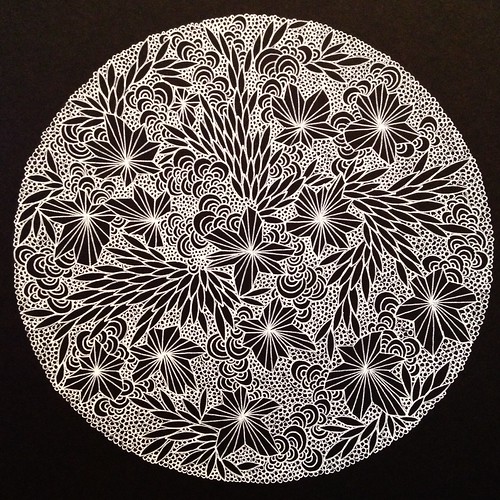
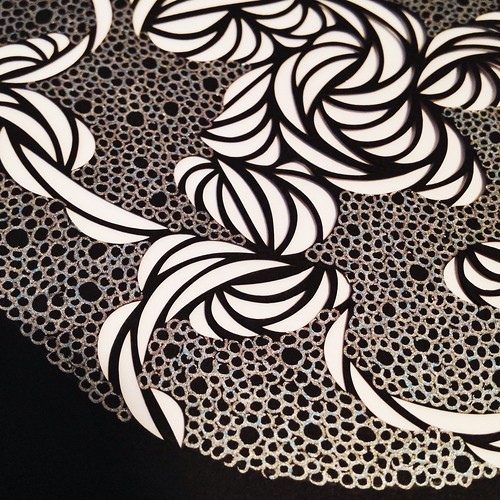
After the first drawing I decided to work towards a circle as the end result. Pictured above are the first two of these doodle clusters, both of which I completed in one sitting.
The latest of these I worked on over a few days because I didn’t have enough time to work on it in a single sitting. The photos below are how the piece evolved as I worked on it.


In the process of working on all of these drawings I’ve used up the first Sakura pen I purchased and returned to Opus to buy more. These pens feel so lovely to move across a smooth surface, which is why I love to draw with them.
I am very pleased with this series of drawings and have decided to include some of them in my upcoming show at Kafka in October. More details to come about that…