While hanging around in my studio during Culture Crawl this past weekend I decided to work on a few gel pen drawings so visitors could see how I work. The first one I started sold before I could even finish it because someone liked it as it was, and I was okay with the drawing’s unfinished state. I was happy a few of these doodles found new homes on the weekend because they’ve been an experiment for me.
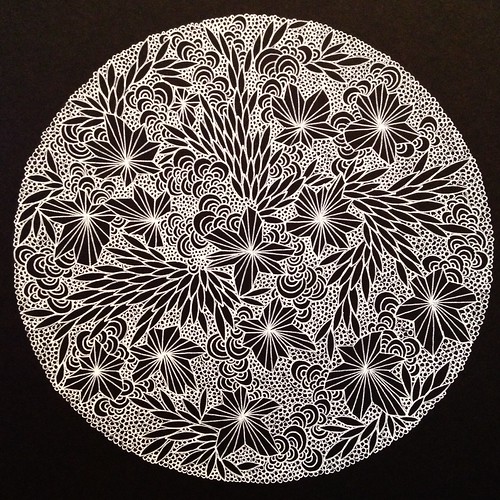
The circular one pictured here is the second of these drawings I began over the weekend, but wasn’t able to get very far with it until yesterday. I like making shapes with these doodles, and this one in particular resembles the twinkling crystalized surface of a planet.


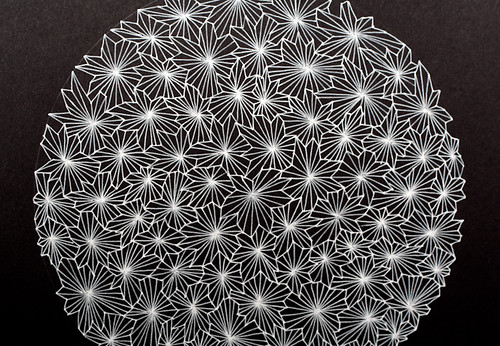
The finished size is 8.5″ x 11″, with white gel pen on black card stock. This is available for purchase in my Etsy shop »
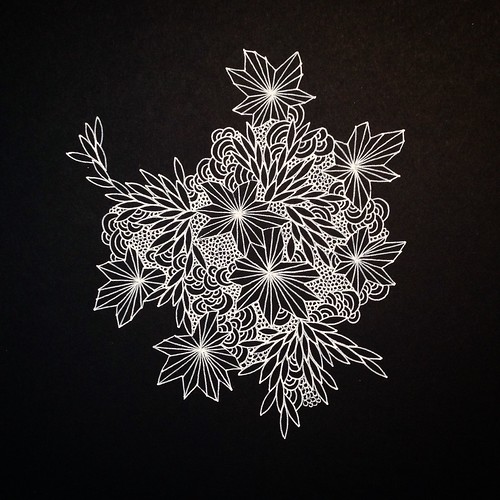
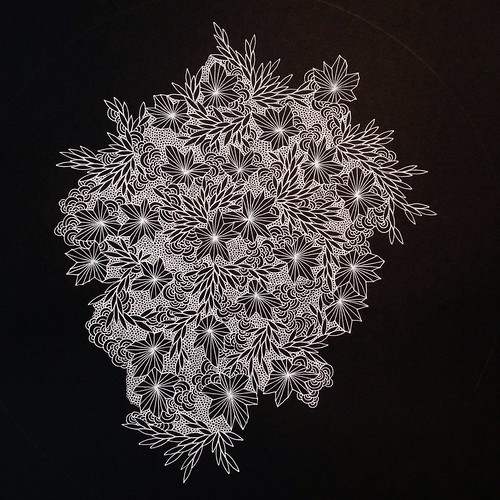
The second drawing is one I’d originally created for the show I have up at Kafka, but there wasn’t room for it in the end. It was an experiment in exploring a shape other than a circle.

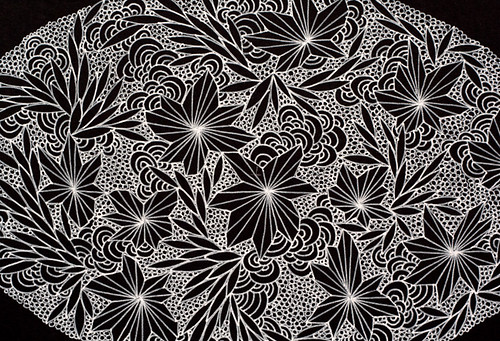

The finished size is 8.5″ x 11″, with white gel pen on black card stock. This is available for purchase in my Etsy shop »
I’m offering a 30% discount in my Etsy shop until December 5th, but only on older listed in the sale section of my shop. I really want to clear out the backlog of inventory, including owl altered books, and a few paper cut pieces from last year. Use the coupon code STUDIOSALE2014 to get the discount at checkout.