A Beautiful Prototype

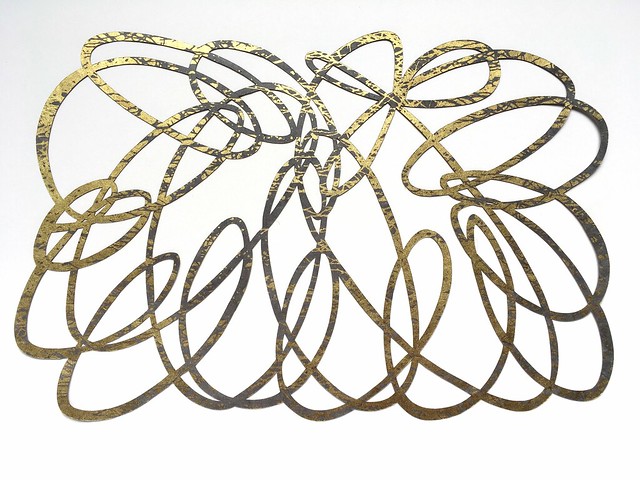
This year I’ve returned to an important part of my process that I hadn’t been utilizing as much over the past year or two. I’ve been starting a new piece by first making a prototype of the idea. My approach with this one was to scale way down from the size I wanted to do as a finished piece, in this case 5″ x 7″ rather than the eventual 25″ x 38″.

This is Yupo Translucent, a synthetic tree-free paper I’ve been wanting to explore in my work. I decided to use it to make a layered installation piece, that I’m hoping will also incorporate backlighting. (Fingers-crossed!)

The tiny prototype allowed me to get the idea out of my head and into reality so I could confirm it would work the way I imagined.

I created this towards the end of January and have been steadily working away on the larger nine layered piece since then. I finished it over the weekend and can’t wait to share it in an upcoming group show featuring paper artists later this year. Stay tuned!

Pattern Remix with Printing & Cutting

I’ve had the finished paper cut print hanging on my studio wall since I finished it a few weeks ago. I go back and forth as to whether or not I like the end results. I did the piece as a quick experiment (as quick as one can be when printing and cutting a large sheet of paper) to get an idea out of my head and into reality.

(Excuse the quick iPhone photo quality…)

I used a variety of simple repeating shapes mixed together amongst complex designed patterns, and I definitely feel the more formal patterns work better and come across in a stronger way.

I haven’t done more work in the studio along these lines since I finished this, but I’m hoping to get back to printmaking in March when I’ll be taking a class. I’m looking forward to a little formal learning to inform the work.

Introducing The Heart Enamel Pin

I am pleased to share the heart enamel pin I designed, based upon one of my cut paper pieces. Producing these has been on my goal list for over a year, and it feels like there were many obstacles in the way to making it happen, but I finally did it.

The pins are hard enamel with silver metal and red, measuring 1.5″ wide by 1.25″ high with double pin posts at the back, and rubber clutches.

I only had a small production run of fifty made. As of this posting, I have 39 remaining (because a few lovely friends already bought a bunch).

Follow this link to buy one online »

Pattern Mixing with Printmaking and Paper-Cutting

In some ways I feel like 2019 is a bit of a do-over for all the things I’d planned to do in 2018 that got washed away by the flood. Printmaking was high on the list of goals last year that was no longer possible without a studio to experiment in.

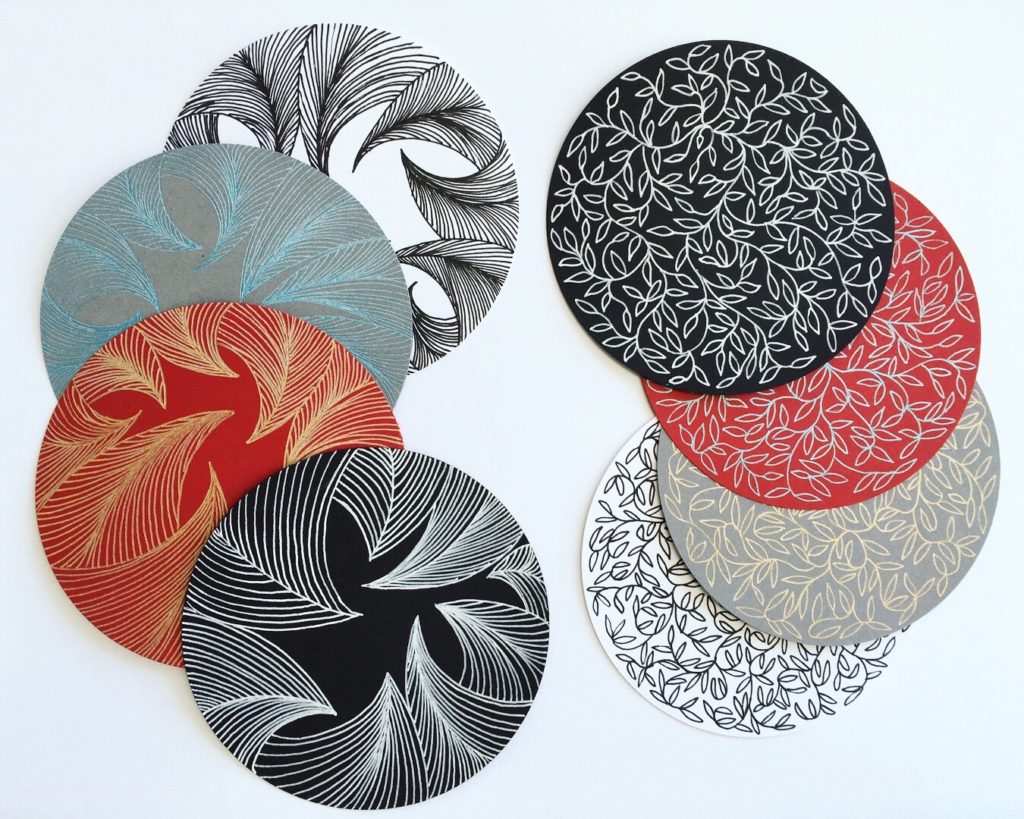
I kicked off my studio time in the first week of January with lino printing a pattern using very colourful inks on Canson paper. This was in preparation for a paper cutting and pattern mixing experiment on a large scale, and I wanted custom paper to do it with.

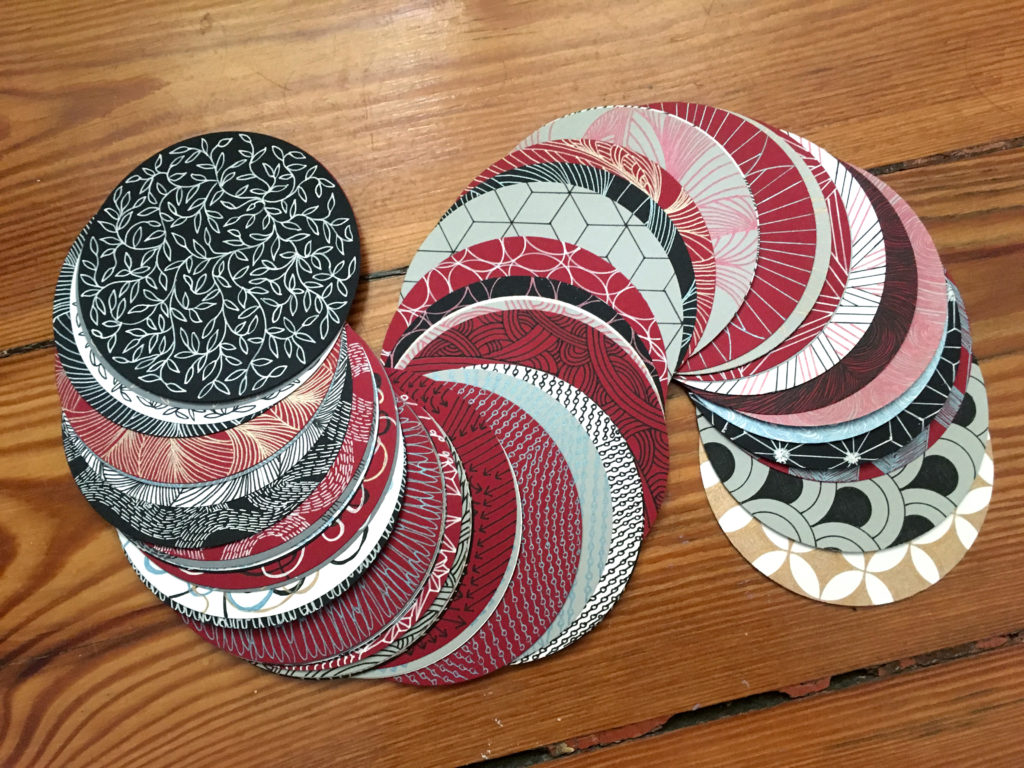
I printed each circle by hand, working quickly and carefully to line things up. I created it as a one-off print because I wanted something colourful and patterned to work with to see how well it would interact with the negative/positive of cut paper.

I drew a whole bunch of patterns on the back of the paper, choosing to use repetitions of geometric shapes, and a few of my favourite Japanese textile patterns. I was trying to keep them as simple as possible for the sake of the experiment because I knew cutting would take the longest.

I filmed a hyperlapse video of me working on one of the final sections the other day. My cutting process is different with these because I can make a cut to multiple pieces before shifting the paper into a different angle. With my unique patterns created through spontaneous process, I complete each shape before moving onto the next one.

I’ll share the finished pattern mixing piece in another blog post.

A Beautiful Side Table Reborn

I thrifted this side table all the way back in June 2012 from an interesting furniture store no longer in business on The Drive. I was walking past the shop and the table was sitting outside with a note on it asking who would be the one to make it beautiful again. At a $15 price tag, I decided it was going to be me.

Flash forward six and a half(ish) years to October 2018 when I finally took an orbital sander to this piece. It was my last project during the Tools for Women Residency at MakerLabs in the fall. I did the bulk of the sanding over a few hours one afternoon, removing a yellowed varnish, and smoothing out all the nicks and scratches. I have no Before photo to prove it, but this little table was in rough shape when I bought it.

Upcycled side table
Upcycled side table

My work with the orbital sander (and three progressively finer grain sand paper) brought out the beauty of the natural wood. I did the fine details of the concentric circles on the door and the lines on the legs by hand. Hand-sanding is my least favourite thing to do, so I procrastinated this part of the project for another month and a half.

Upcycled side table

I was determined to finish this off before the end of the year, so over Christmas I finished sanding and moved on to staining it with a natural varnish to emphasize the beauty of the wood.

It looks incredible now, and I’m proud of the work I put into it.

Upcycled side table

I regret that it took me so long to tackle this project, but it was my introduction to an orbital sander through MakerLabs that was the key to finally getting it done.

An Updated Container of Good Things

In 2018 I started the habit of noting good things down on paper that happened throughout the year and collecting them in a special container. This project is inspired by Elizabeth Gilbert’s Happiness Jar, and it was a much-needed project of looking at the good in what was a difficult year.

I opened the container on New Year’s Eve and read through all of the notes. I was pleasantly surprised to see how many I’d collected because there were a few periods of time I’d forgotten to keep up with the habit (especially the two months we were away). There were many notes about good meals with friends, which was not a surprise at all.

Container of Good Things 2019

I decided to give the Container of Good Things an update this year. It’s a repurposed tin from Muji that I’d covered in washi tape. I peeled it all off, covered the tin with white paper, and then added brand new washi tape in layers. It had always bothered me that the print on the tin showed through the tape and made the colours dull. The new tin in a pleasing blast of colour and pattern, and I love looking at it all the time. It helps keep it top of mind.

Container of Good Things 2019

I also prepped a new batch of origami paper to use for the notes, and of course they are also covered in pattern and colour.

2018: Year End Review In Twelve Photos

It’s my annual year end review of some of the things I made over the course of the previous twelve months. It started off as a difficult year because of the flood, and I only recently realized I spend almost seven months without a dedicated studio. I worked on a lot of small projects, struggled with feelings of failure, and of never getting enough done. I’m working on all of those things, because I do enough, I have enough, and I am enough.

Sashiko on a thrifted shirt
January

Untitled
February

31 days of Scribbles
March

Signs of spring
April

Printing cut paper
May

June


July

Laser cutting experiments
August

Untitled
September

Untitled
October

Paper decorations
November

Untitled
December

Fingers-crossed for a super productive, and fulfilling 2019!

Work In Progress: Pattern Mixing 2.0

For the past few weeks I’ve been slowly working on the first in a series of new paper cut pieces. The work has been slow because for the first time ever I am drawing the design first before cutting. I usually generate the designs by cutting directly, with minimal pre-planning. It feels like a big shift in the work, and it definitely makes it way more time consuming to produce.

Untitled

The bits and pieces pictured here are details of this new work exploring pattern mixing, using the Japanese designs I learned to draw over the summer. The full size of the work is 25.5″ x 19.5″, cut from Canson Mi-Teintes paper. It’s been an awkward project to work on a I try to maneuver it around the easel while drawing or cutting, and not wreck the parts I’ve already completed. (It happens sometimes).

Untitled

Untitled

Untitled

It started out as an experiment to explore an idea I’ve had for ages, and I’m hoping it will end up as a successful piece of work.

Paper Ornaments and Circle Punches

I recently made new decorations for the Steamclock Software office Christmas tree. I felt we needed some in a more seasonal appropriate colour, and I was interested in trying to make a few things with a new smaller circle punch.

Paper decorations

I started with a huge pile of circles from red and white paper to make a garland, and then brought these home to sew together with thread on my sewing machine. I shared a video of the sewing process on my IG stories and people seemed to love the meditative quality of putting one piece of paper after another and the sound of the needle punch through paper.

Paper decorations

I also made a new batch of ornaments, also using the same 2.5″ circle punch. The instructions I found recommended making these from sixteen pieces of paper, but I made a second batch from eight pieces and these seem to work fine as well. Find the instructions on how to make these over here.

Paper decorations

Paper decorations

Paper decorations

I like the blue, red, and white ones the best. All the paper decorations are now hanging on the Steamclock Christmas tree in the front office, and looking good.

Mystery Mugs Fundraiser, Craft Council of BC

I created this cut paper piece as a donation for the Craft Council of BC’s Mystery Mugs fundraiser happening tomorrow evening. The event is to help raise money to replace the broken furnace at their Granville Island shop. I briefly considered creating a paper sculpture mug, but then I came up with this idea. The piece is 9″ x 9″ framed.

What do a furnace and a mug have in common you say? They keep us cozy! Many of our mug-nificent artists have practical, sculptural, fanciful and downright crazy mugs to be sold at the event. The catch? All the mugs will be wrapped up in mystery boxes (valued at $50 and $100) so you get to guess which one might be inside from their mugshots hung on the walls! Best part, after all the boxes have been sold we’ll open them up together and trade around to get your favourite!

Get your tickets here if you are interested in attending, or you can place a bid on pieces (like mine) that are featured in the online auction.

CCBC Mystery Mugs Fundraiser
Date: Thursday December 6th, 2019
Time: 7pm tp 10pm
Location: 1386 Cartwright Street on Granville Island