Making Marks with Thread

I’ve been working on another clothing embellishment project in my head over the last few weeks, and when I sat down to finally start it on Monday I realized the idea was not going to work well with the fabric. I wanted to do more sashiko style patterns but the type of fabric doesn’t take well to drawing out the design first. So I threw that idea out the window and started looking through the library books I happen to have on hand at the moment and found a beautiful idea to try. The book is called Mark Making by Helen Parrott and came recommended by my friend, Amanda Wood.

Mark making with thread

I brought out the sampler to practice the style of stitching, and get a feel for how to move around the surface and group the threads together. I did the blue ones first and then the red, and these second set were so much better than the first. It was exciting to see my improvement so quickly.

Mark making with thread

Now I’m on to starting the actual project, and can’t wait to get started in the studio today. I’m hoping to get it done it time for Christmas.

Christmas Making in Paper

This week the Christmas-related making came into play when I decided to make a second advent calendar for our home. The one I made last year wasn’t large enough to accommodate two small gifts in each drawer, so I quickly threw together a simple one using small paper bags and envelopes. I gave each one a fancy number and then used string, thumb tacks, and tiny clothes pins to hang it all on the wall. We’re now onto day two of getting into the treats hidden inside.


Using coloured paper left over from the sonobe artwork, I started making origami ornaments for the Steamclock office. It’s the first time we’re decorating for Christmas at the office and I’m making things festive and colourful, while steering clear of the usual tacky decorations. I made two different styles of modular ornaments in turquoise with white, and bright blue with white.

IMG_5147 (1)
My co-worker Rach and I have been using these awesome chalk markers to draw on the office windows to also add a festive touch. I’ll share details of the office decor once it is all done next week.

Work In Progress: Cutting At Six Times Regular Speed

Every once in awhile I take the time to shoot a hyperlapse of something I am working on. I’ve done this with paper cutting before, as well as drawing and stitching. The latest video I shared last week seemed to connect with a lot more people than usual and it went viral on Instagram, garnering over 24,000 views! I’ve never had that happen before, but it tells me people are much more interested in videos than they used to be on IG.

Untitled

I’ve since finished the paper cut design, but above is a photo of the work in progress. I took a break from paper cutting for awhile after completing the seven foot tyvek piece because I felt burnt out on it after that. I’m back to enjoying it again, and I’m happy to move on to creating new work.

Below is the video shot with Hyperlapse, which demonstrates my cutting process at six times the speed.

A video posted by Paper artist (@rachael_ashe) on

Post-Crawl Post Mortem

It’s a few days after the conclusion of Culture Crawl weekend and I am still sooooooooooo tired, and my brain doesn’t seem to be working very well. But I had a terrific weekend hanging out with the team at Propellor Design as a guest artist in their studio.

We had a busy weekend with over 1000 people dropping in to see us. Nik and I kept a tally of visitors on the studio chalkboard and it became a lovely piece of art all its own by the end of Sunday. It was great to see some familiar faces and introduce many new people to my work. I was pleased to have a selection of artwork find their forever homes, including the last of my laser cut pieces from a few years ago.

A video posted by Paper artist (@rachael_ashe) on

A huge thank you to Pam, Nik, and Toby of Propellor Design for hosting me in their studio. Watch the video above to see some of their lighting, work in progress, and materials of inspiration.

Visit their website or follow them on Instagram.

The Stories We Tell Ourselves

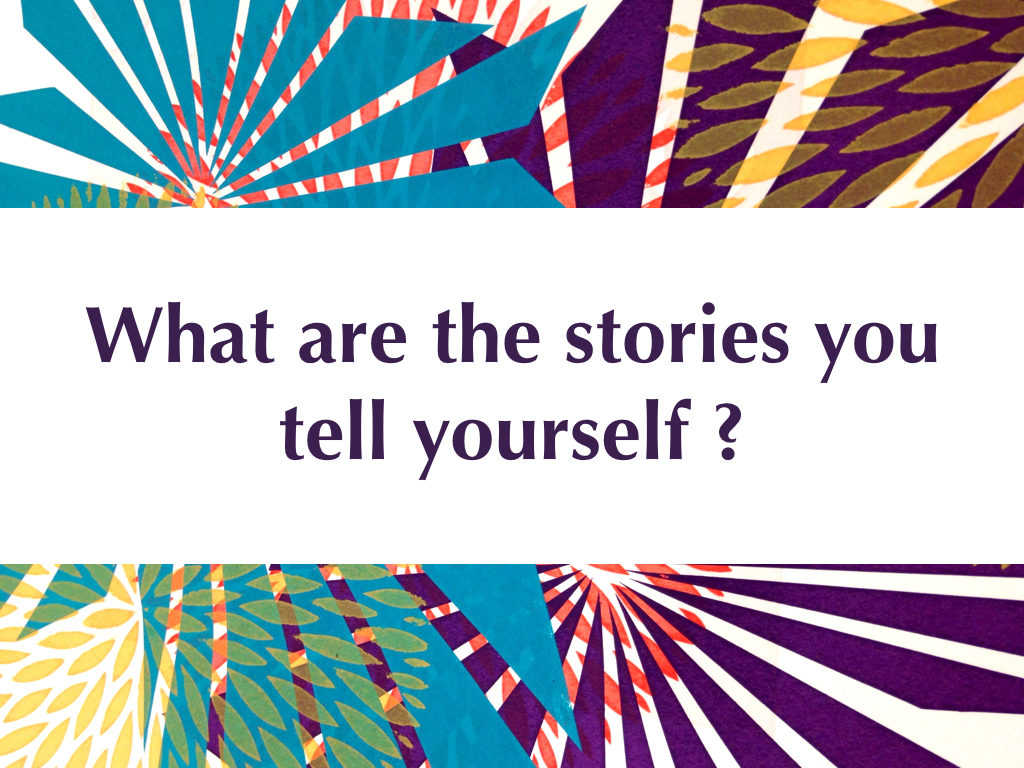
As the guiding principle for what I wanted to express in my artist talk last weekend for the Talking Art speaker series I posed the question, “What are the stories you tell yourself?”.

There are stories we tell ourselves about what we can and cannot do, and these are the things that keep us from reaching our full potential. For the longest time I thought I wasn’t capable of creative work other than photography. When I gave myself permission to step outside of the little box I’d put myself into it’s led me to be good at many things I had wrongly assumed I could never do.


The key for me has been learning by doing. If I want to know how to do something or understand a material or process, then I go figure it out. This means doing hands-on research, reading books, looking at information on the internet, talking with other artists, or taking a workshop. But it’s all centred around exploring with my hands that thing I want to know. Explore, experiment, and learn. Making leads to more making because all of our skills are interconnected.

Paper cutting opened the doors to other process for me because it refined my fine motor skills. For years I’d told myself the story that I couldn’t draw, but paper cutting helped me relearn the ability. I’ve always wanted to learn needle work and embroidery, and told myself the story that it was beyond me. But here I am finally learning those things I’ve long wanted to know and creating beautiful work in the process.

We are all capable of so much more than we allow ourselves to believe. It’s up to us to change the story we tell ourselves. Maybe the time has come to tell yourself a new one.

Experiments with Textile Dyeing

I am moving more towards upcycing, repairing, and redoing my clothing, and the latest tool I can use to do this is dyeing. I recently purchased the sleeveless top pictured here from Value Village but felt the original pink colour didn’t suit me. I decided to try dyeing it red to make it more suitable, and also to see what could happen. The results are good, and I love this new shirt. The embroidered pattern details didn’t take the dye, but they look terrific against the red.

Experiments in dyeing clothing

On the same evening I put a faded pair of capri jeans through a blue dye bath. I recently did a sashiko stitch repair to one of the legs, which is what led to wanting to improve the colour as well. I’ve had these pants for years, and held onto them hoping I could wear them again because they were once a favourite pair. They are back in rotation in my wardrobe after years of neglect.

A video posted by Paper artist (@rachael_ashe) on

I shot the video as I was working on the red dye bath. It needs constant agitation to make sure the entire piece of clothing dyes evenly. I found it mesmerizing to watch the garments swirl around the red water, and decided to share it.

My Taiyaki Dreams Come True

The Richmond Night Market made me fall in love with fish shaped waffles (aka Taiyaki) filled with red bean paste, and for many years I’ve wanted a pan to make them at home. I had no clue where to buy one until my friend Barb acquired a pan a few years ago at Uwajimaya in Seattle. I’ve tried there myself on the last few visits to Seattle, but they’re always out of pans.

Thanks to a suggestion from a friend to try Amazon coinciding with a gift card from my sister as a birthday present, I finally have a taiyaki pan of my own. I kind of forgot Amazon has everything, no matter how obscure.

Untitled

It arrived last week and I put it to use immediately. We live near a Japanese grocery, and I was delighted to discover you can buy ready-made packages of sweetened red bean paste there. I was happy to skip the process of making the paste because it involves a pressure cooker, and we don’t have one. We followed this recipe to make the taiyaki batter.

Fresh Taiyaki with red bean paste

These are the first few Boris and I created as a team. They made for an excellent end of day snack. I can’t wait to make more!

I love Taiyaki.

Jill Pilon at Gibsons Public Art Gallery

I took the day off this past Monday to do a day trip to Gibsons on the Sunshine Coast with artist friends, Mary Anne Tateishi and Vanessa Lam. We went specifically to see a solo show of work by Jill Pilon at the Gibsons Public Art Gallery, but also fit in a few other things. I love it when an art road trip comes together!

Jill Pilon at Gibsons Public Art Gallery

Jill Pilon at Gibsons Public Art Gallery

Jill’s work is beautiful and full of intriguing details that require closer observation. My favourite pieces were the ones with stripes and strong geometric lines, but I was also drawn into ones with a subtler colour palette and mark making details of scribbled writing partially revealed under layers of paint.

Jill Pilon at Gibsons Public Art Gallery

Jill Pilon at Gibsons Public Art Gallery

Jill Pilon at Gibsons Public Art Gallery

It’s an inspiring show, but it comes to an end this Sunday. If you happen to be on the Sunshine Coast this weekend drop into the gallery to see it.

Sashiko Stitching and Embellishing Clothes

Summer is the time I break out the maker side projects, and often they are textile-related. Last year I made t-shirt yarn and braided rugs, and this year I’m improving my hand stitching. On the weekend I started with repairing a hole in a pair of Boris’ shorts using a piece of fabric and a straight stitch. I love how it turned out. The sugar skull fabric is the same one I used to make him a laptop case for Christmas.

Making the patch was a good warm up for getting back into Sashiko stitching, and it led me to finally get started on a project I’ve had in mind for months. I kept putting off starting it because I felt intimidated, but now I am OBSESSED!

Starting a sashiko stitching project

I have this plain black skirt I bought more than fifteen years ago at a second-hand store in Halifax. I thought it would be interesting to embellish it with stitching. I am making up the design as I go along, working with various sized circles and red thread.

Starting a new sashiko stitching project

It’s going well so far, but I have a lot of work ahead of me because I want to embellish the entire bottom edge. I can hardly wait to finish and wear this! I have a feeling many more pieces of clothing are going to end up with decorative sashiko stitches.

Designed to Speak

Designed to Speak is an outlet of inspiration for designers and design enthusiasts profiling creative people of all disciplines with the objective to help inspire and engage the design community. I did this interview all the way back in April 2014 with Trevor Jansen and Mahyar Saeedi. I was asked to share my thoughts on making by hand and technology.

Designed To Speak – Rachael Ashe from Designed to Speak on Vimeo.

It was filmed on location at Hot Art Wet City during a group show I curated called, Voices From Another Room. In the background you can see work by Sarah Gee Miller, Joseph Wu, Connie Sabo, Alison Woodward, and me.

Watch more Designed to Speak interviews on the website.