I looked back at my year end review for 2019 as I began writing this post and it was interesting to reflect that I felt I started 2020 with a clearer idea of what I wanted to do. I think that actually carried through after an initial stumble through March to May, as we all struggled with the new normal.
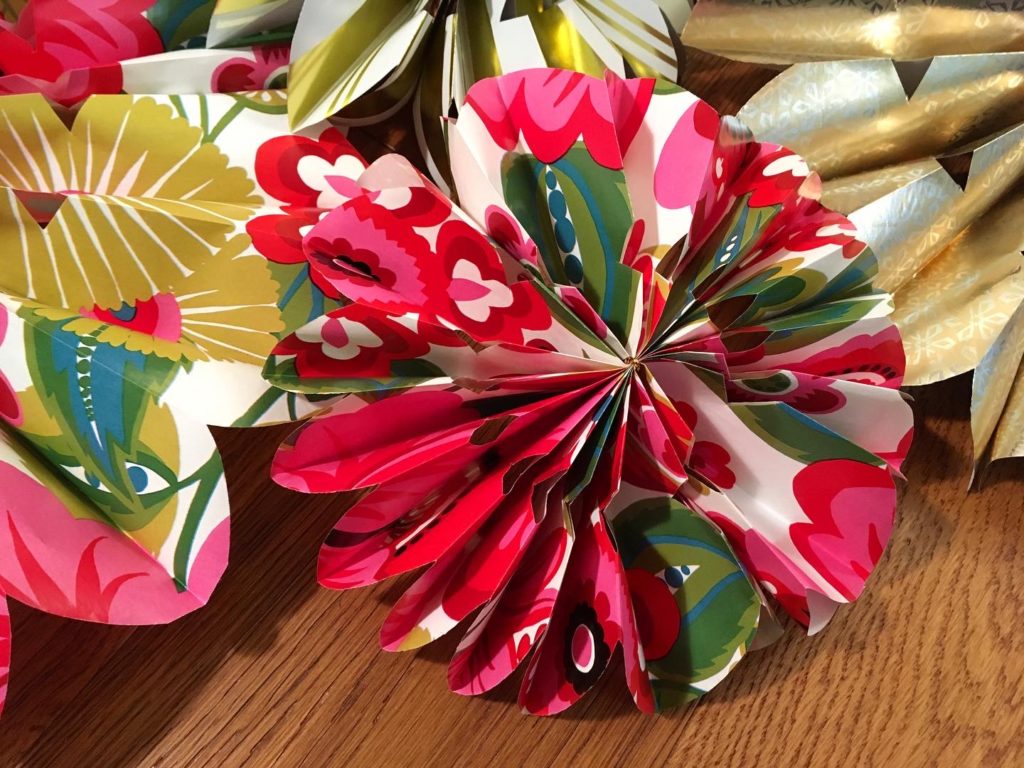
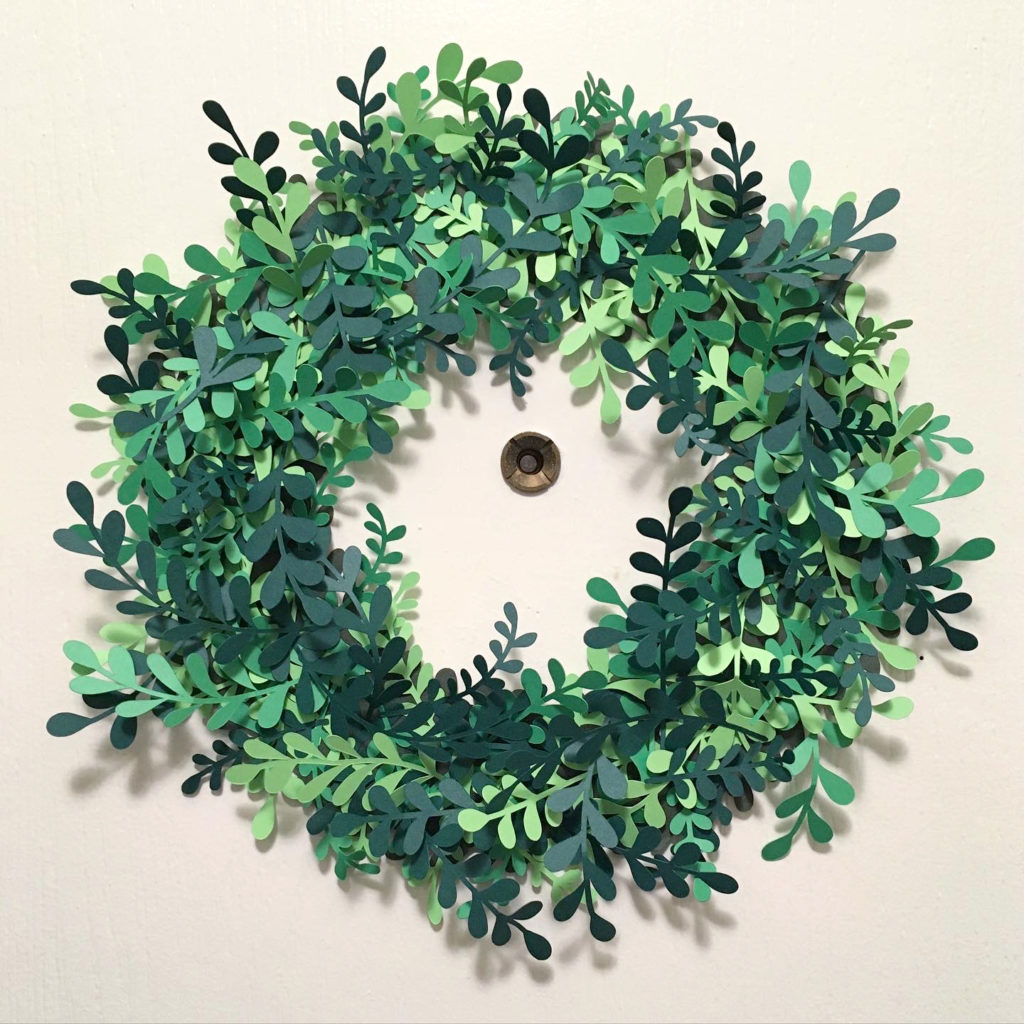
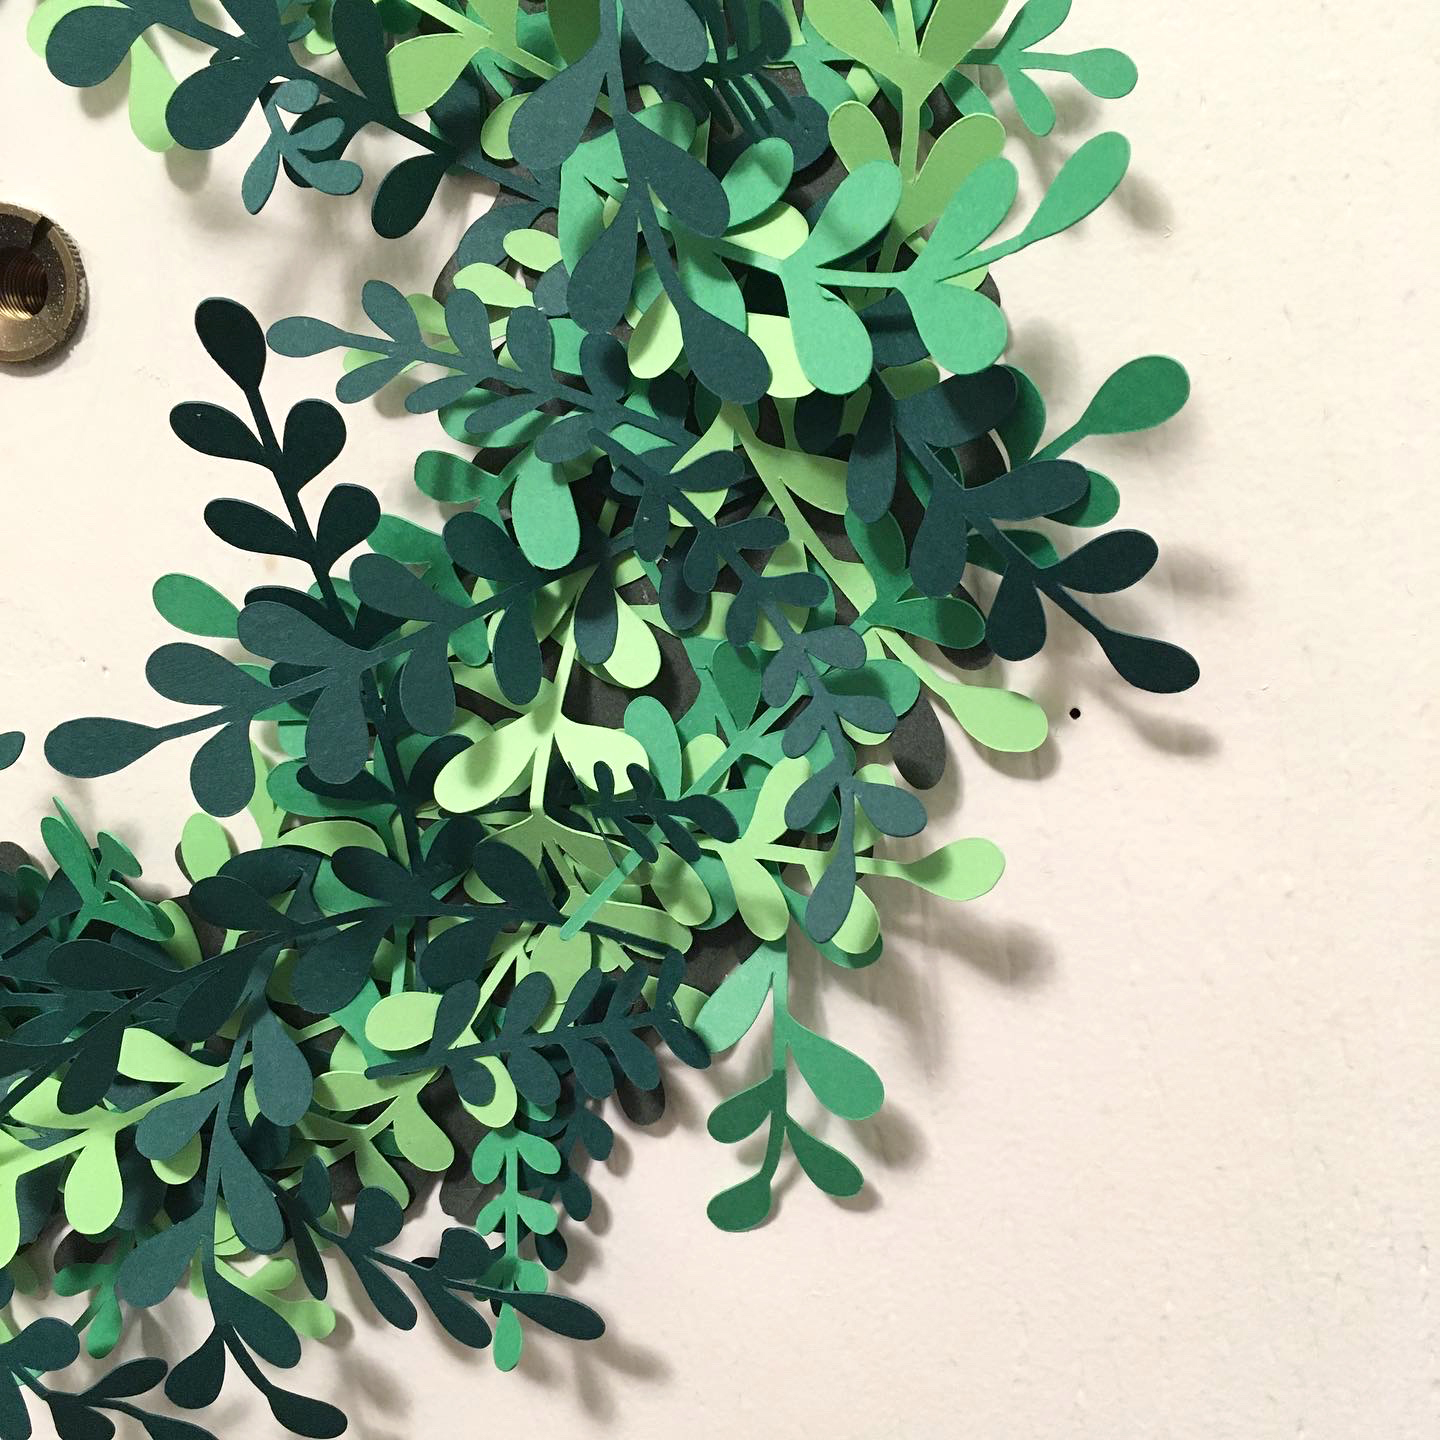
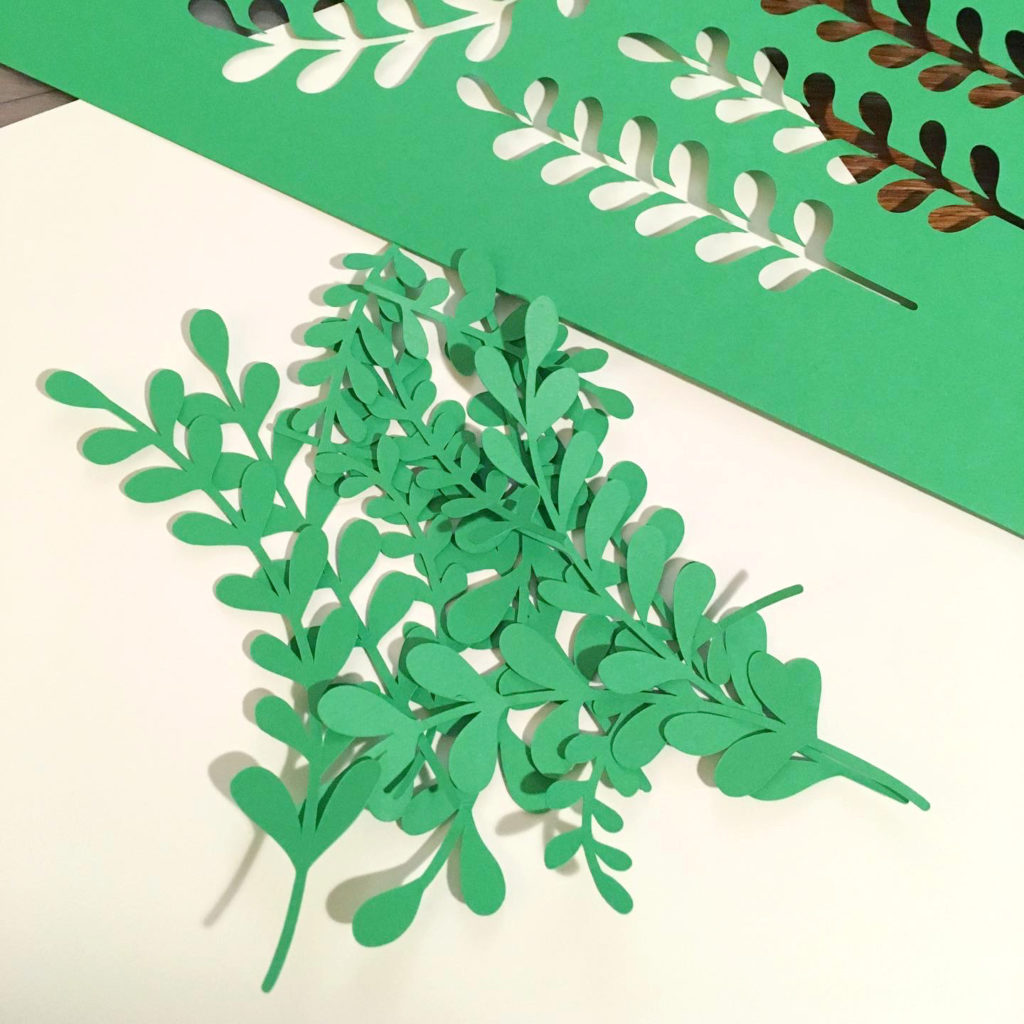
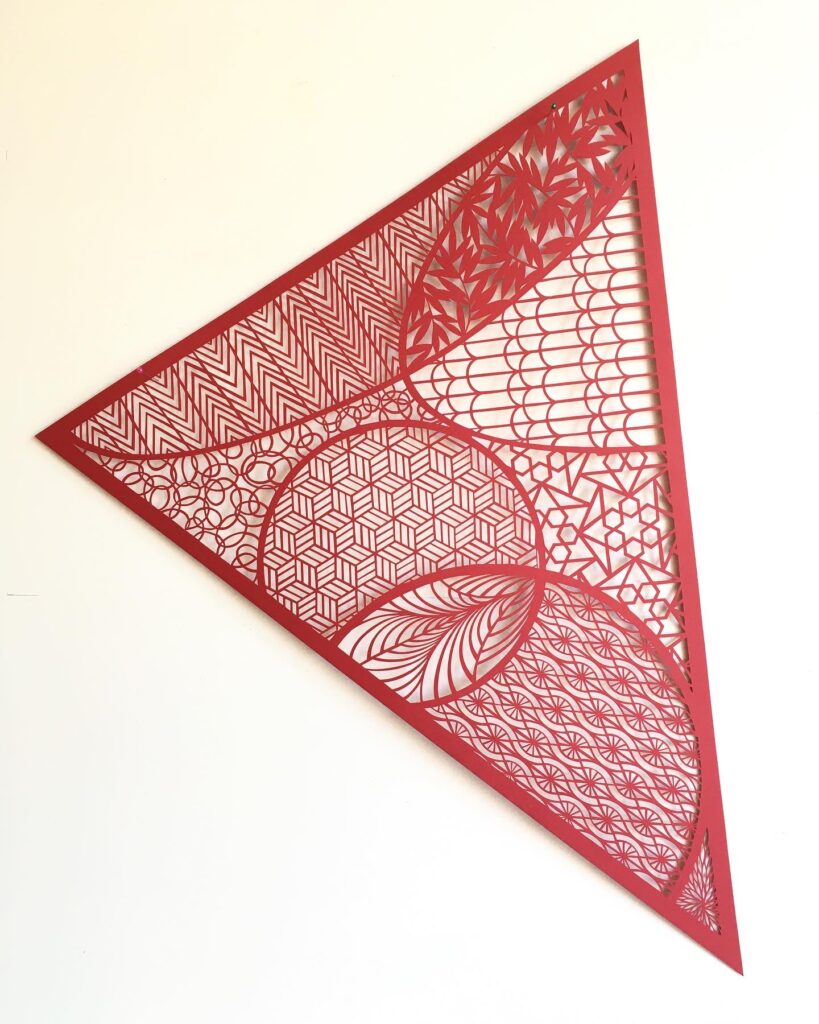
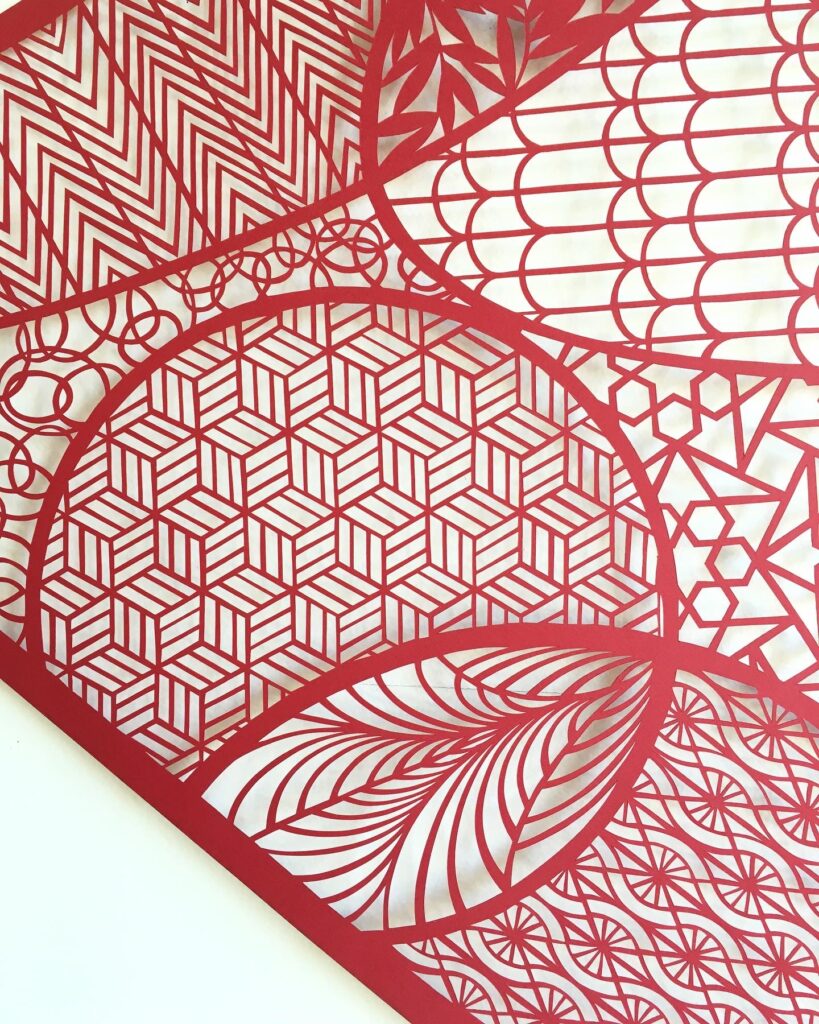
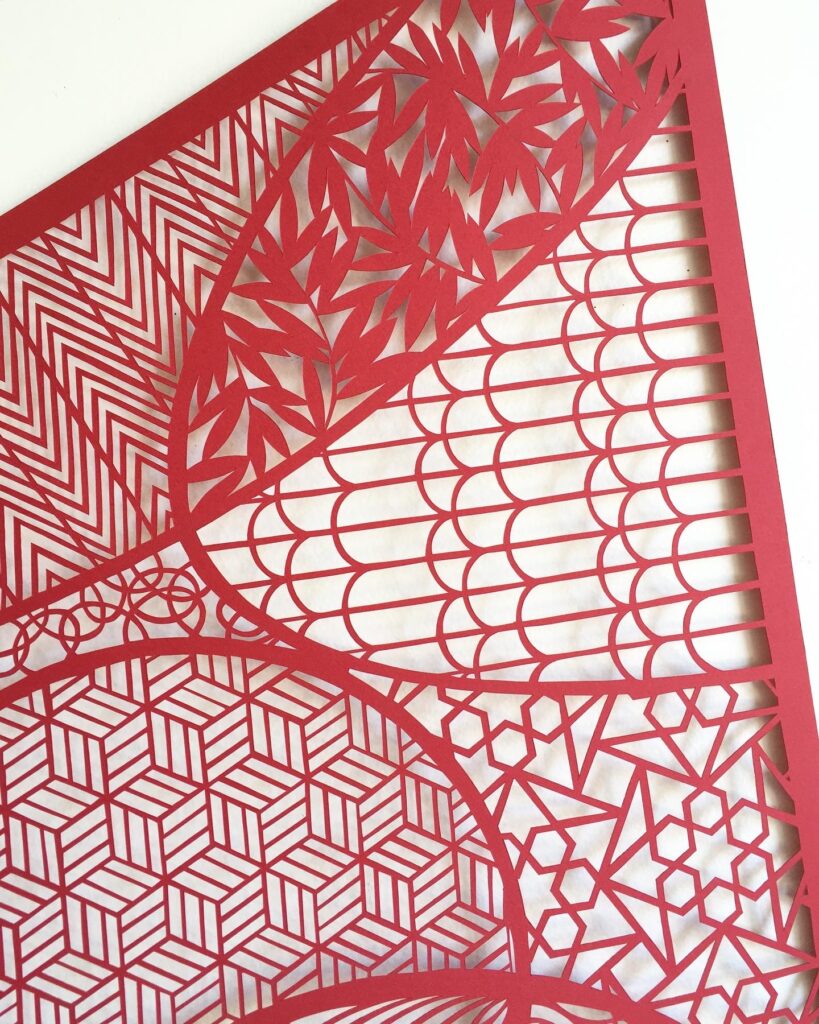
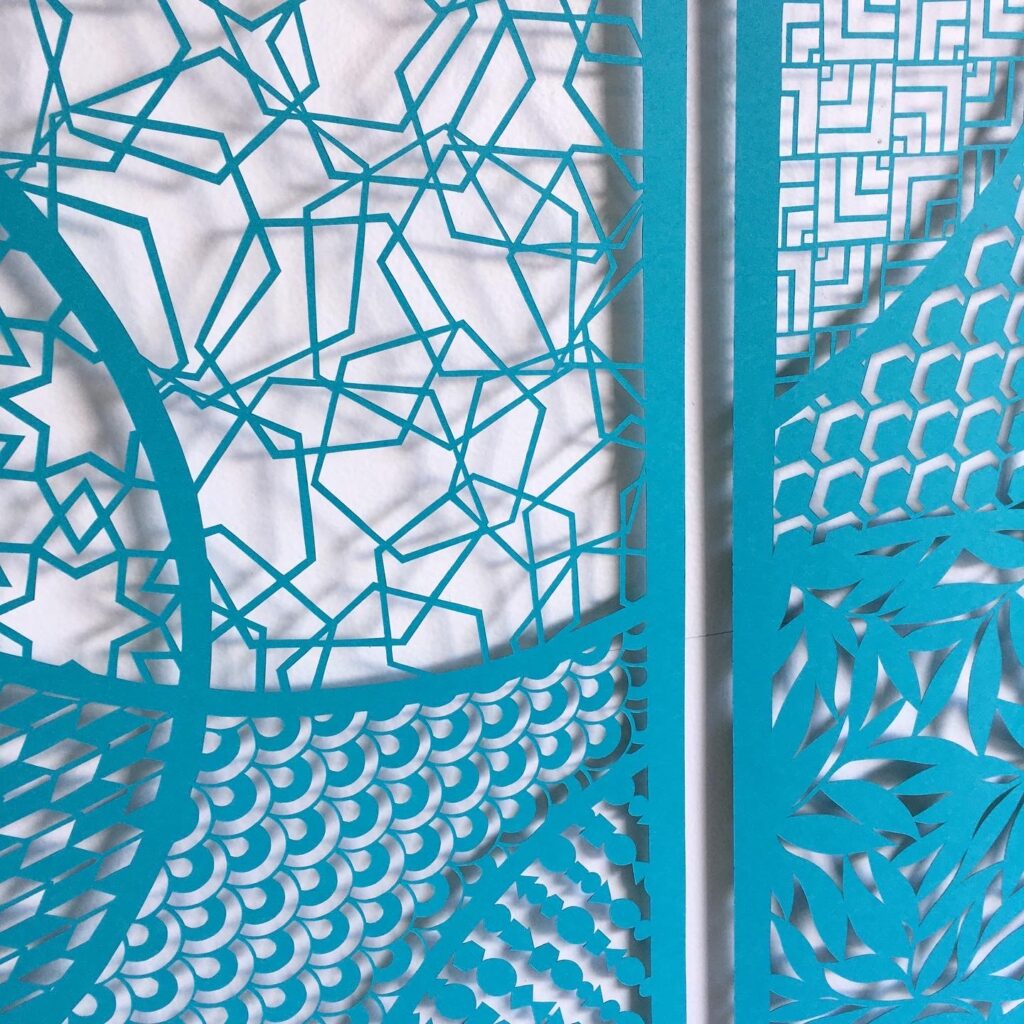
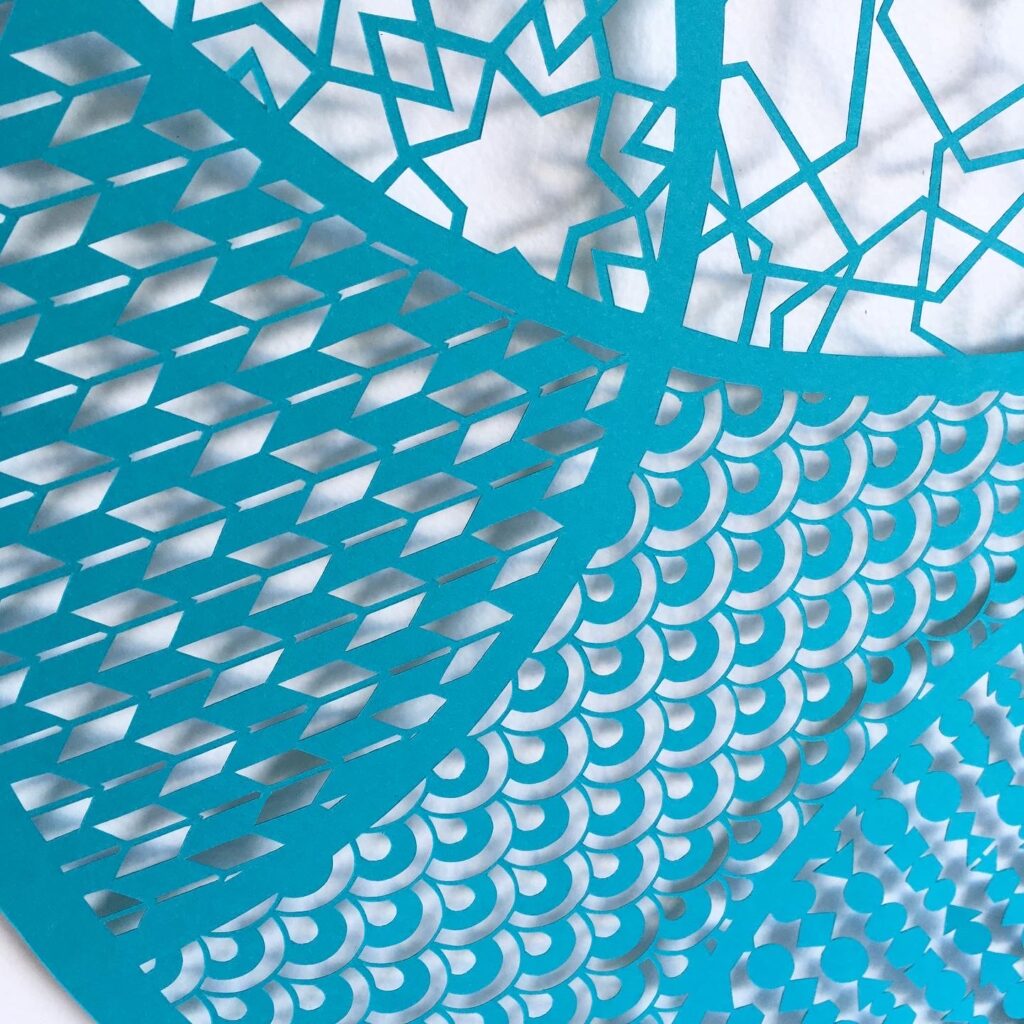
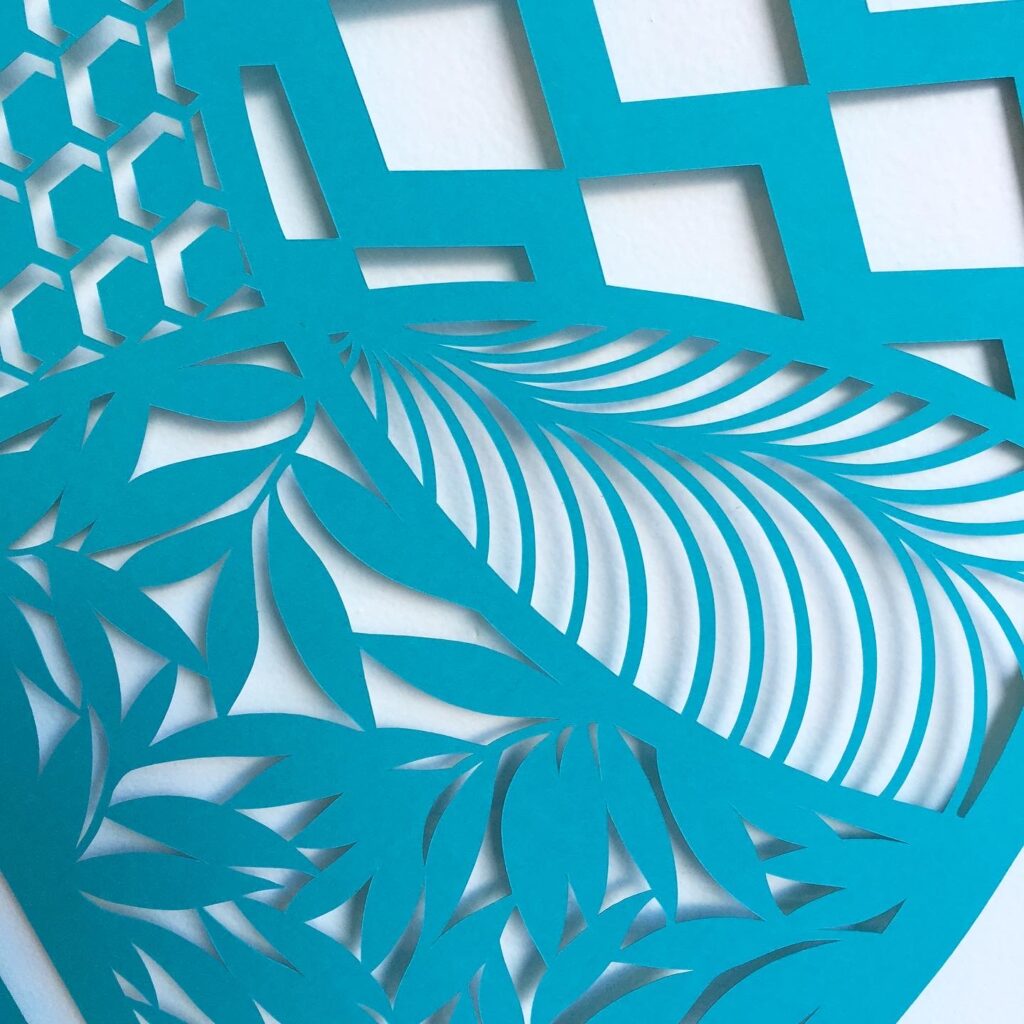
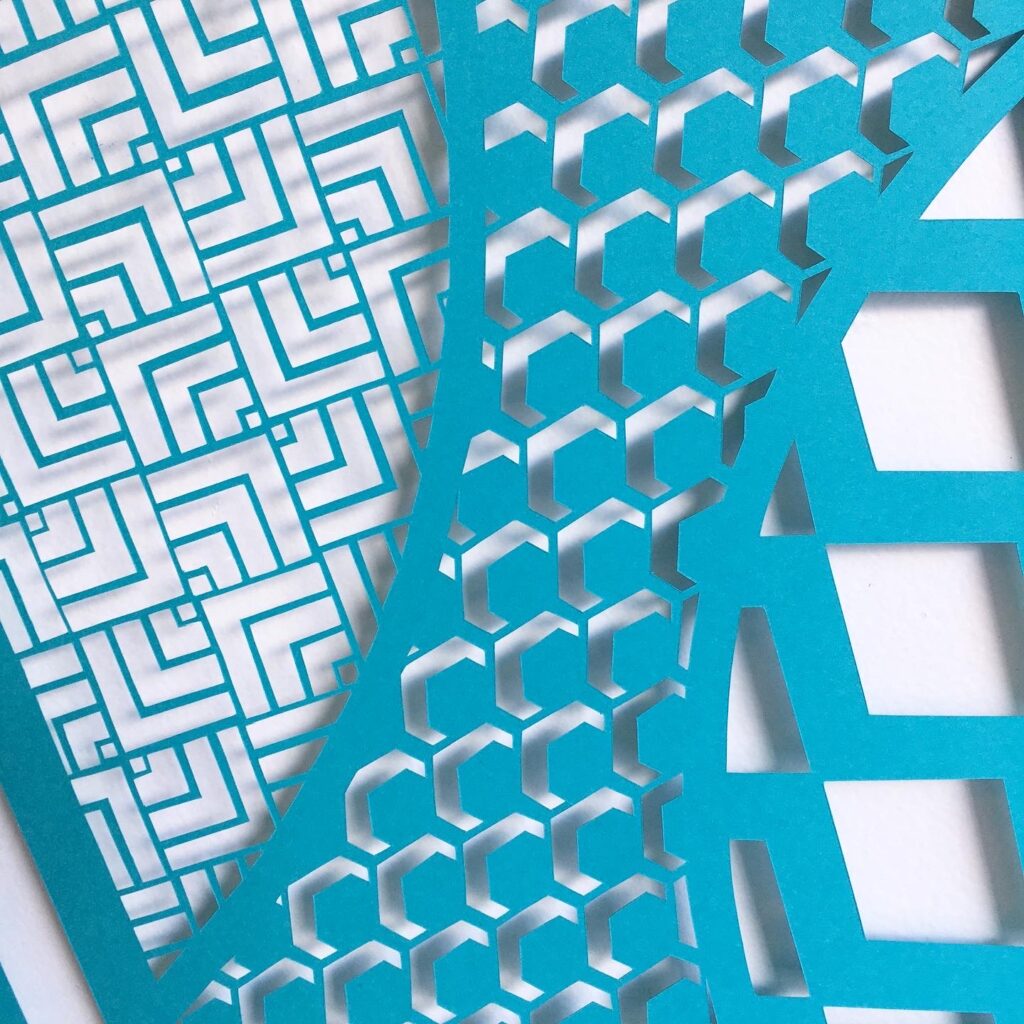
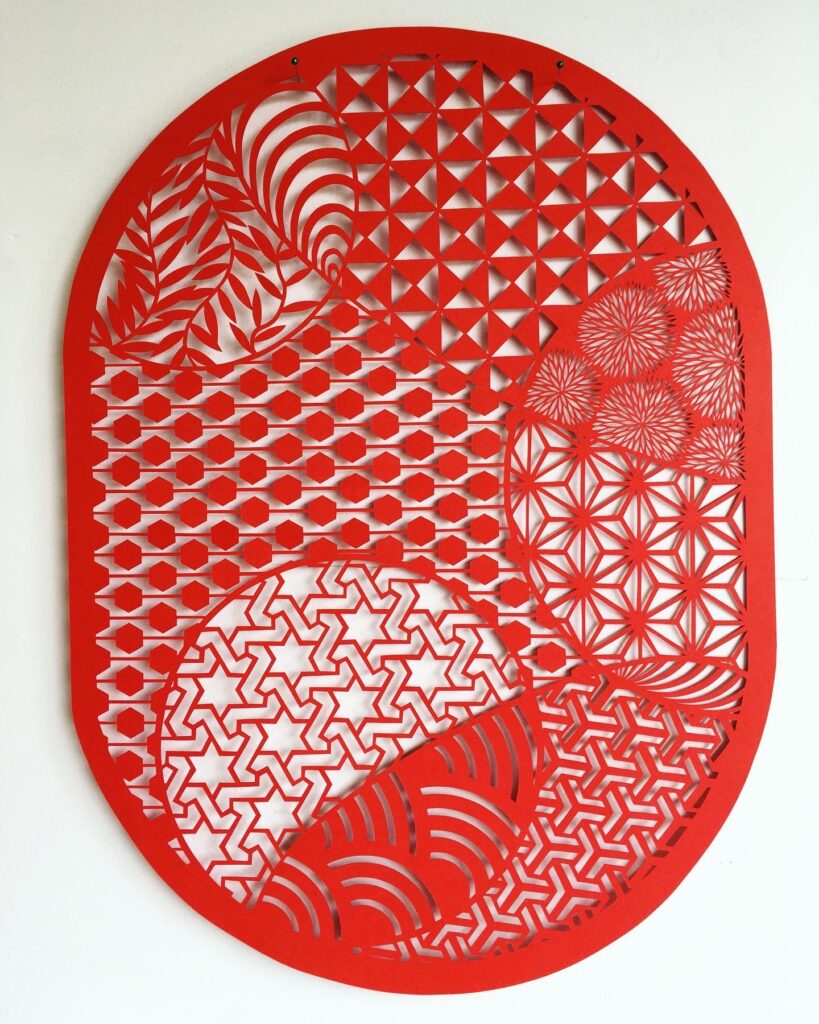
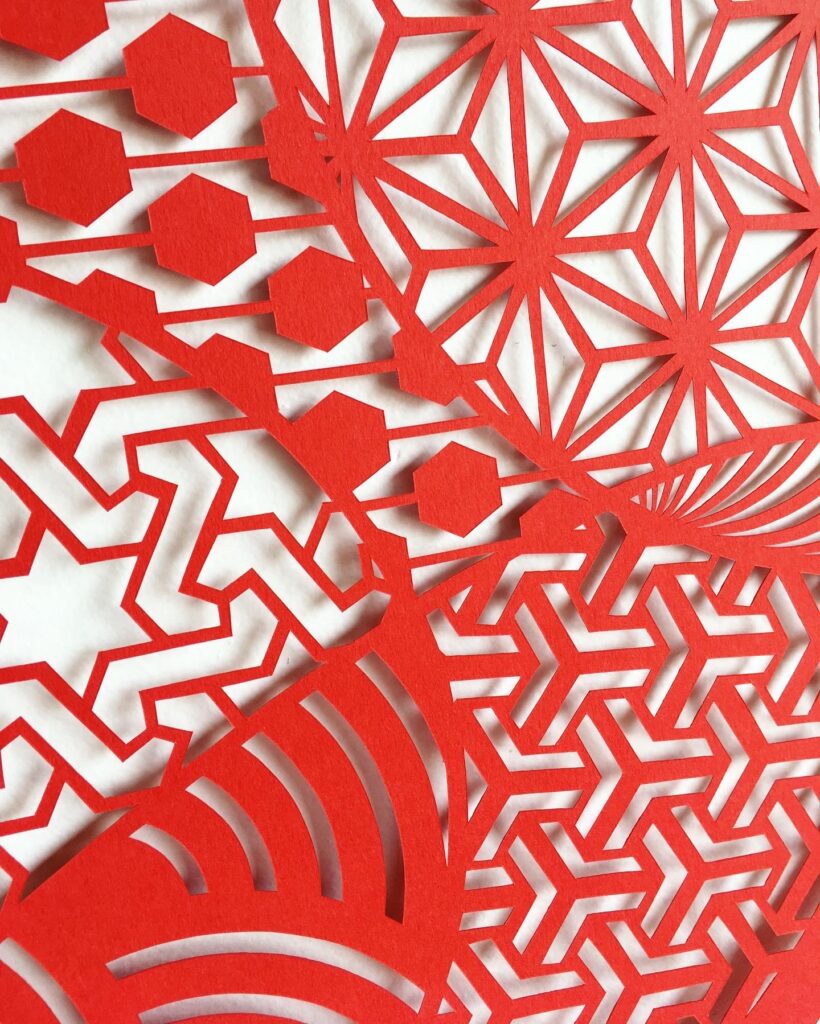
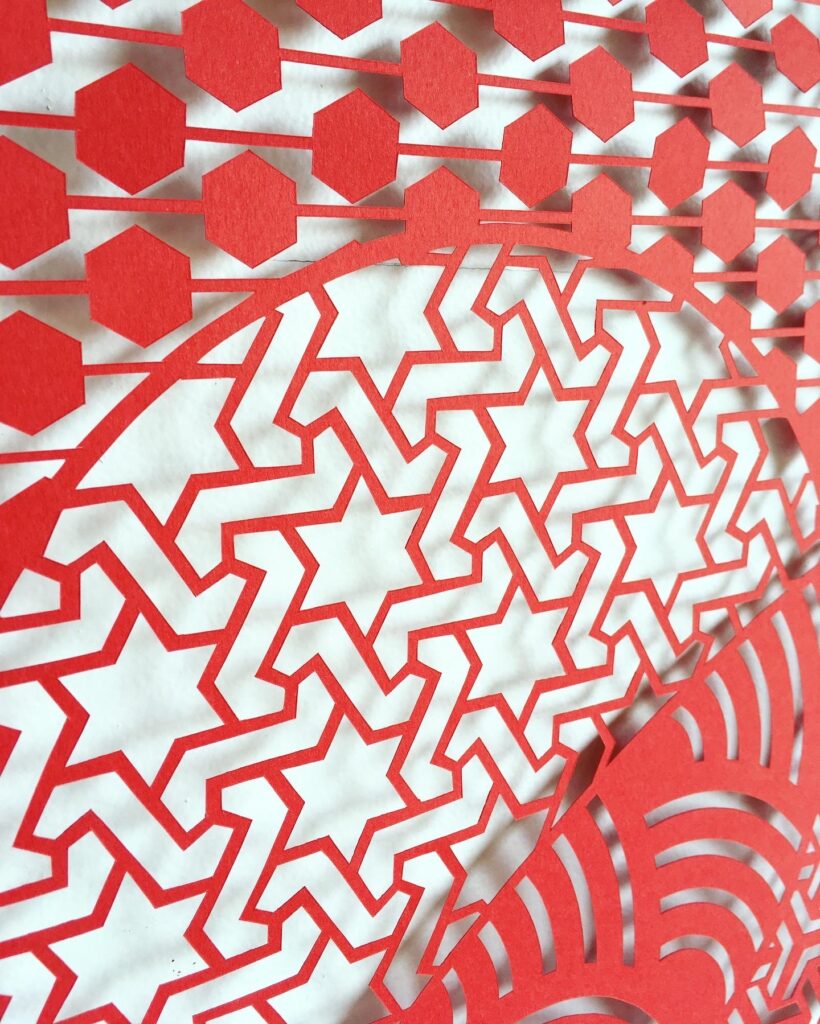
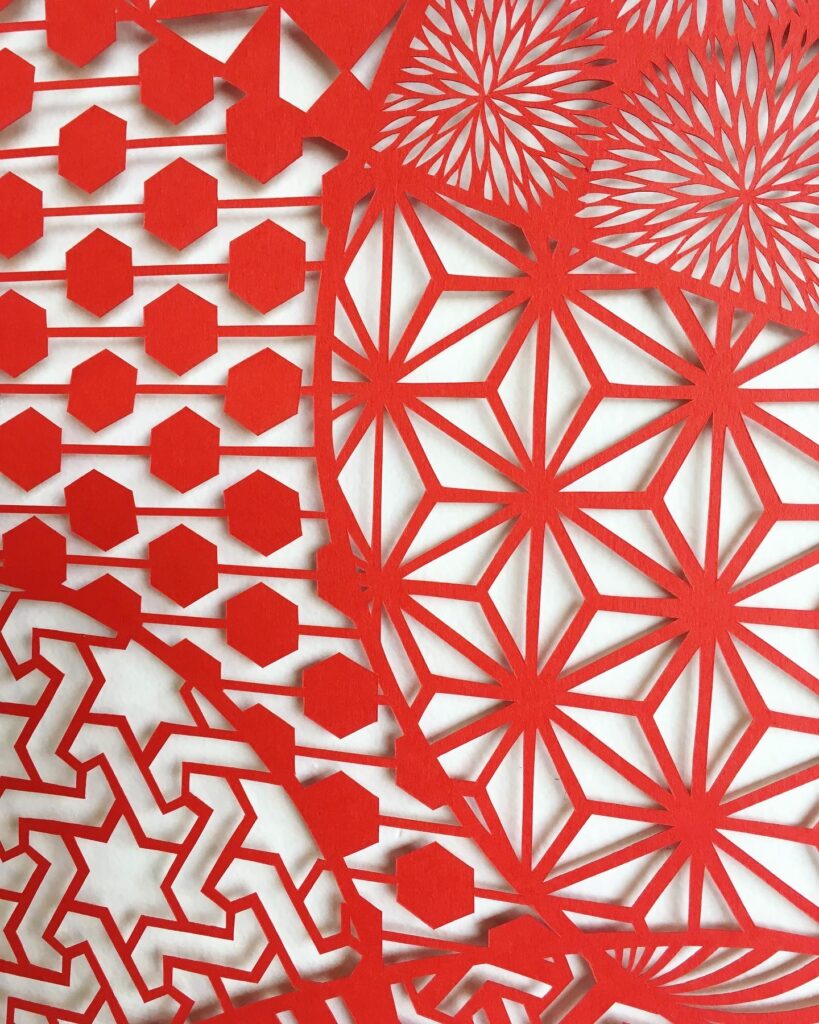
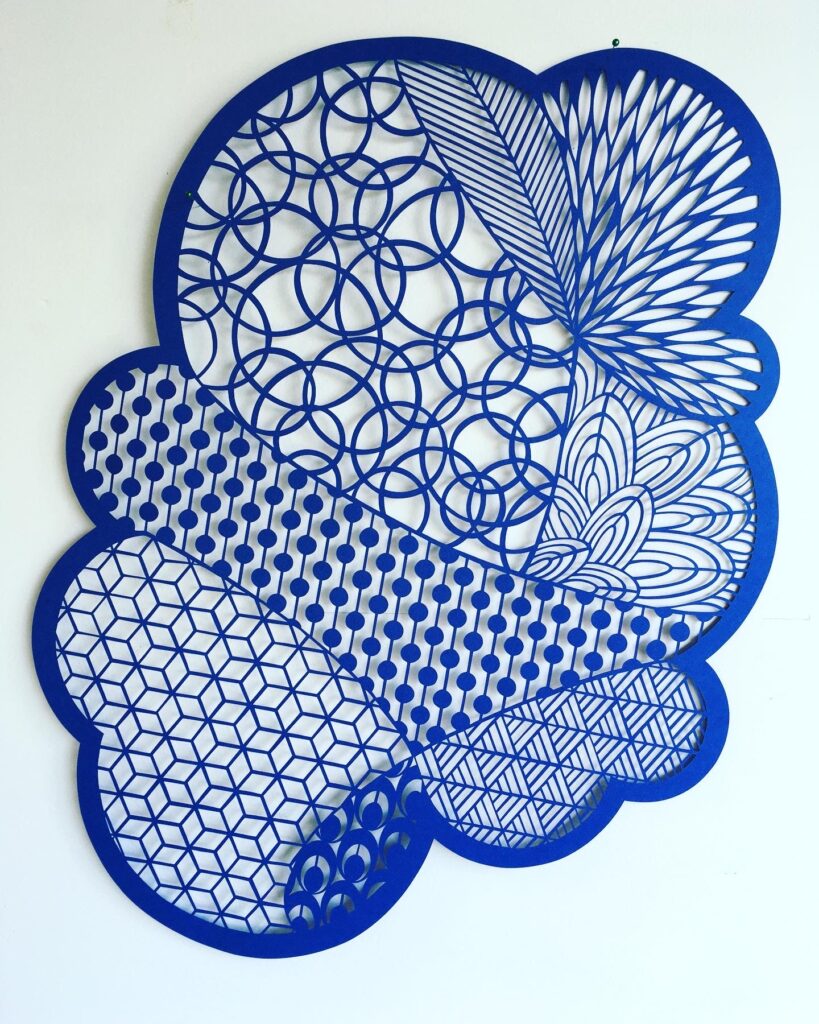
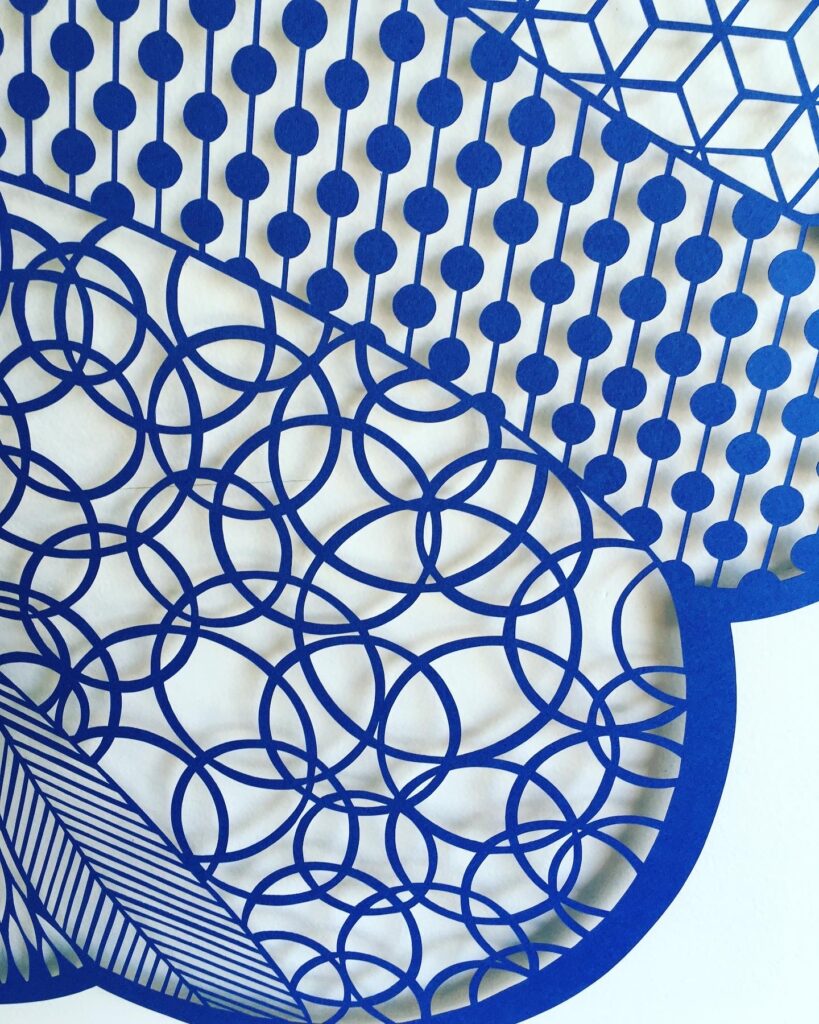
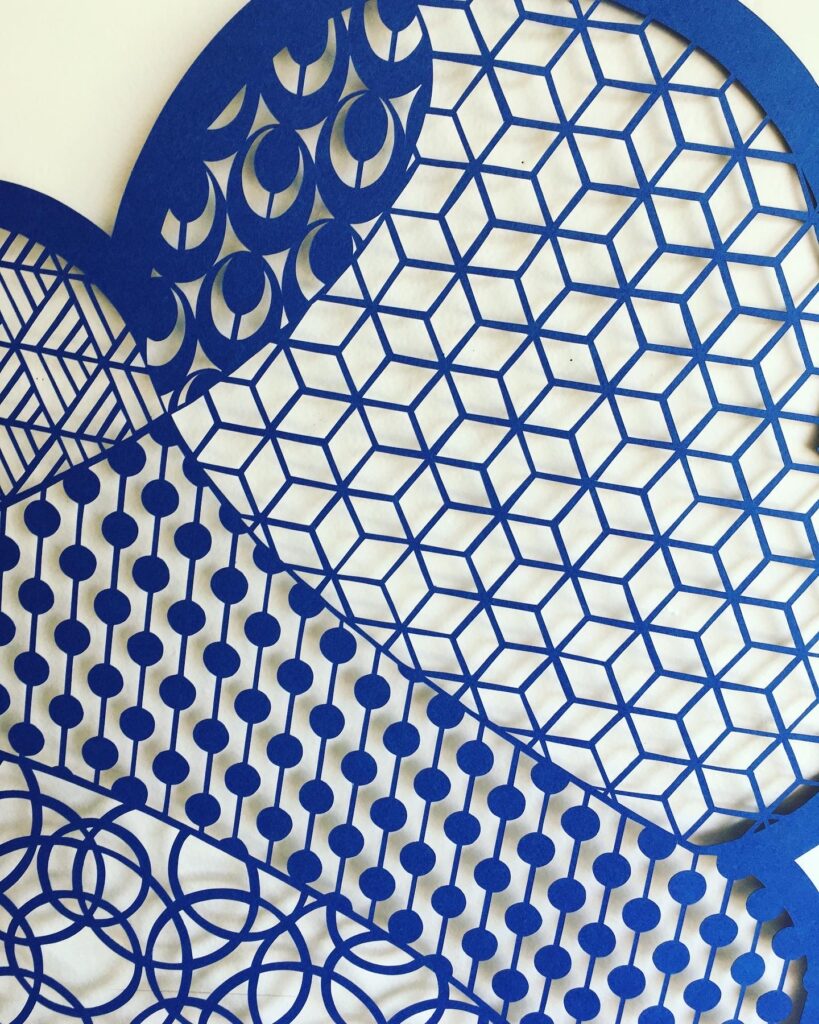
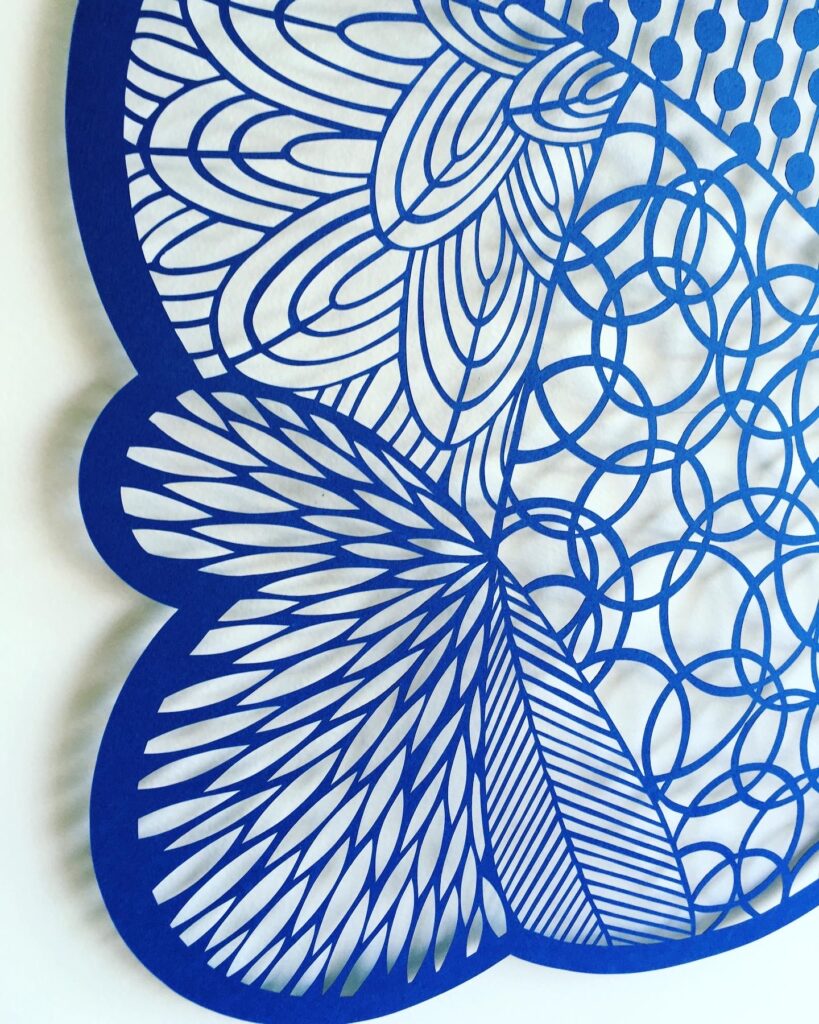
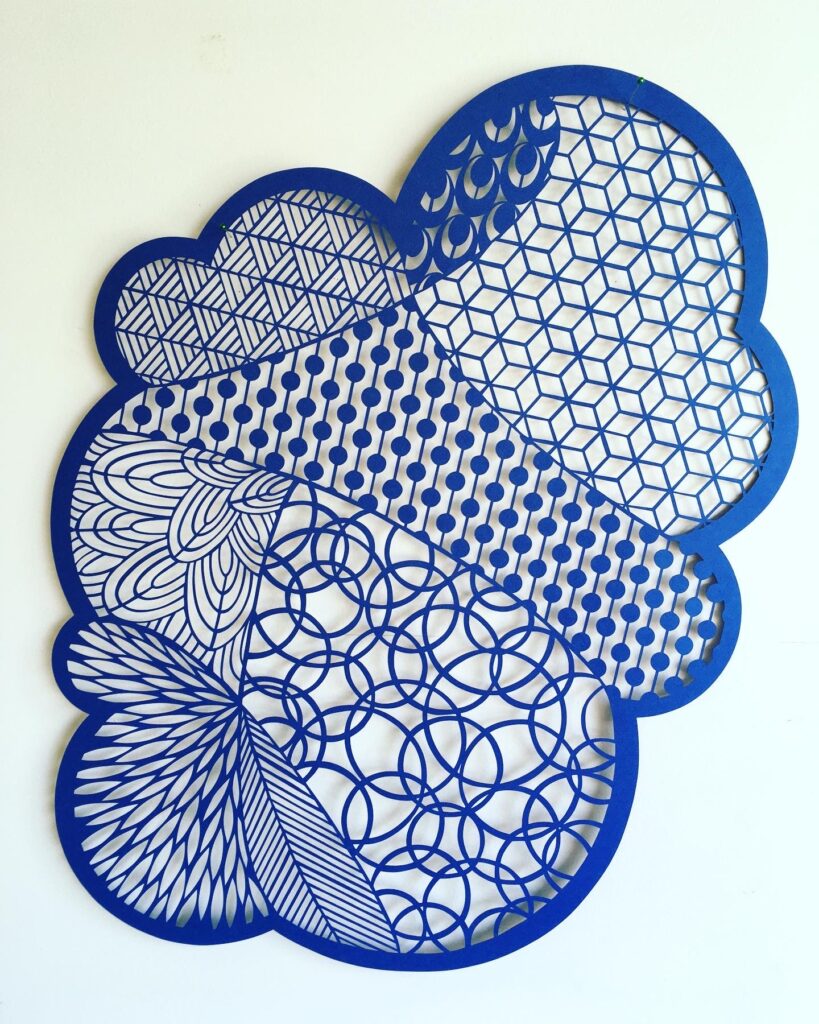
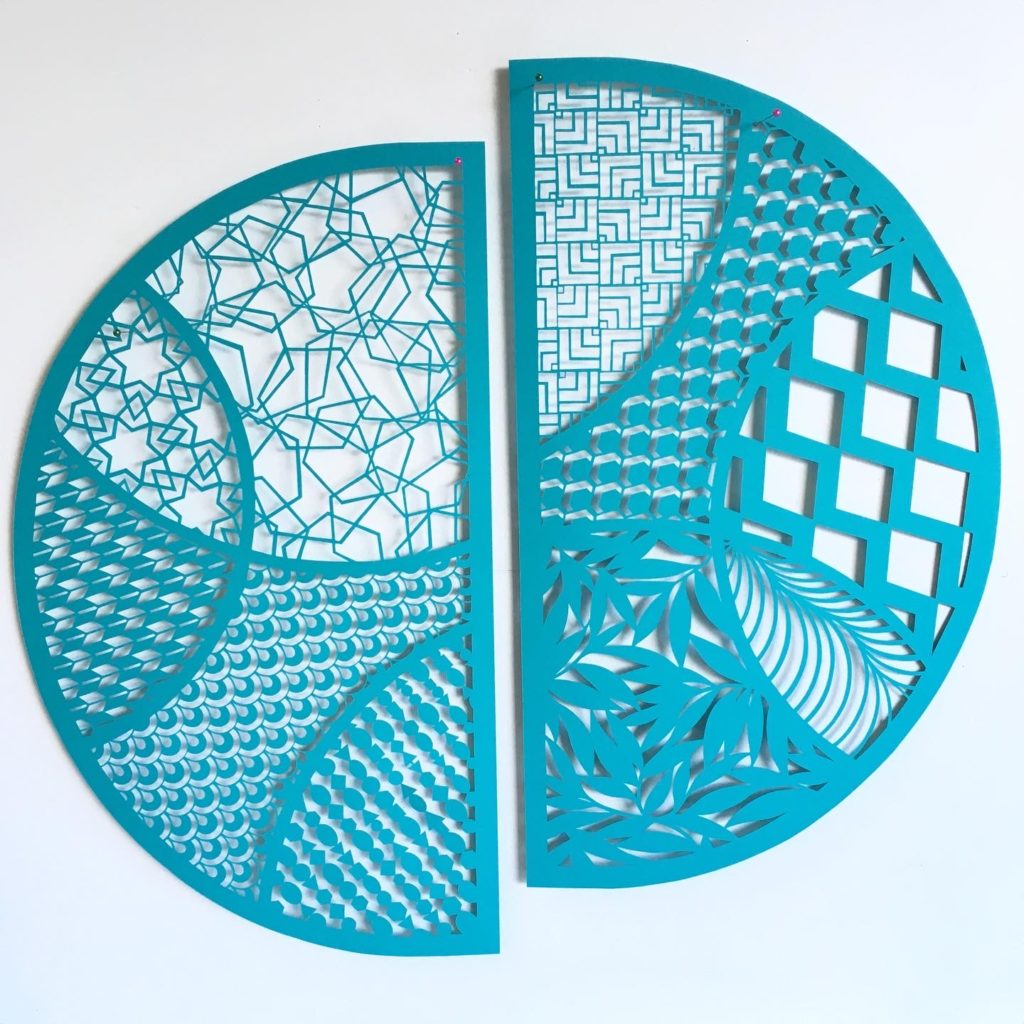
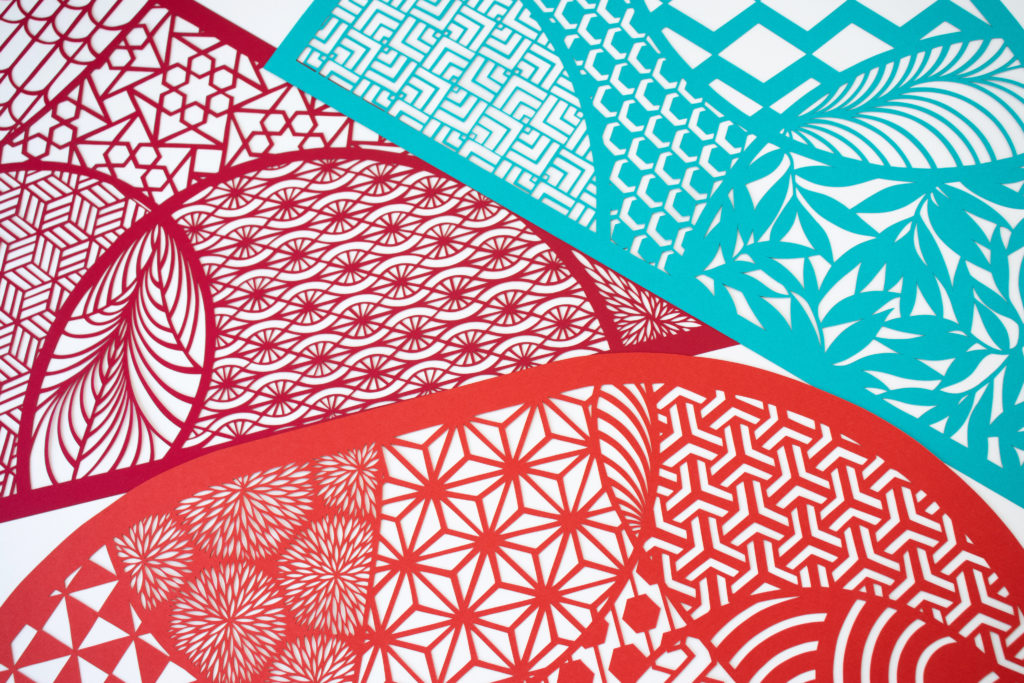
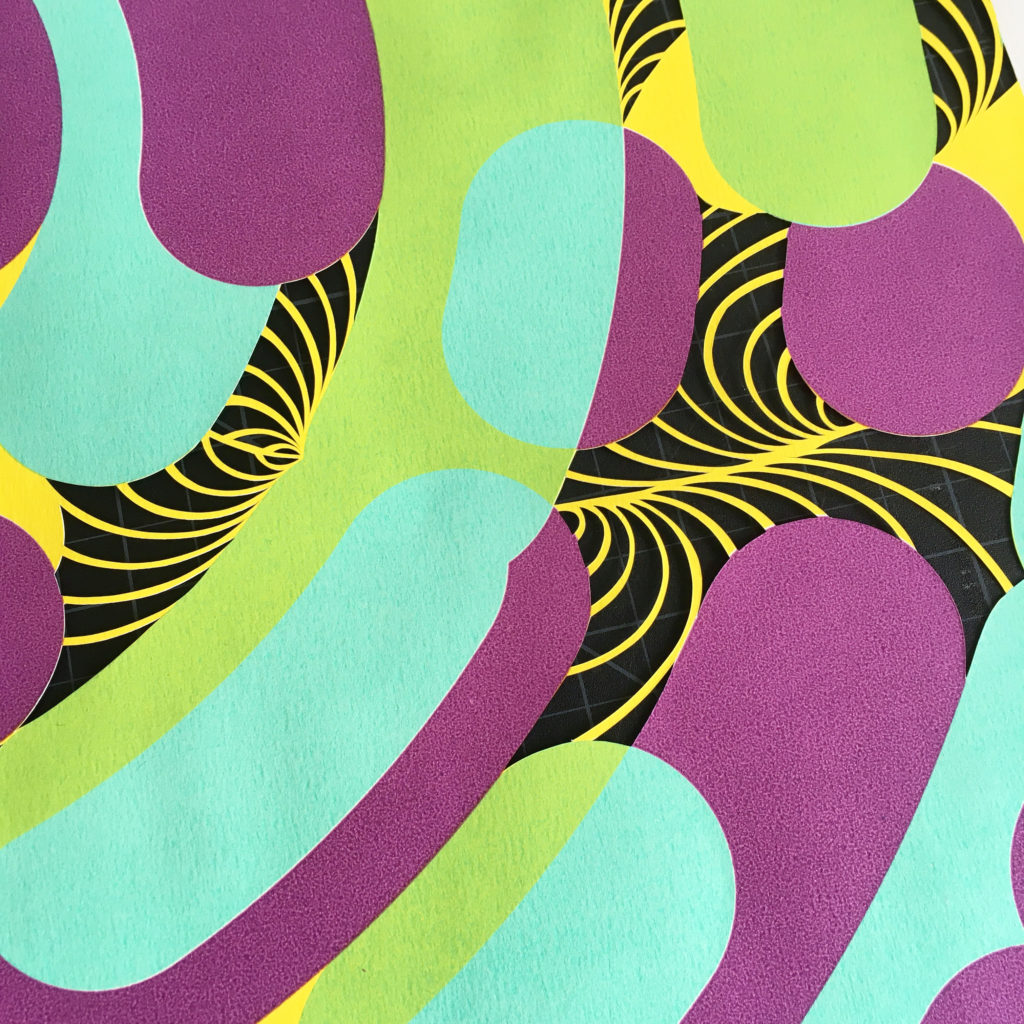
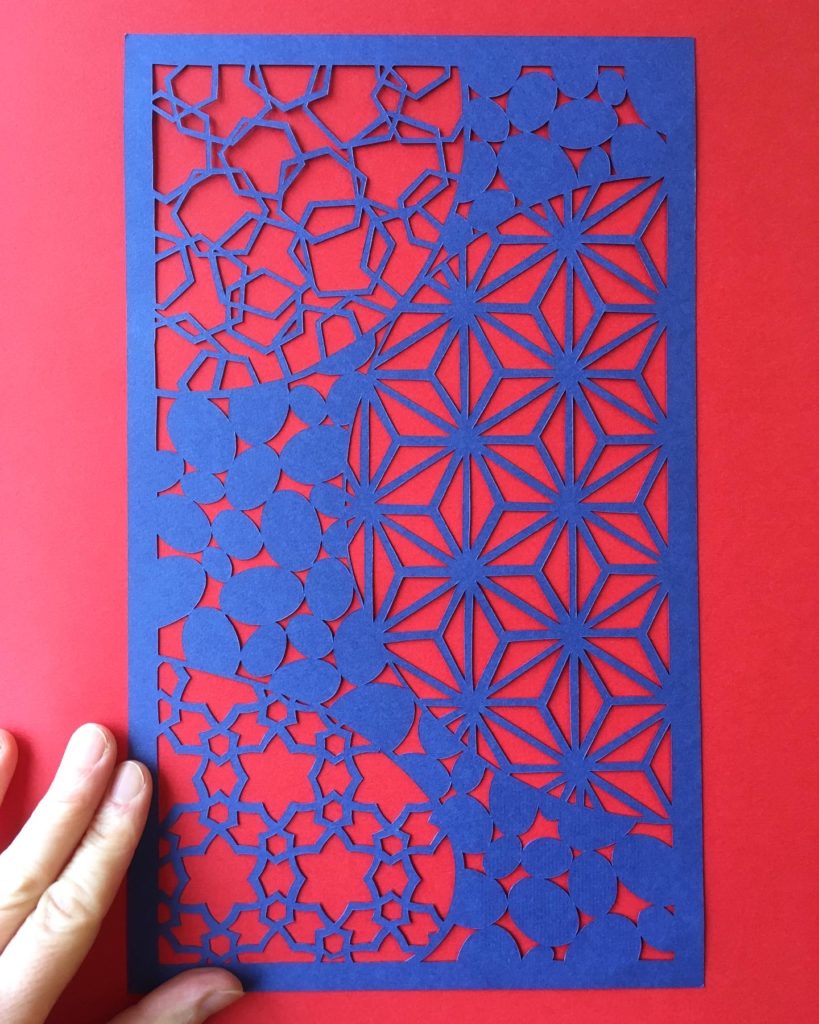
It was a really good year creatively for me. I used a long unfinished installation (started in 2015!) as the project to get me back into the studio in May and working away again after feeling both stuck and blocked. It led me to a new body of work, and to creating some amazing pattern mixing pieces I love very much. I also finally (!) made myself a beautiful new portfolio website, which was YEARS overdue.
January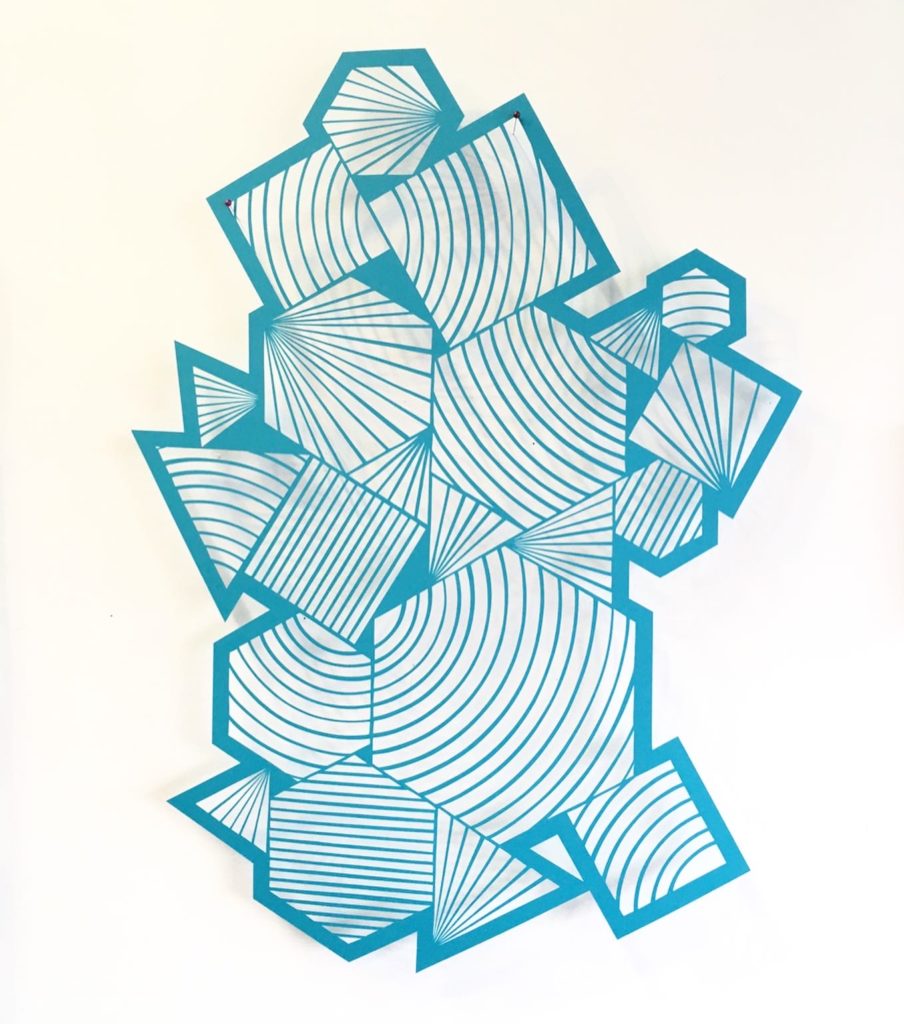
February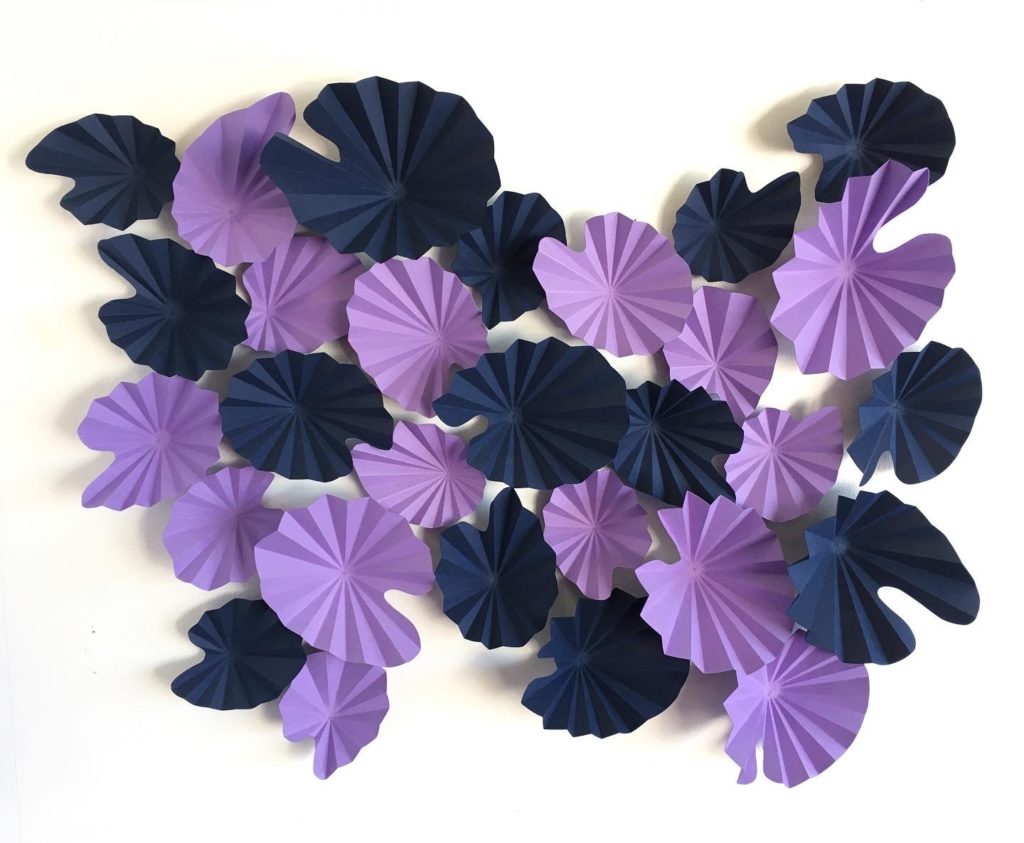
March
April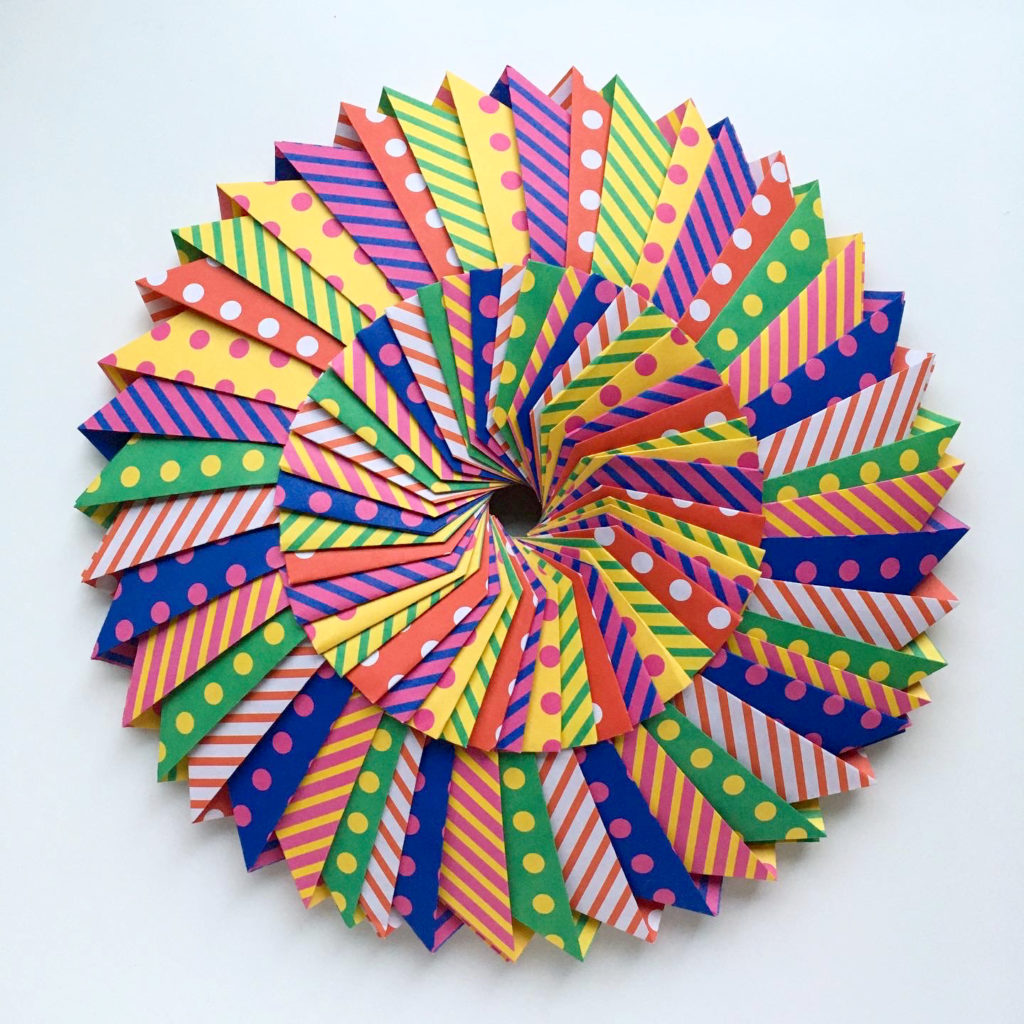
May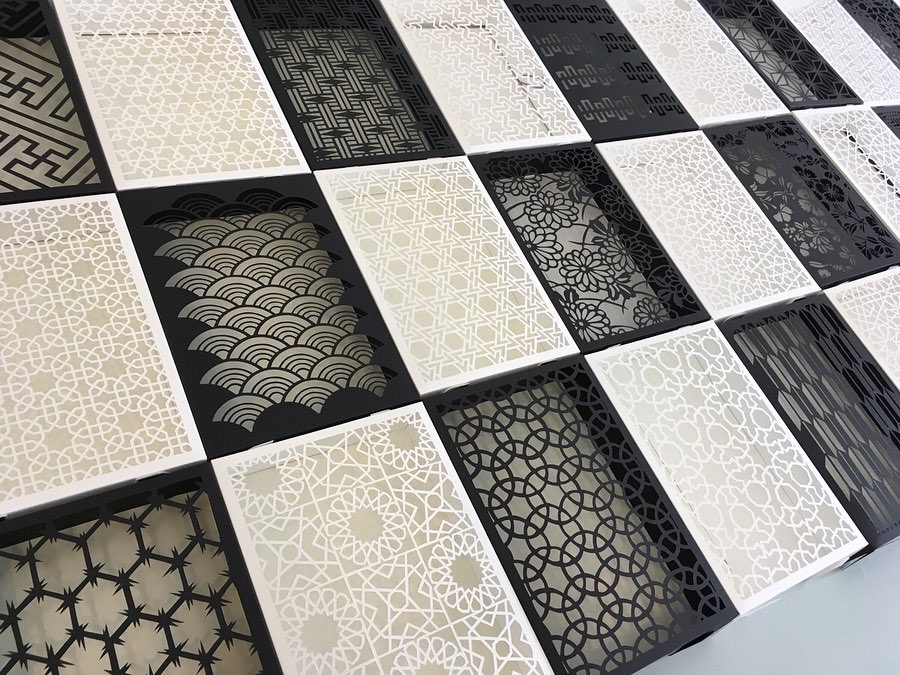
June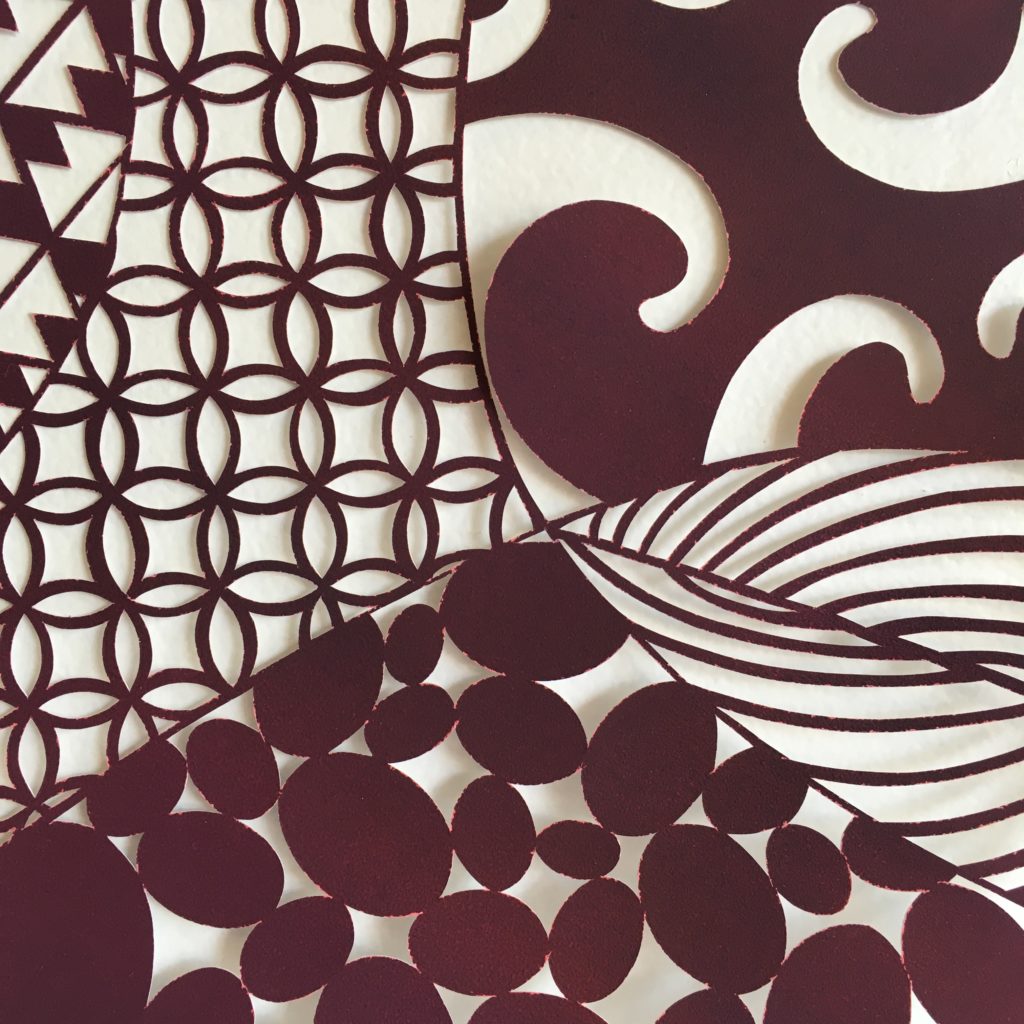
July
August

September
October
November
December
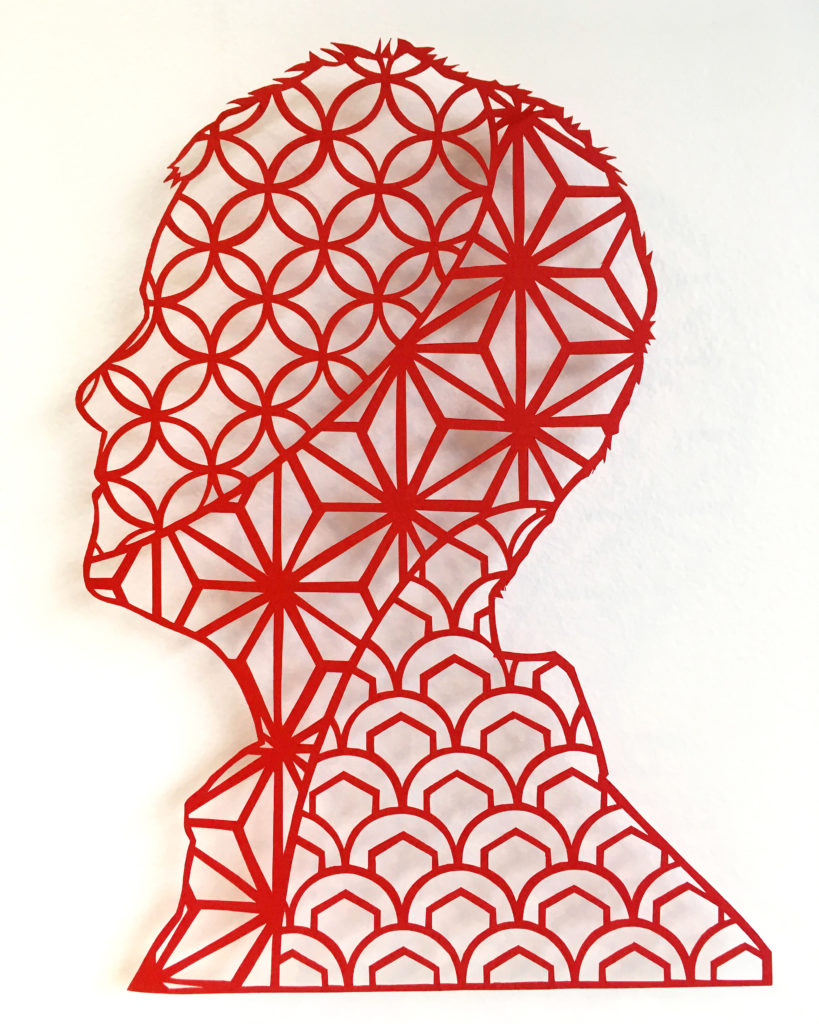
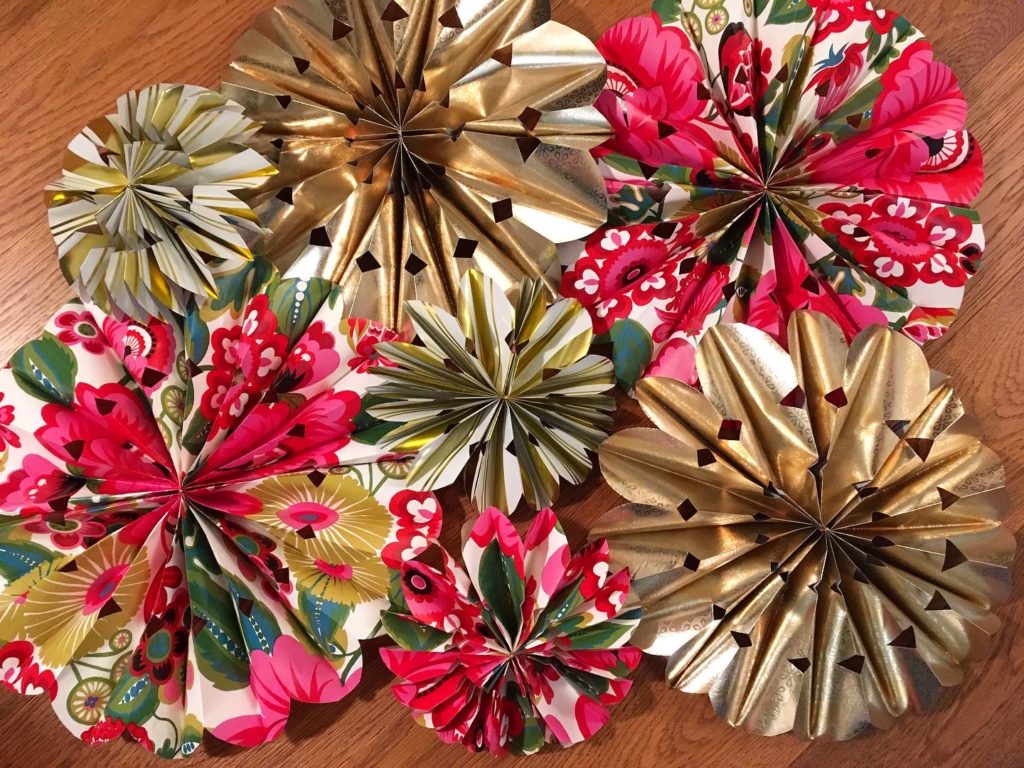
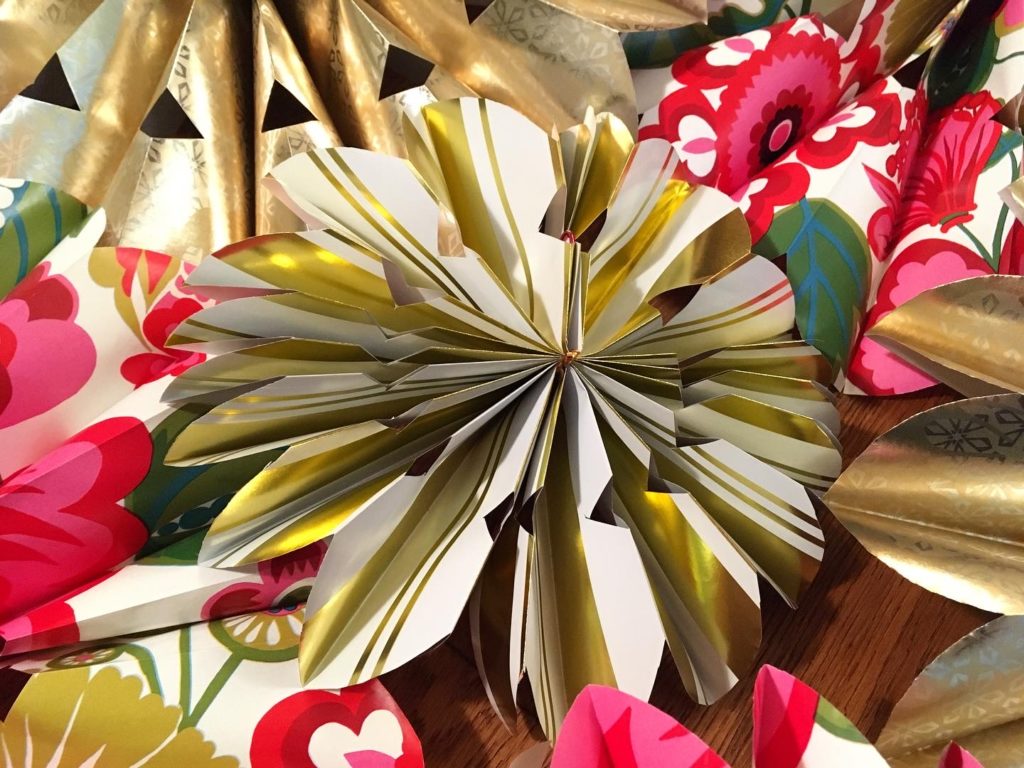
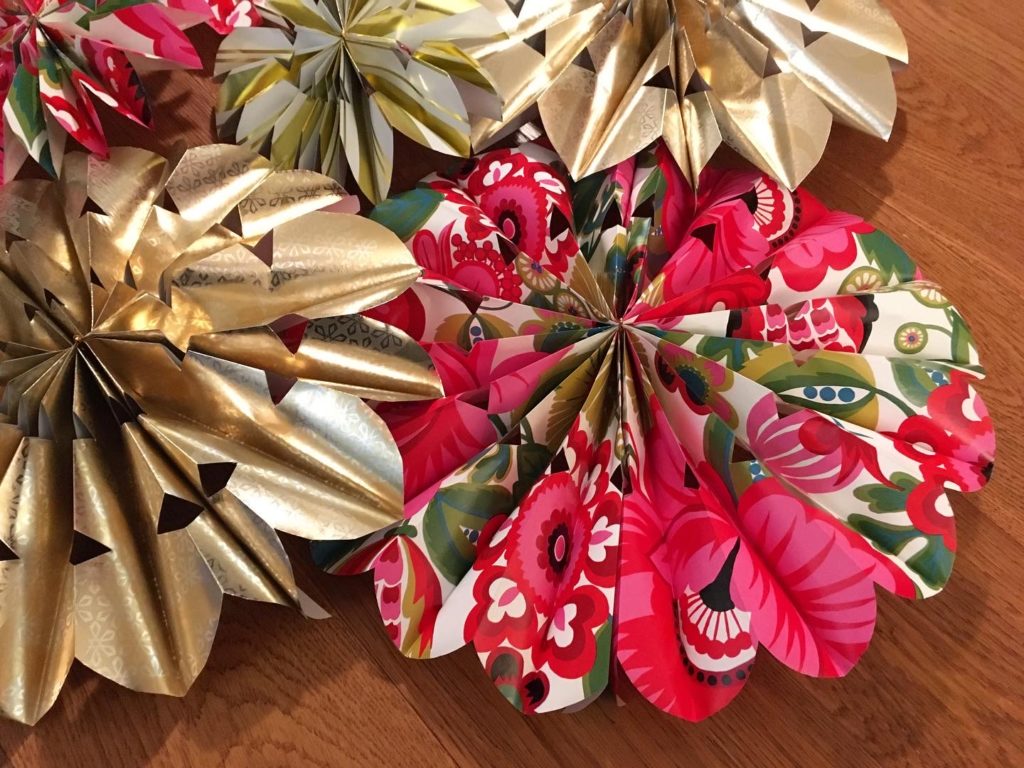
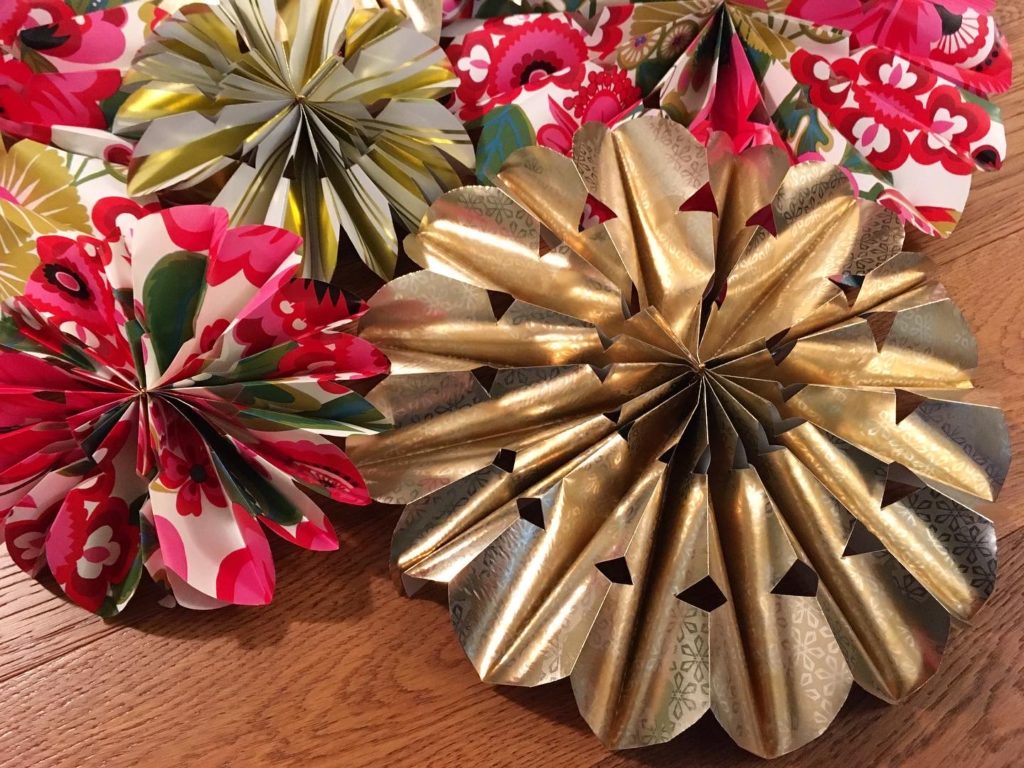
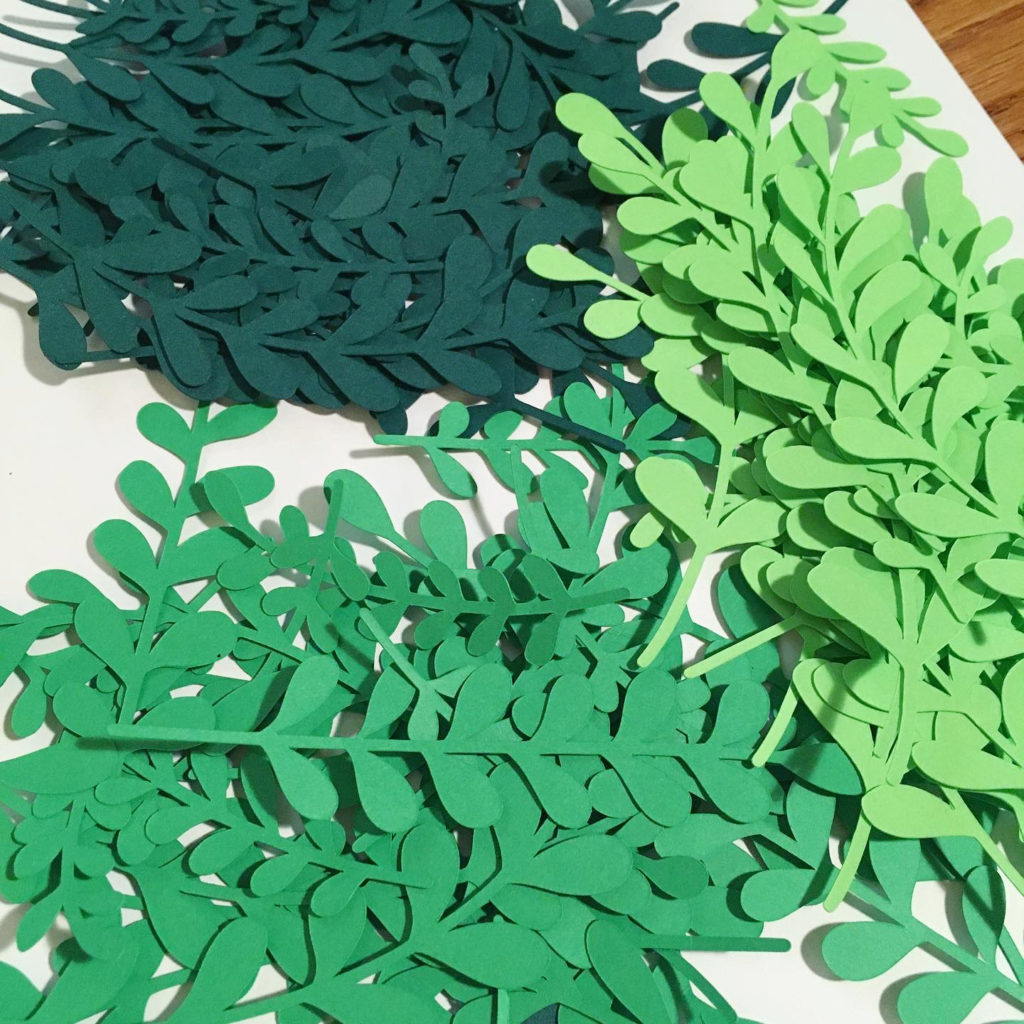
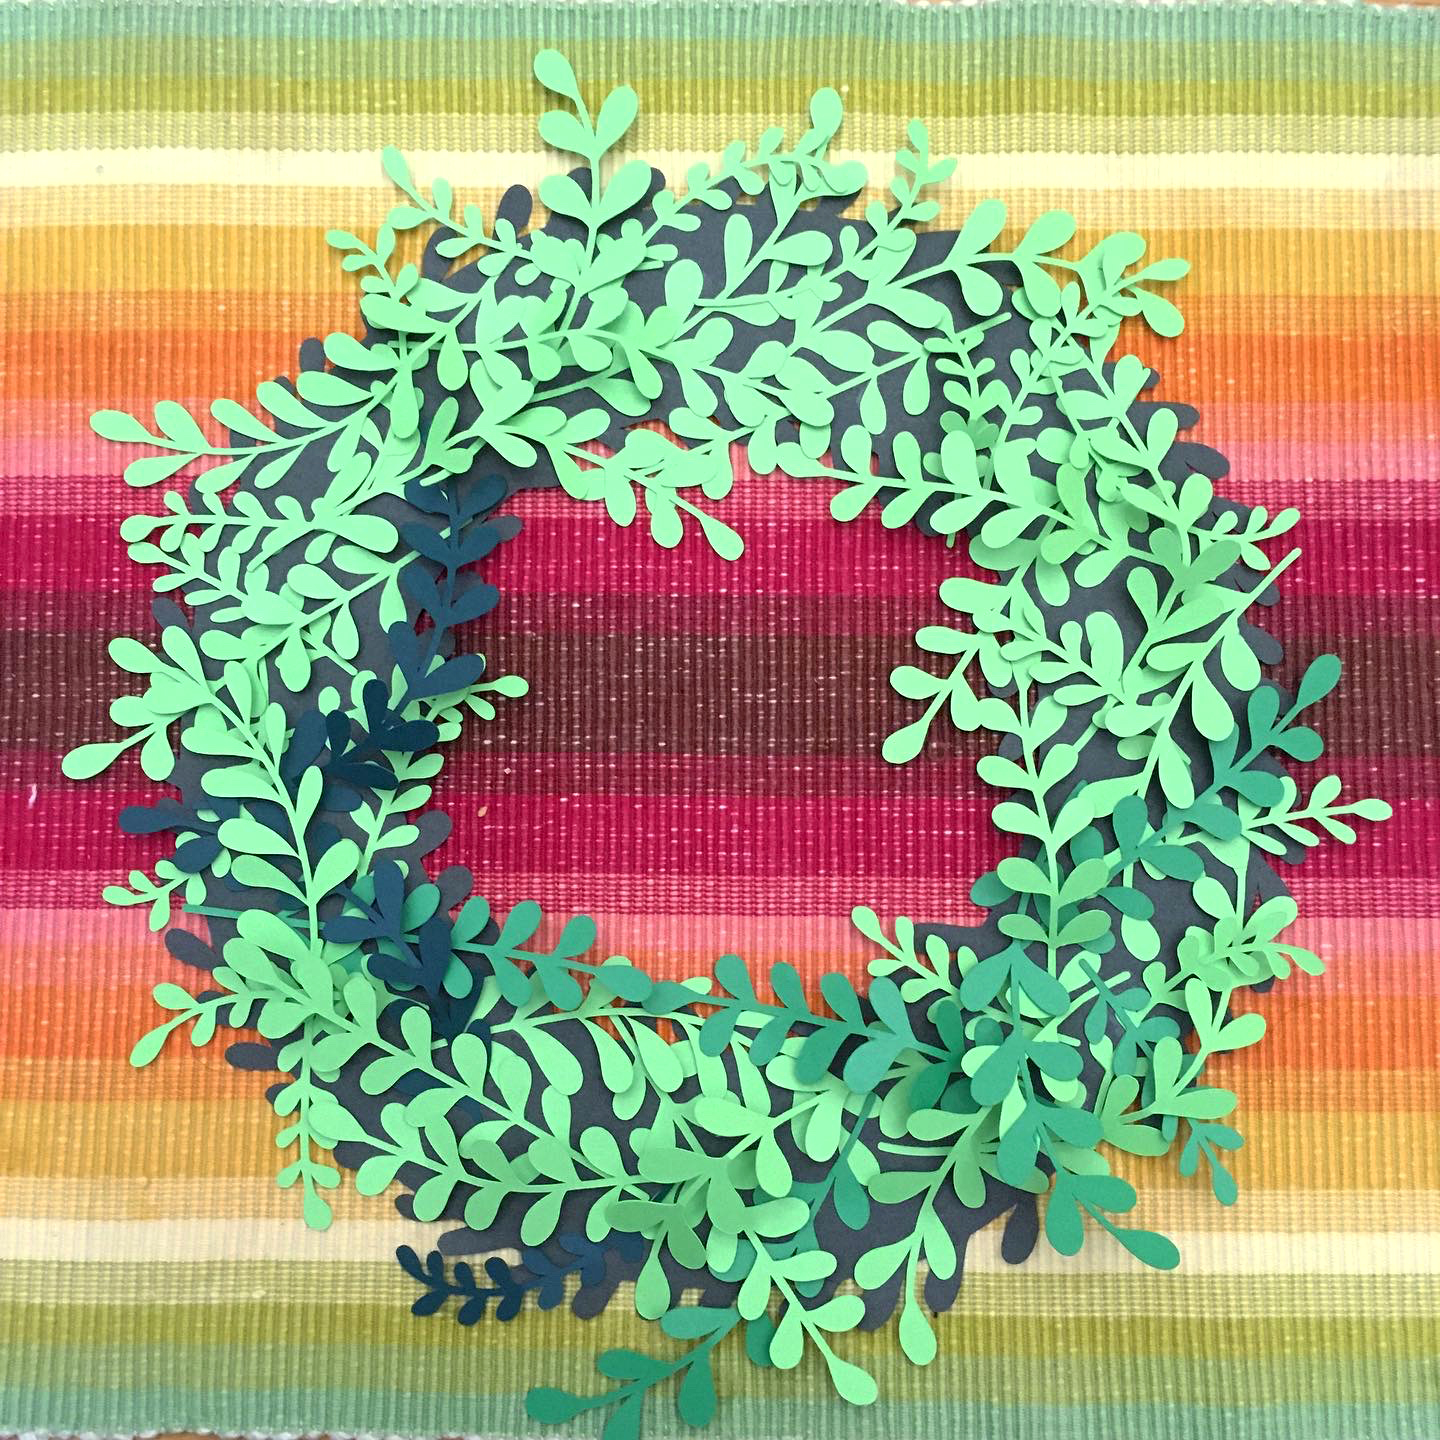
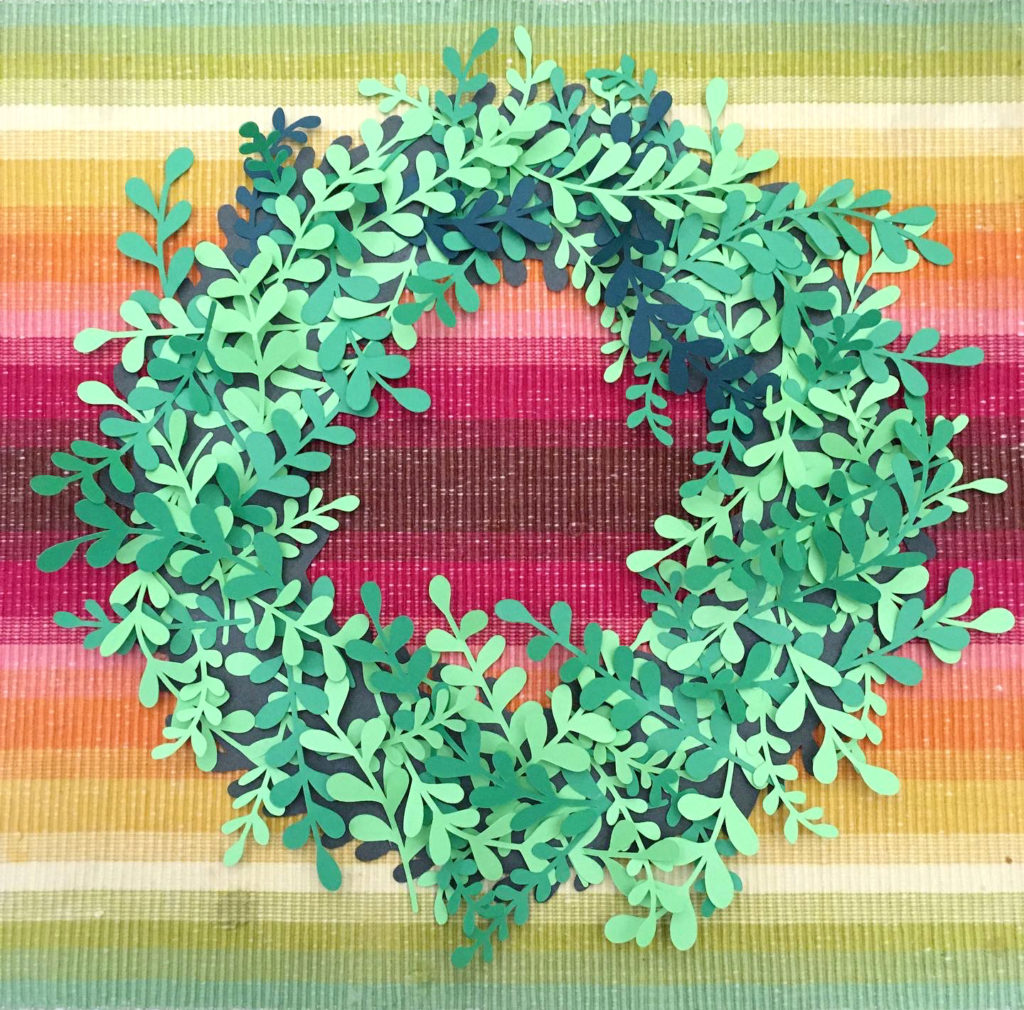
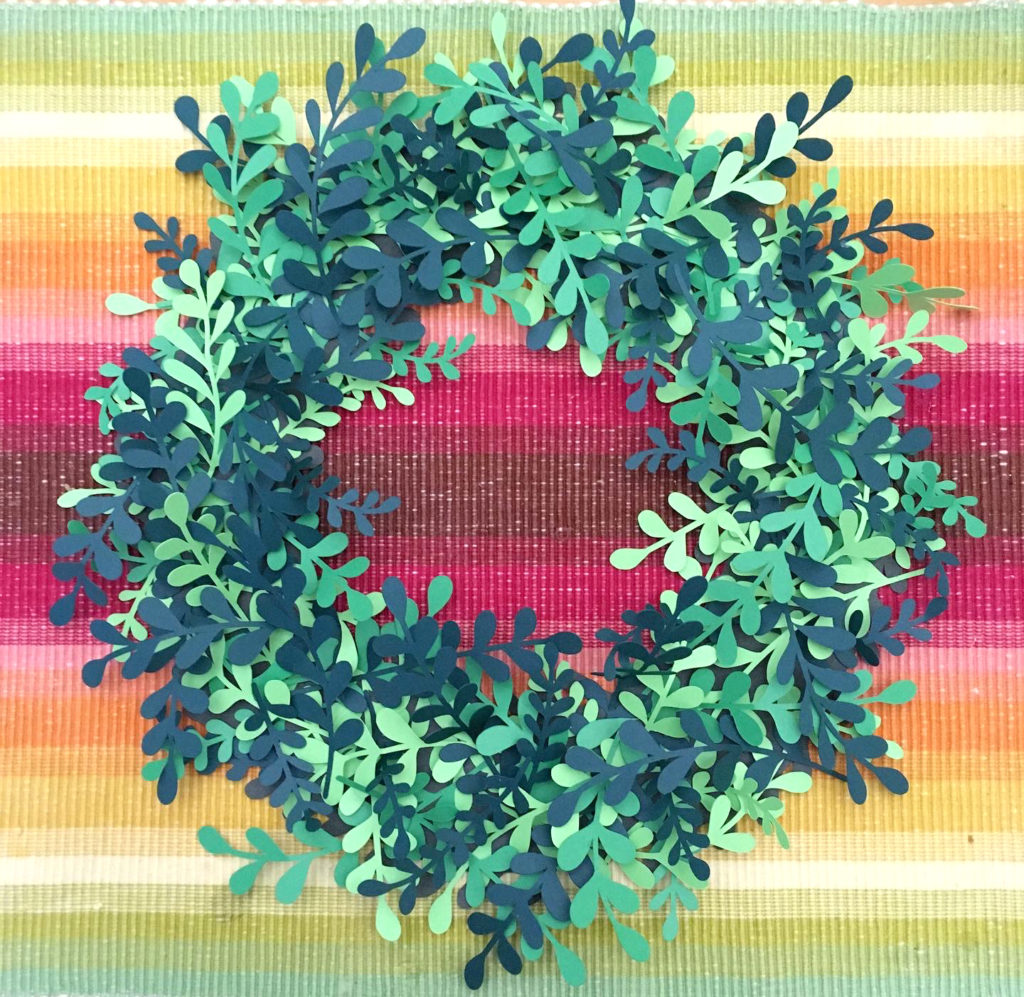
2020 was a year of pattern and colour in the studio.