Last week I was excited to attend an embroidery workshop, along with my friend Simone, taught by Katy Biele. She is a Chilean textile artist living in Victoria, and she creates elaborate and brightly coloured embroidered pieces inspired by her culture.
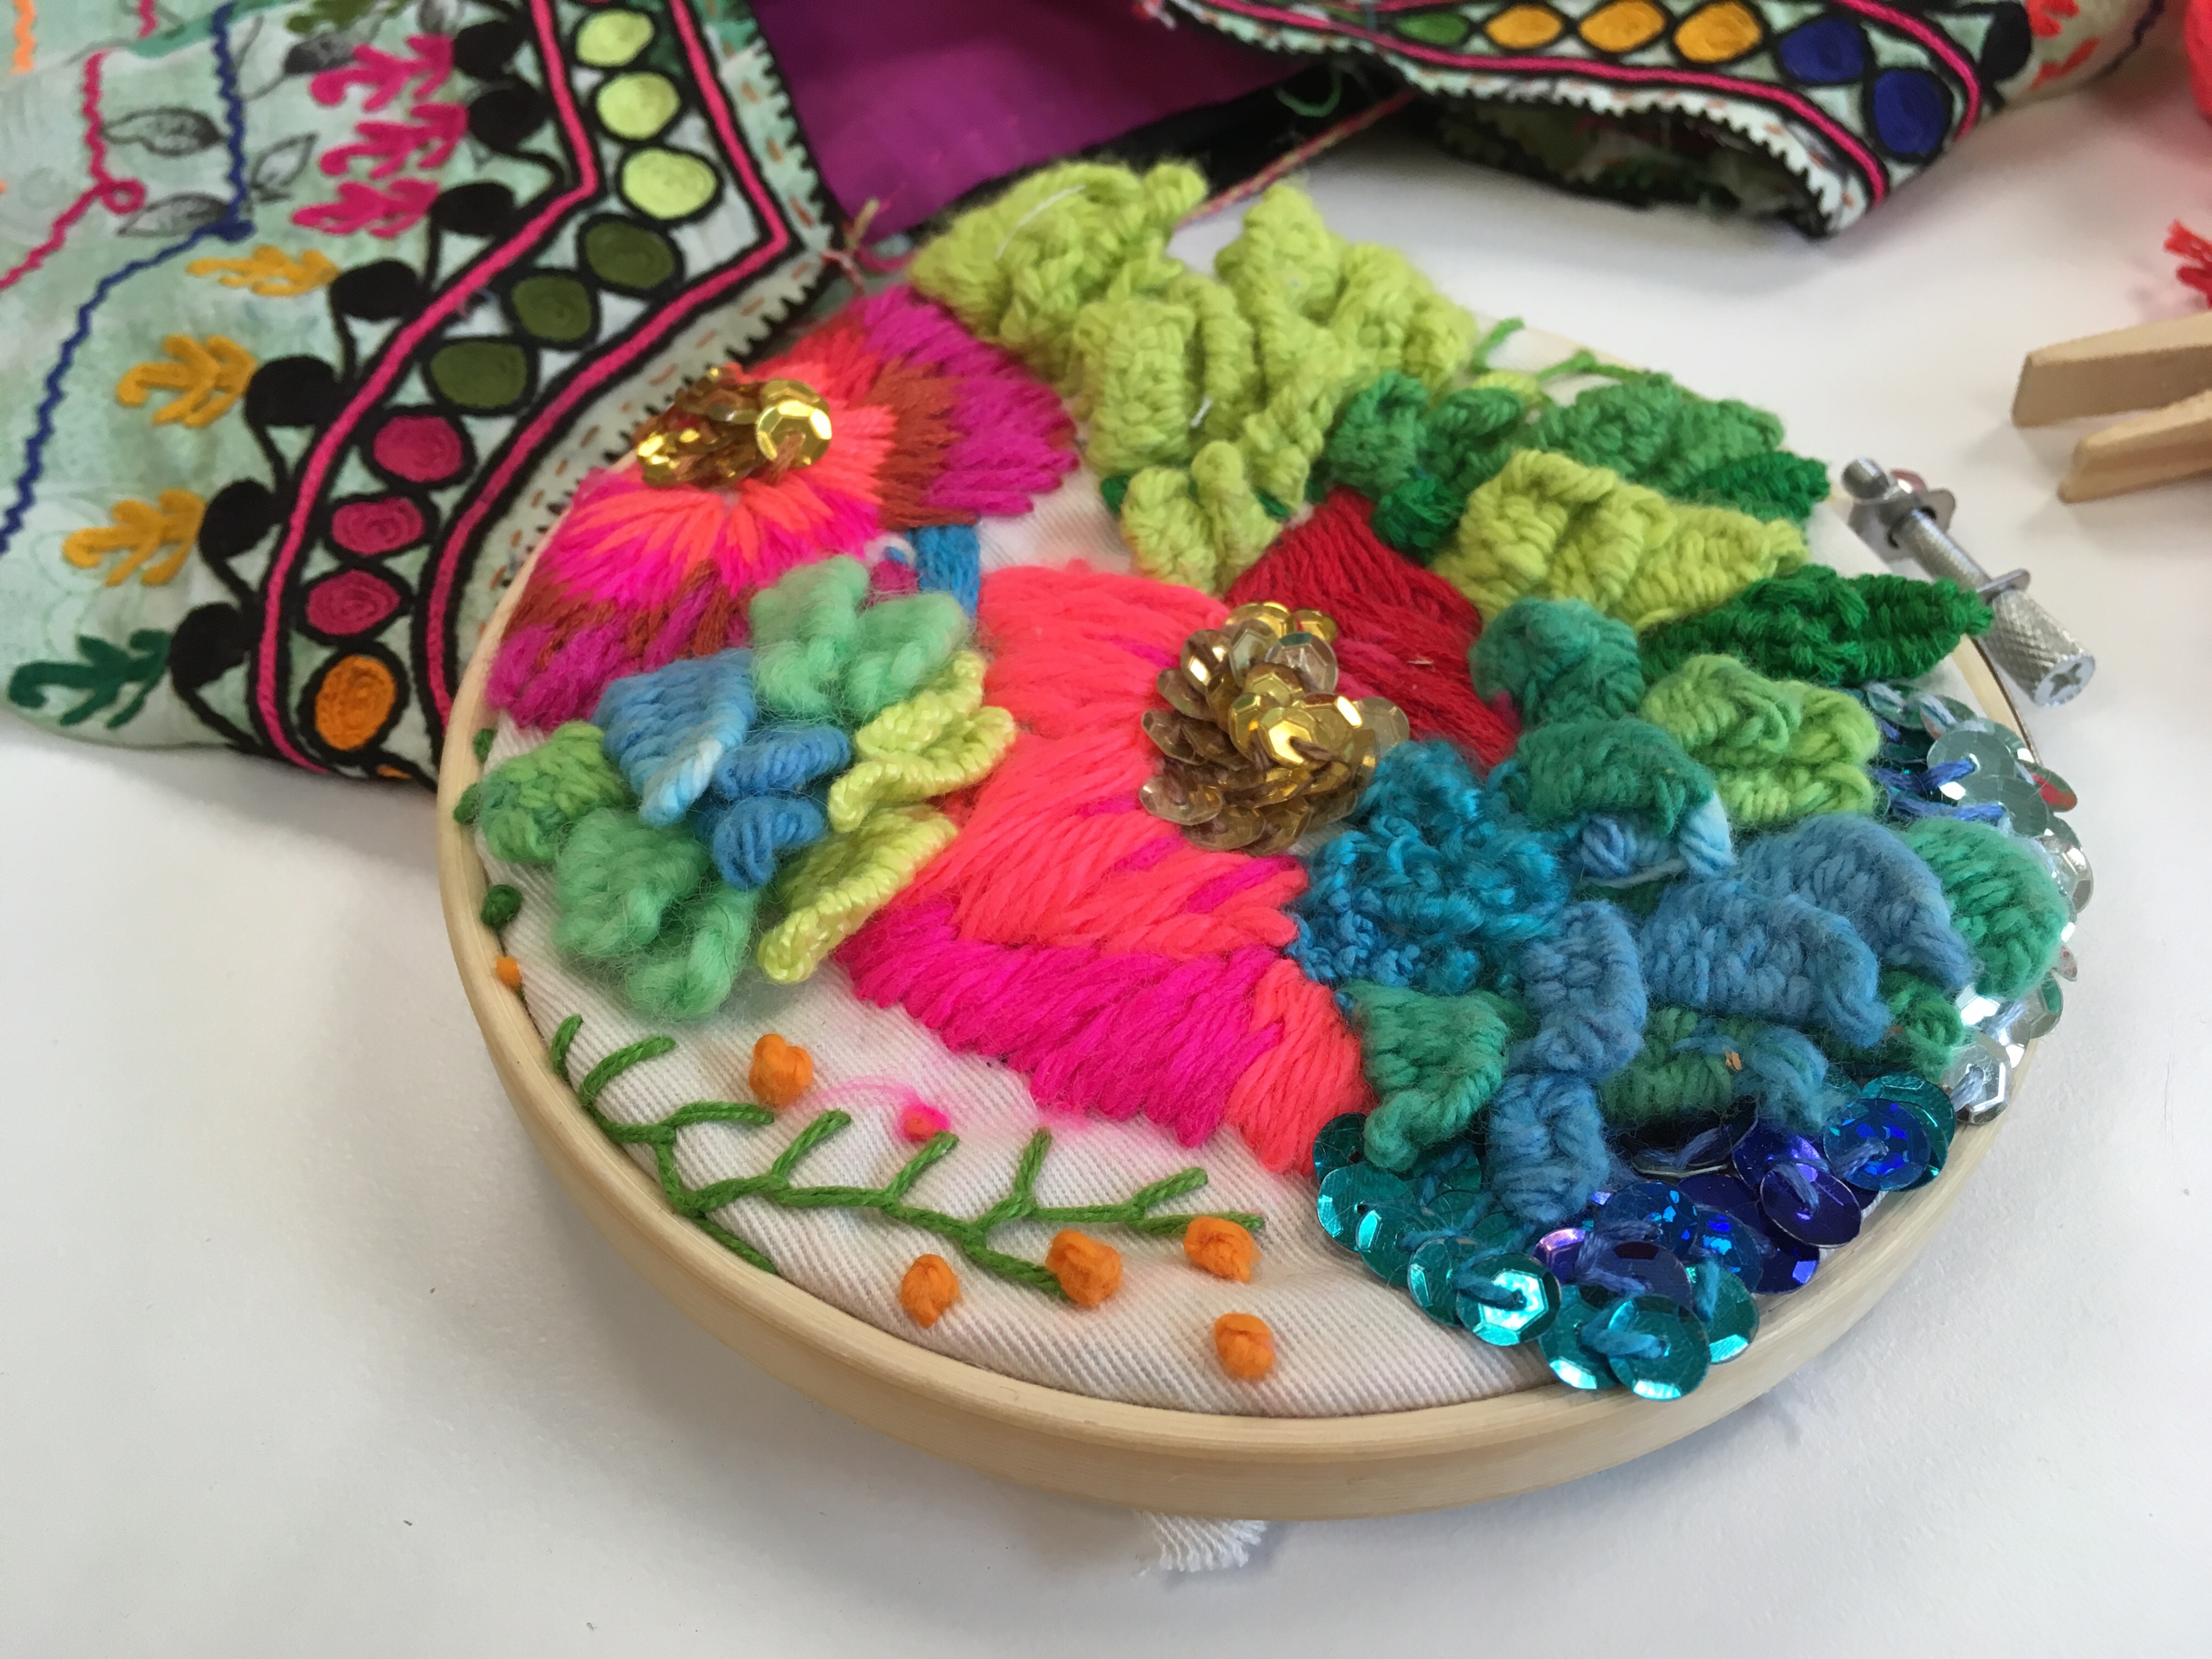
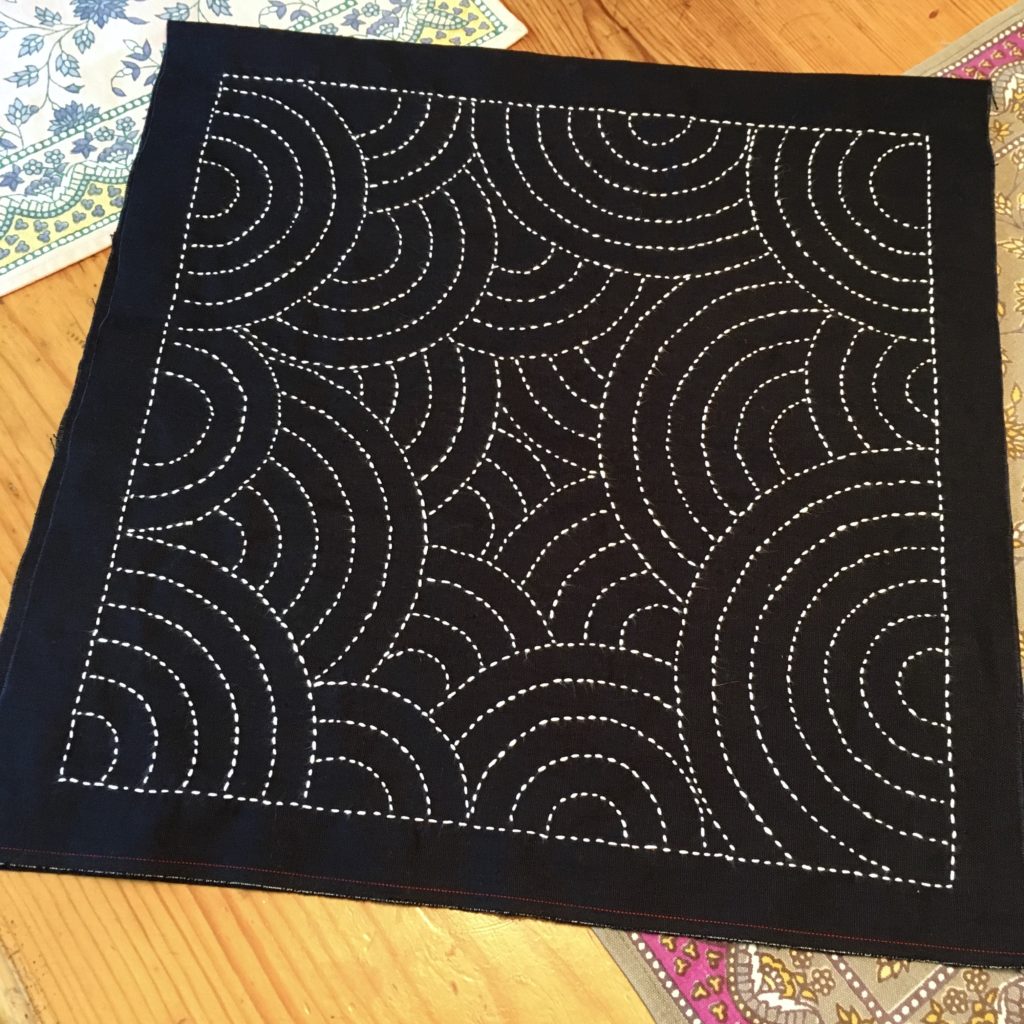
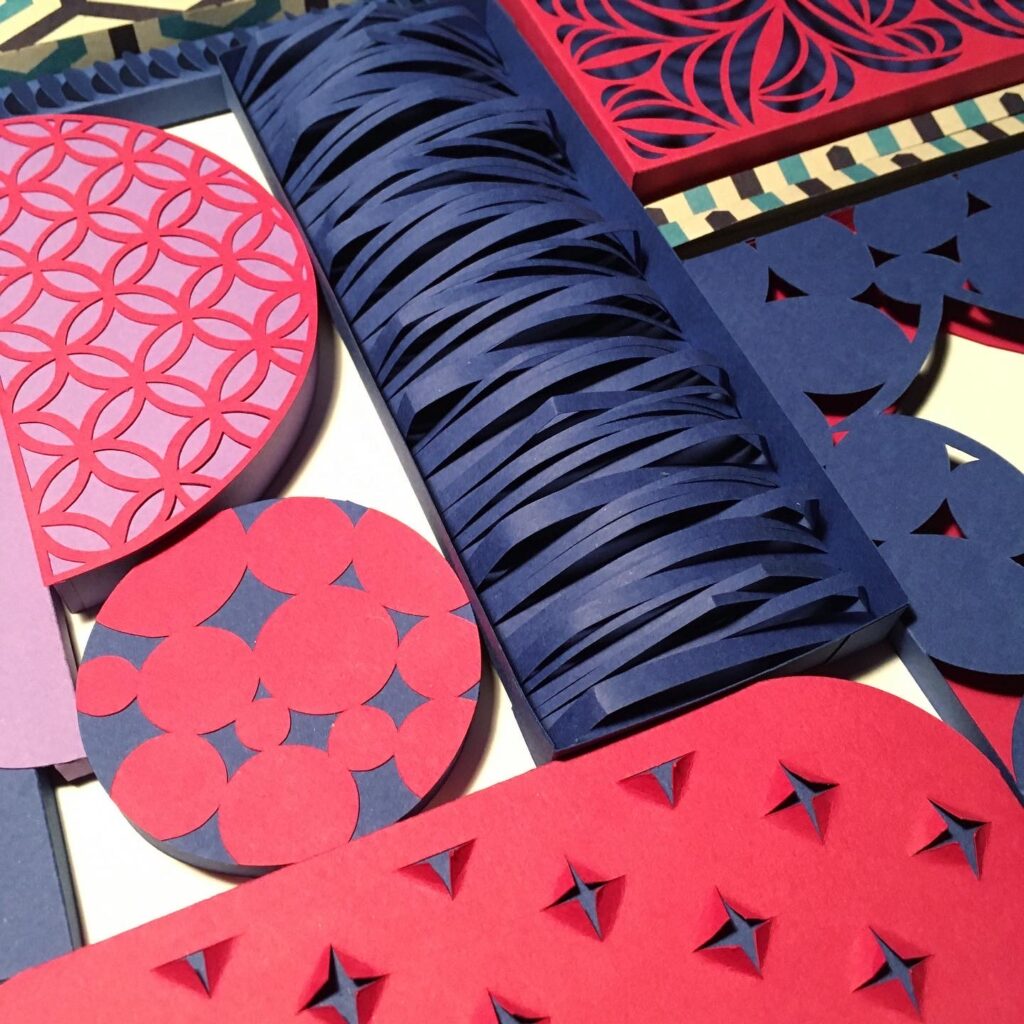
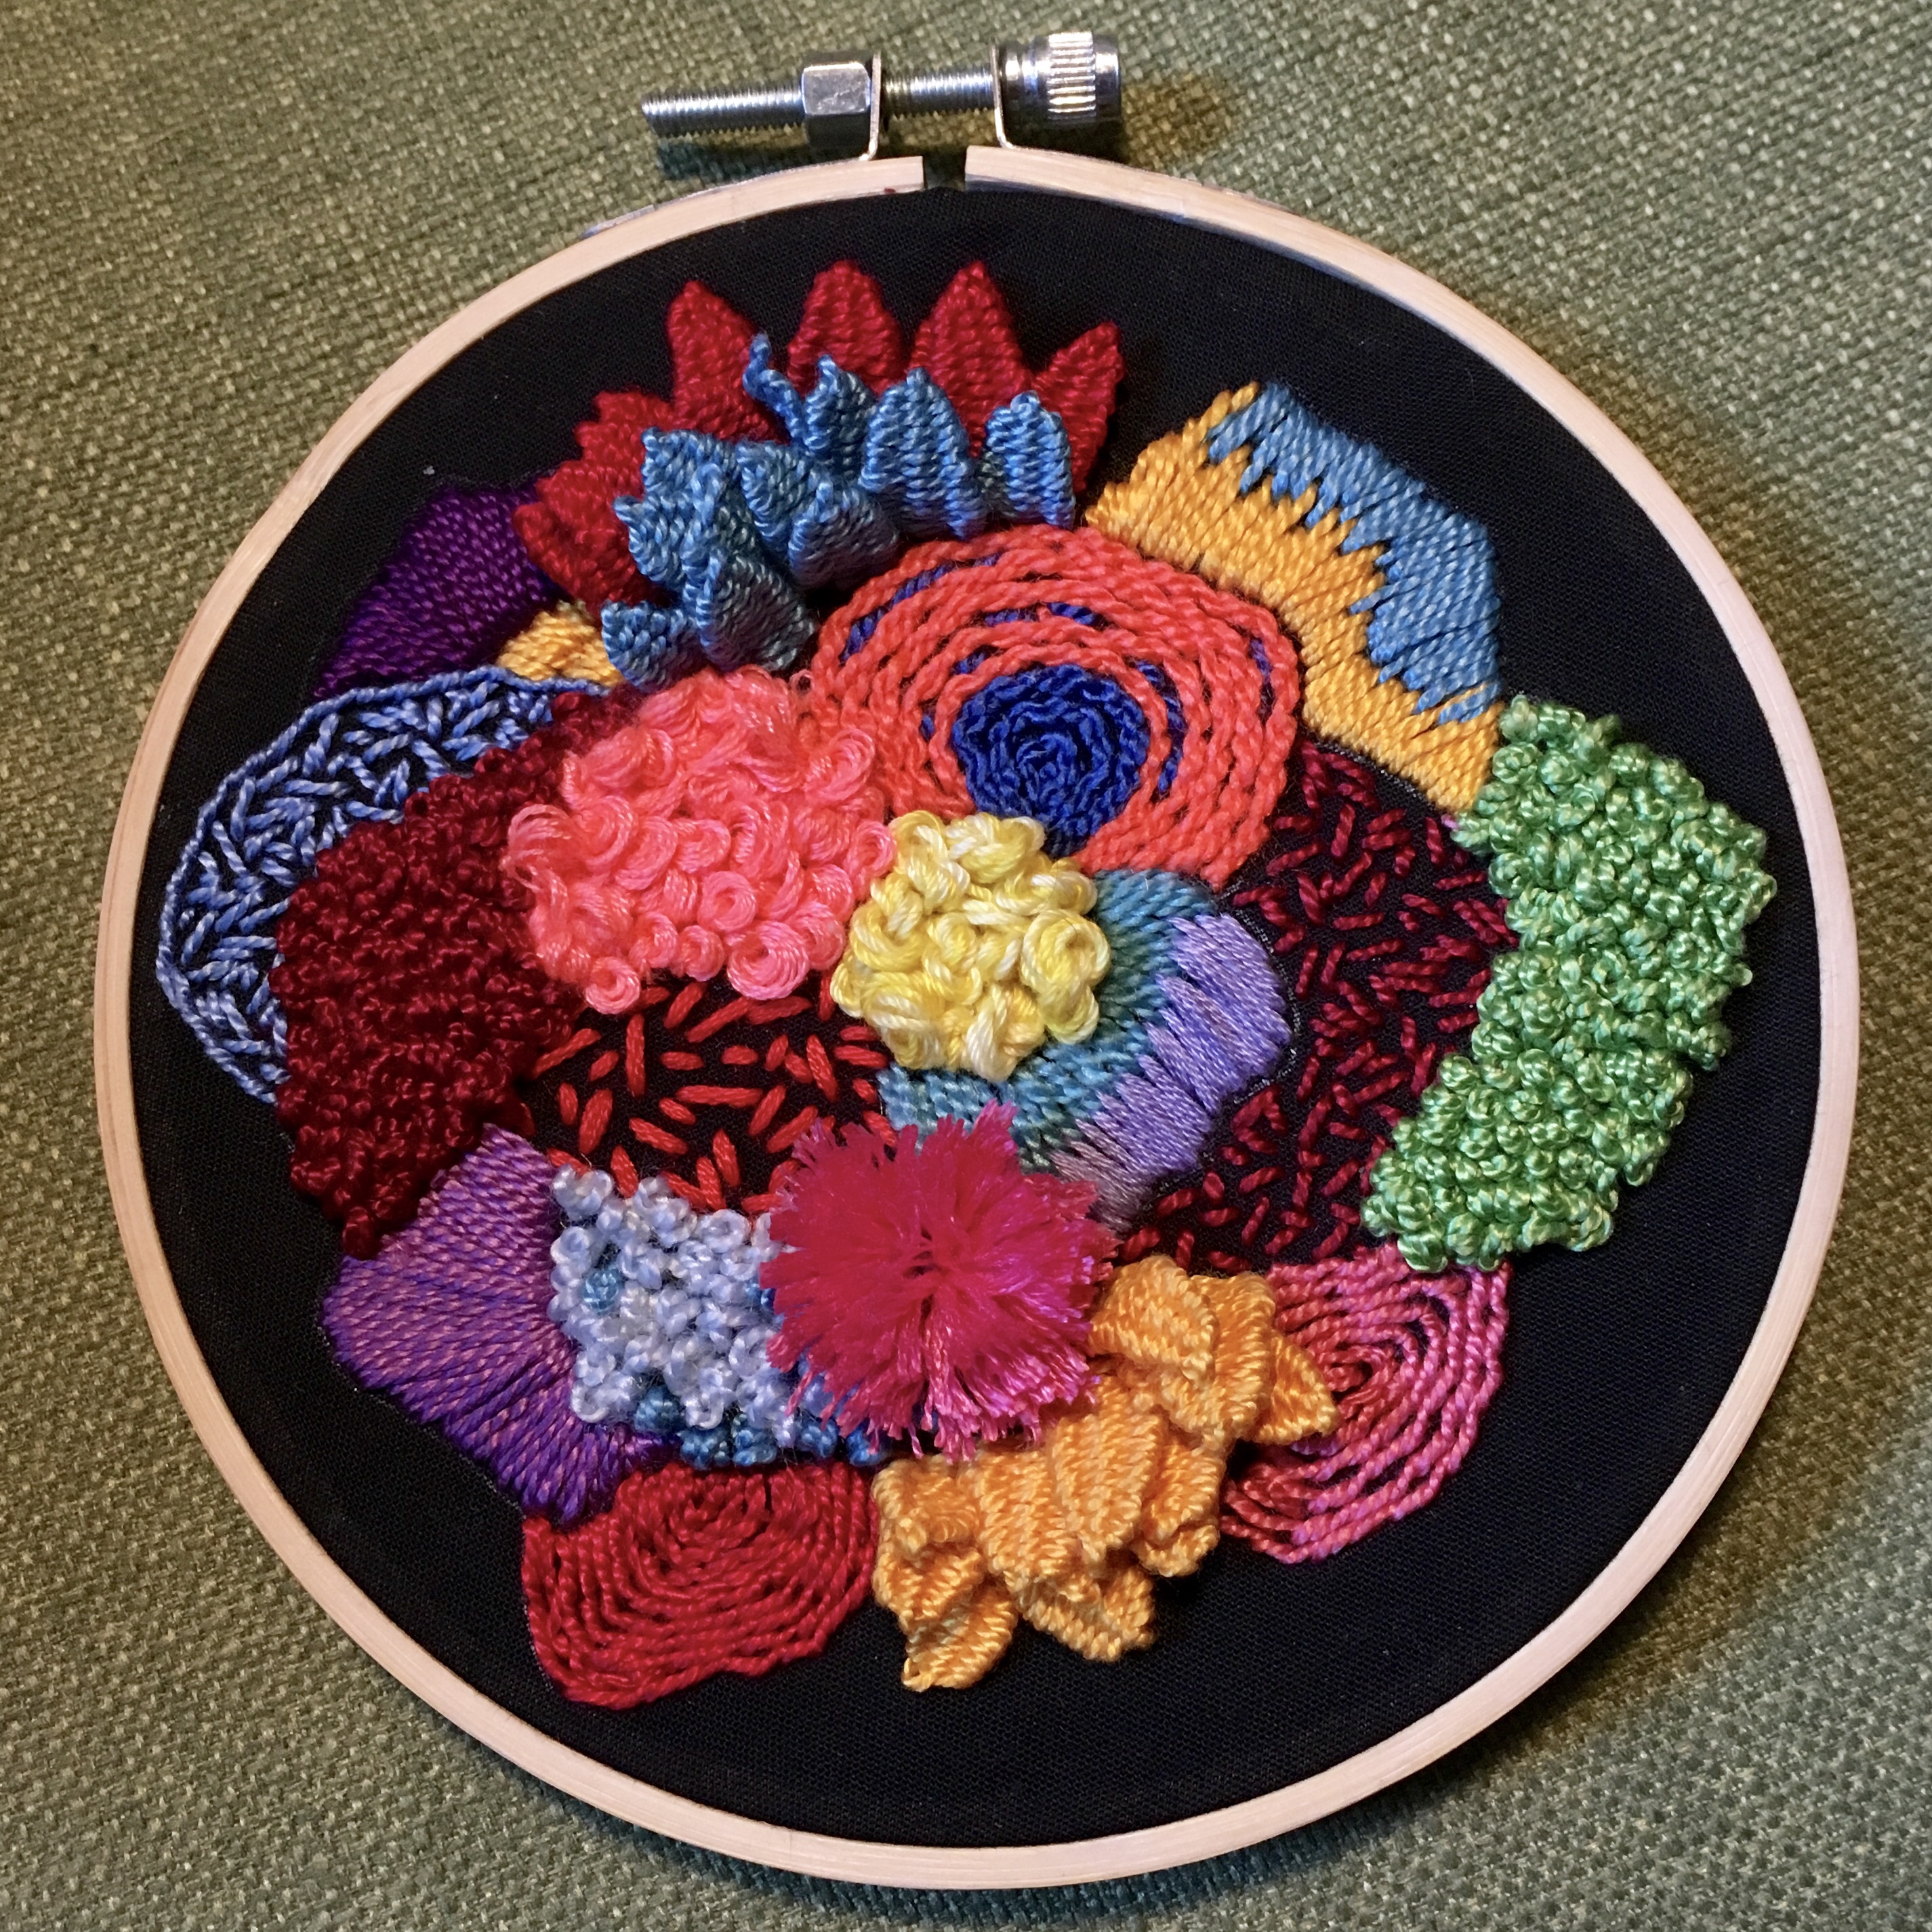
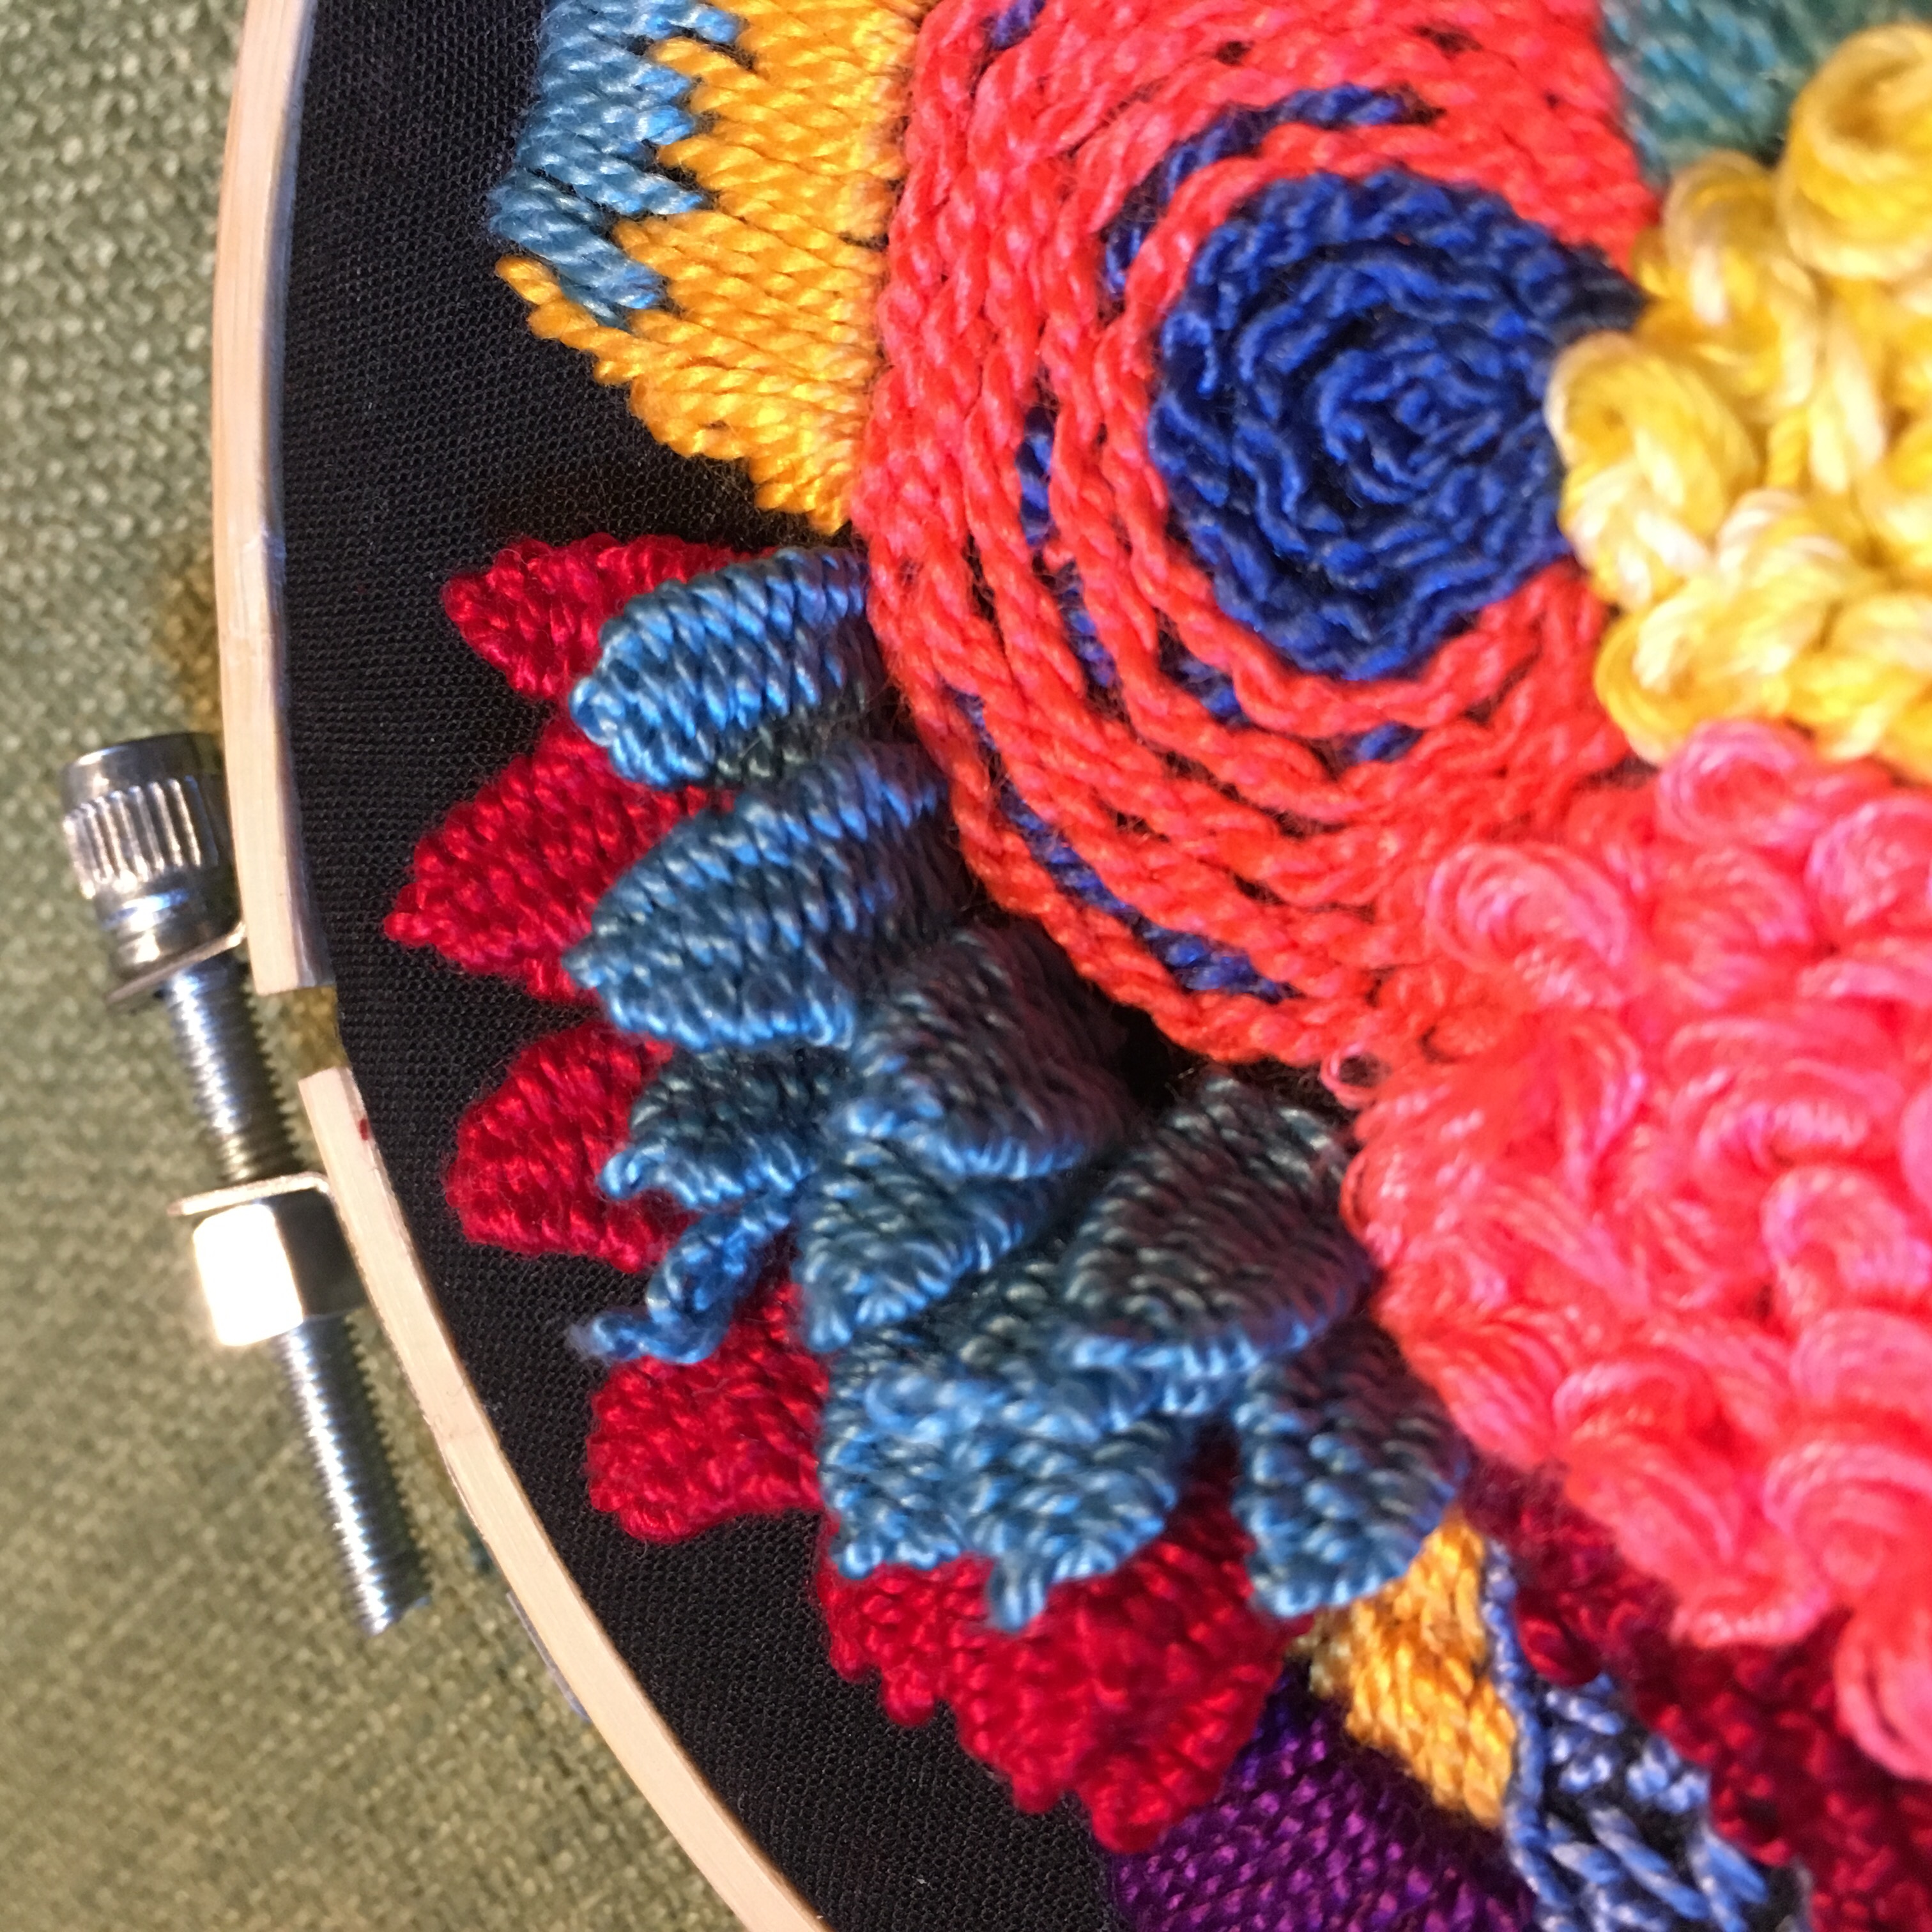
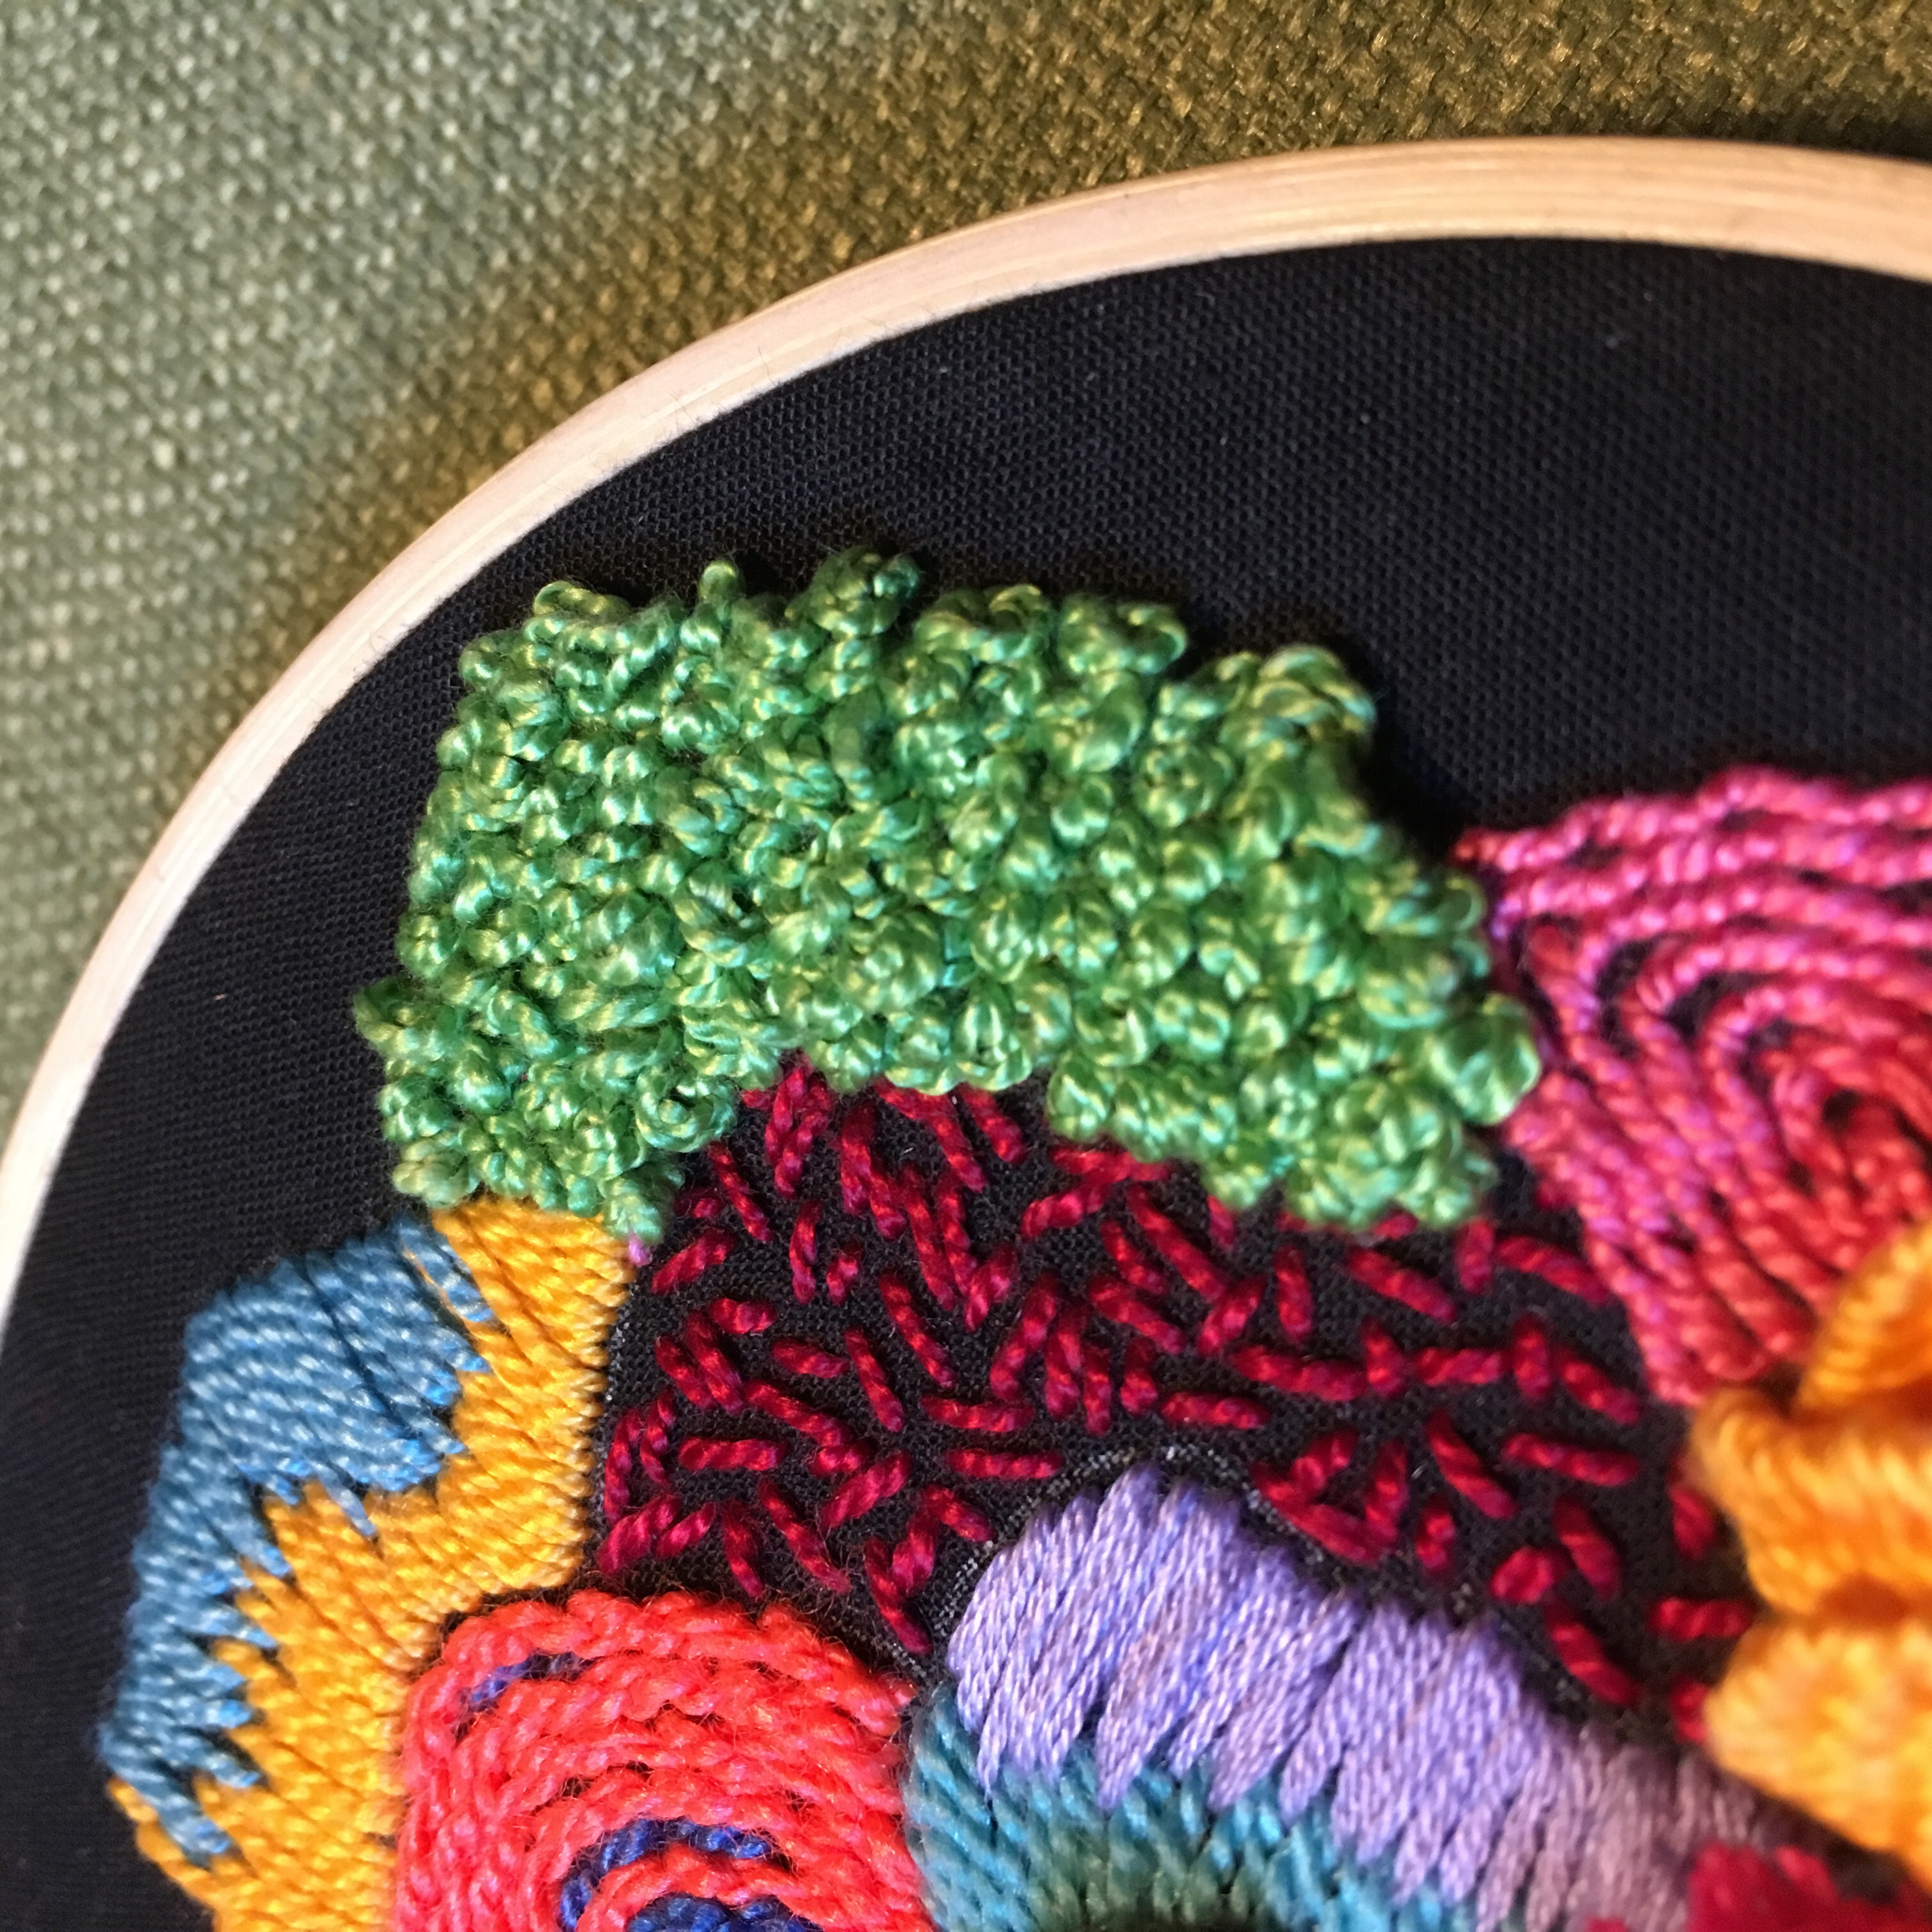
Work sample by Katy Biele

Work sample by Katy Biele
In the class she talked about learning embroidery while travelling in India, figuring out how to embrace a more free-form approach to her stitching, and breaking the rules. She taught us a basic repertoire of stitches, such as the French Knot (my fav), seed stitch, back stitch, and a few others I cannot recall the names of, and left it up to us to experiment with our samplers.
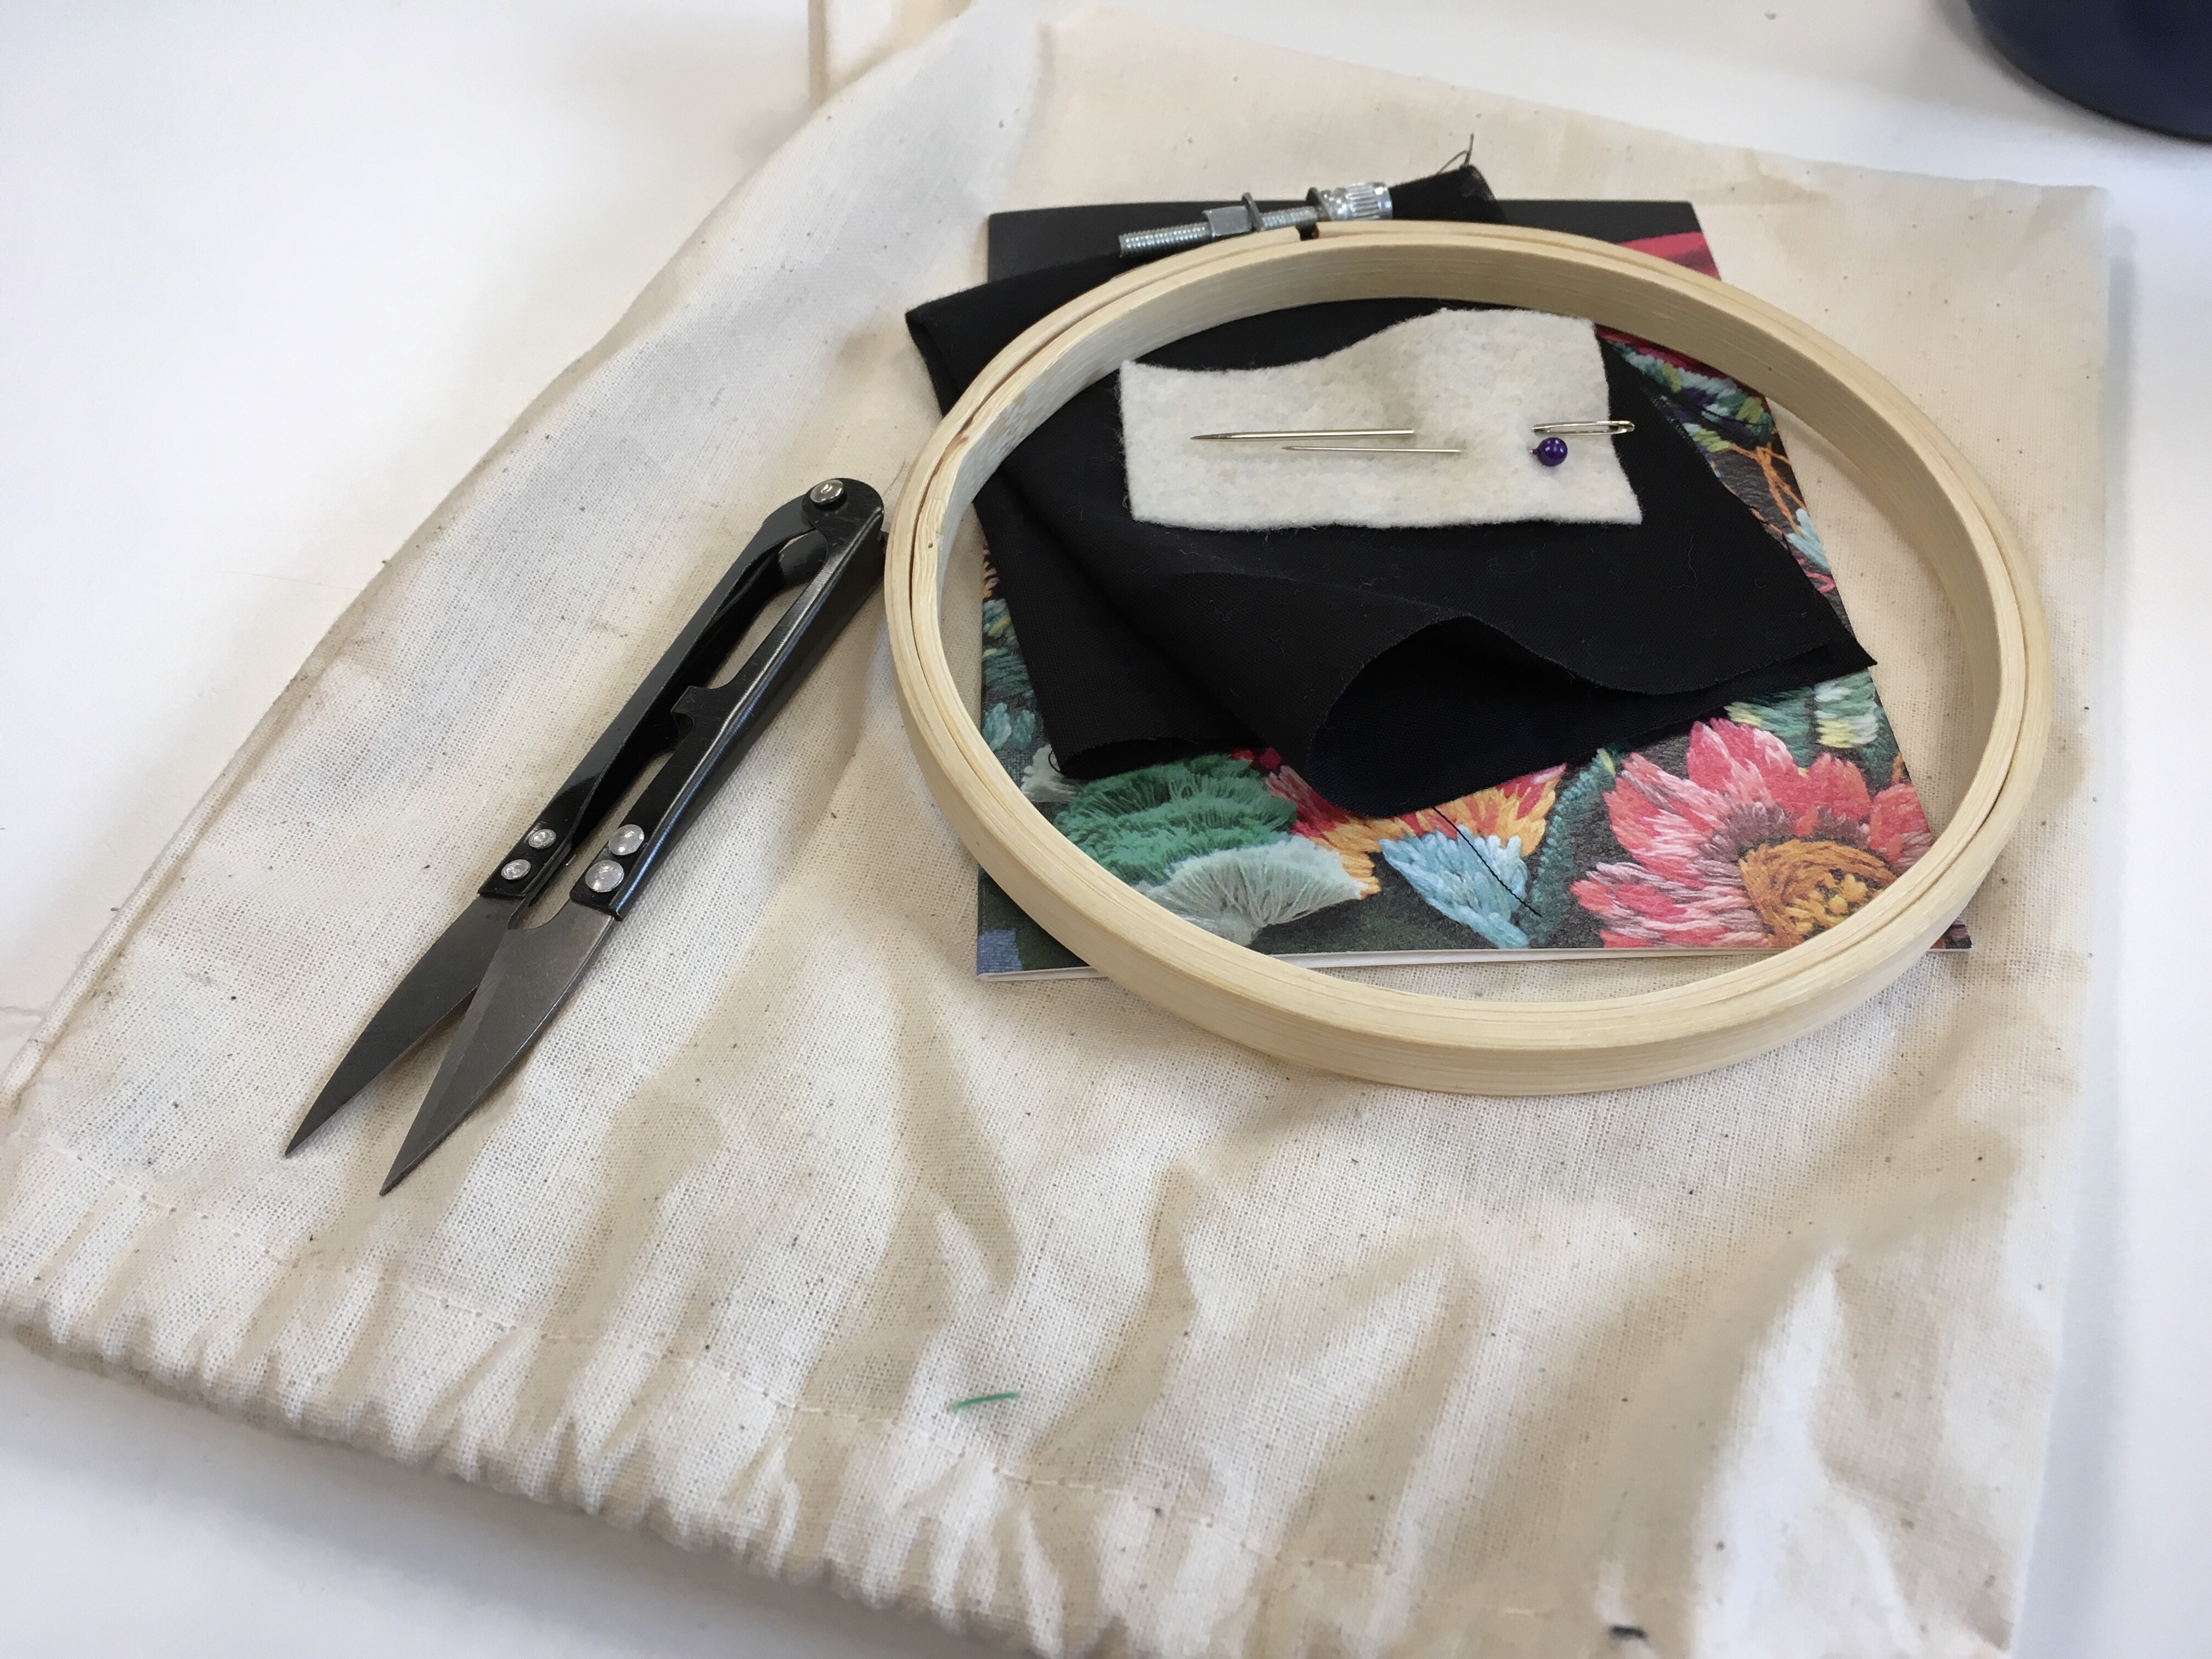
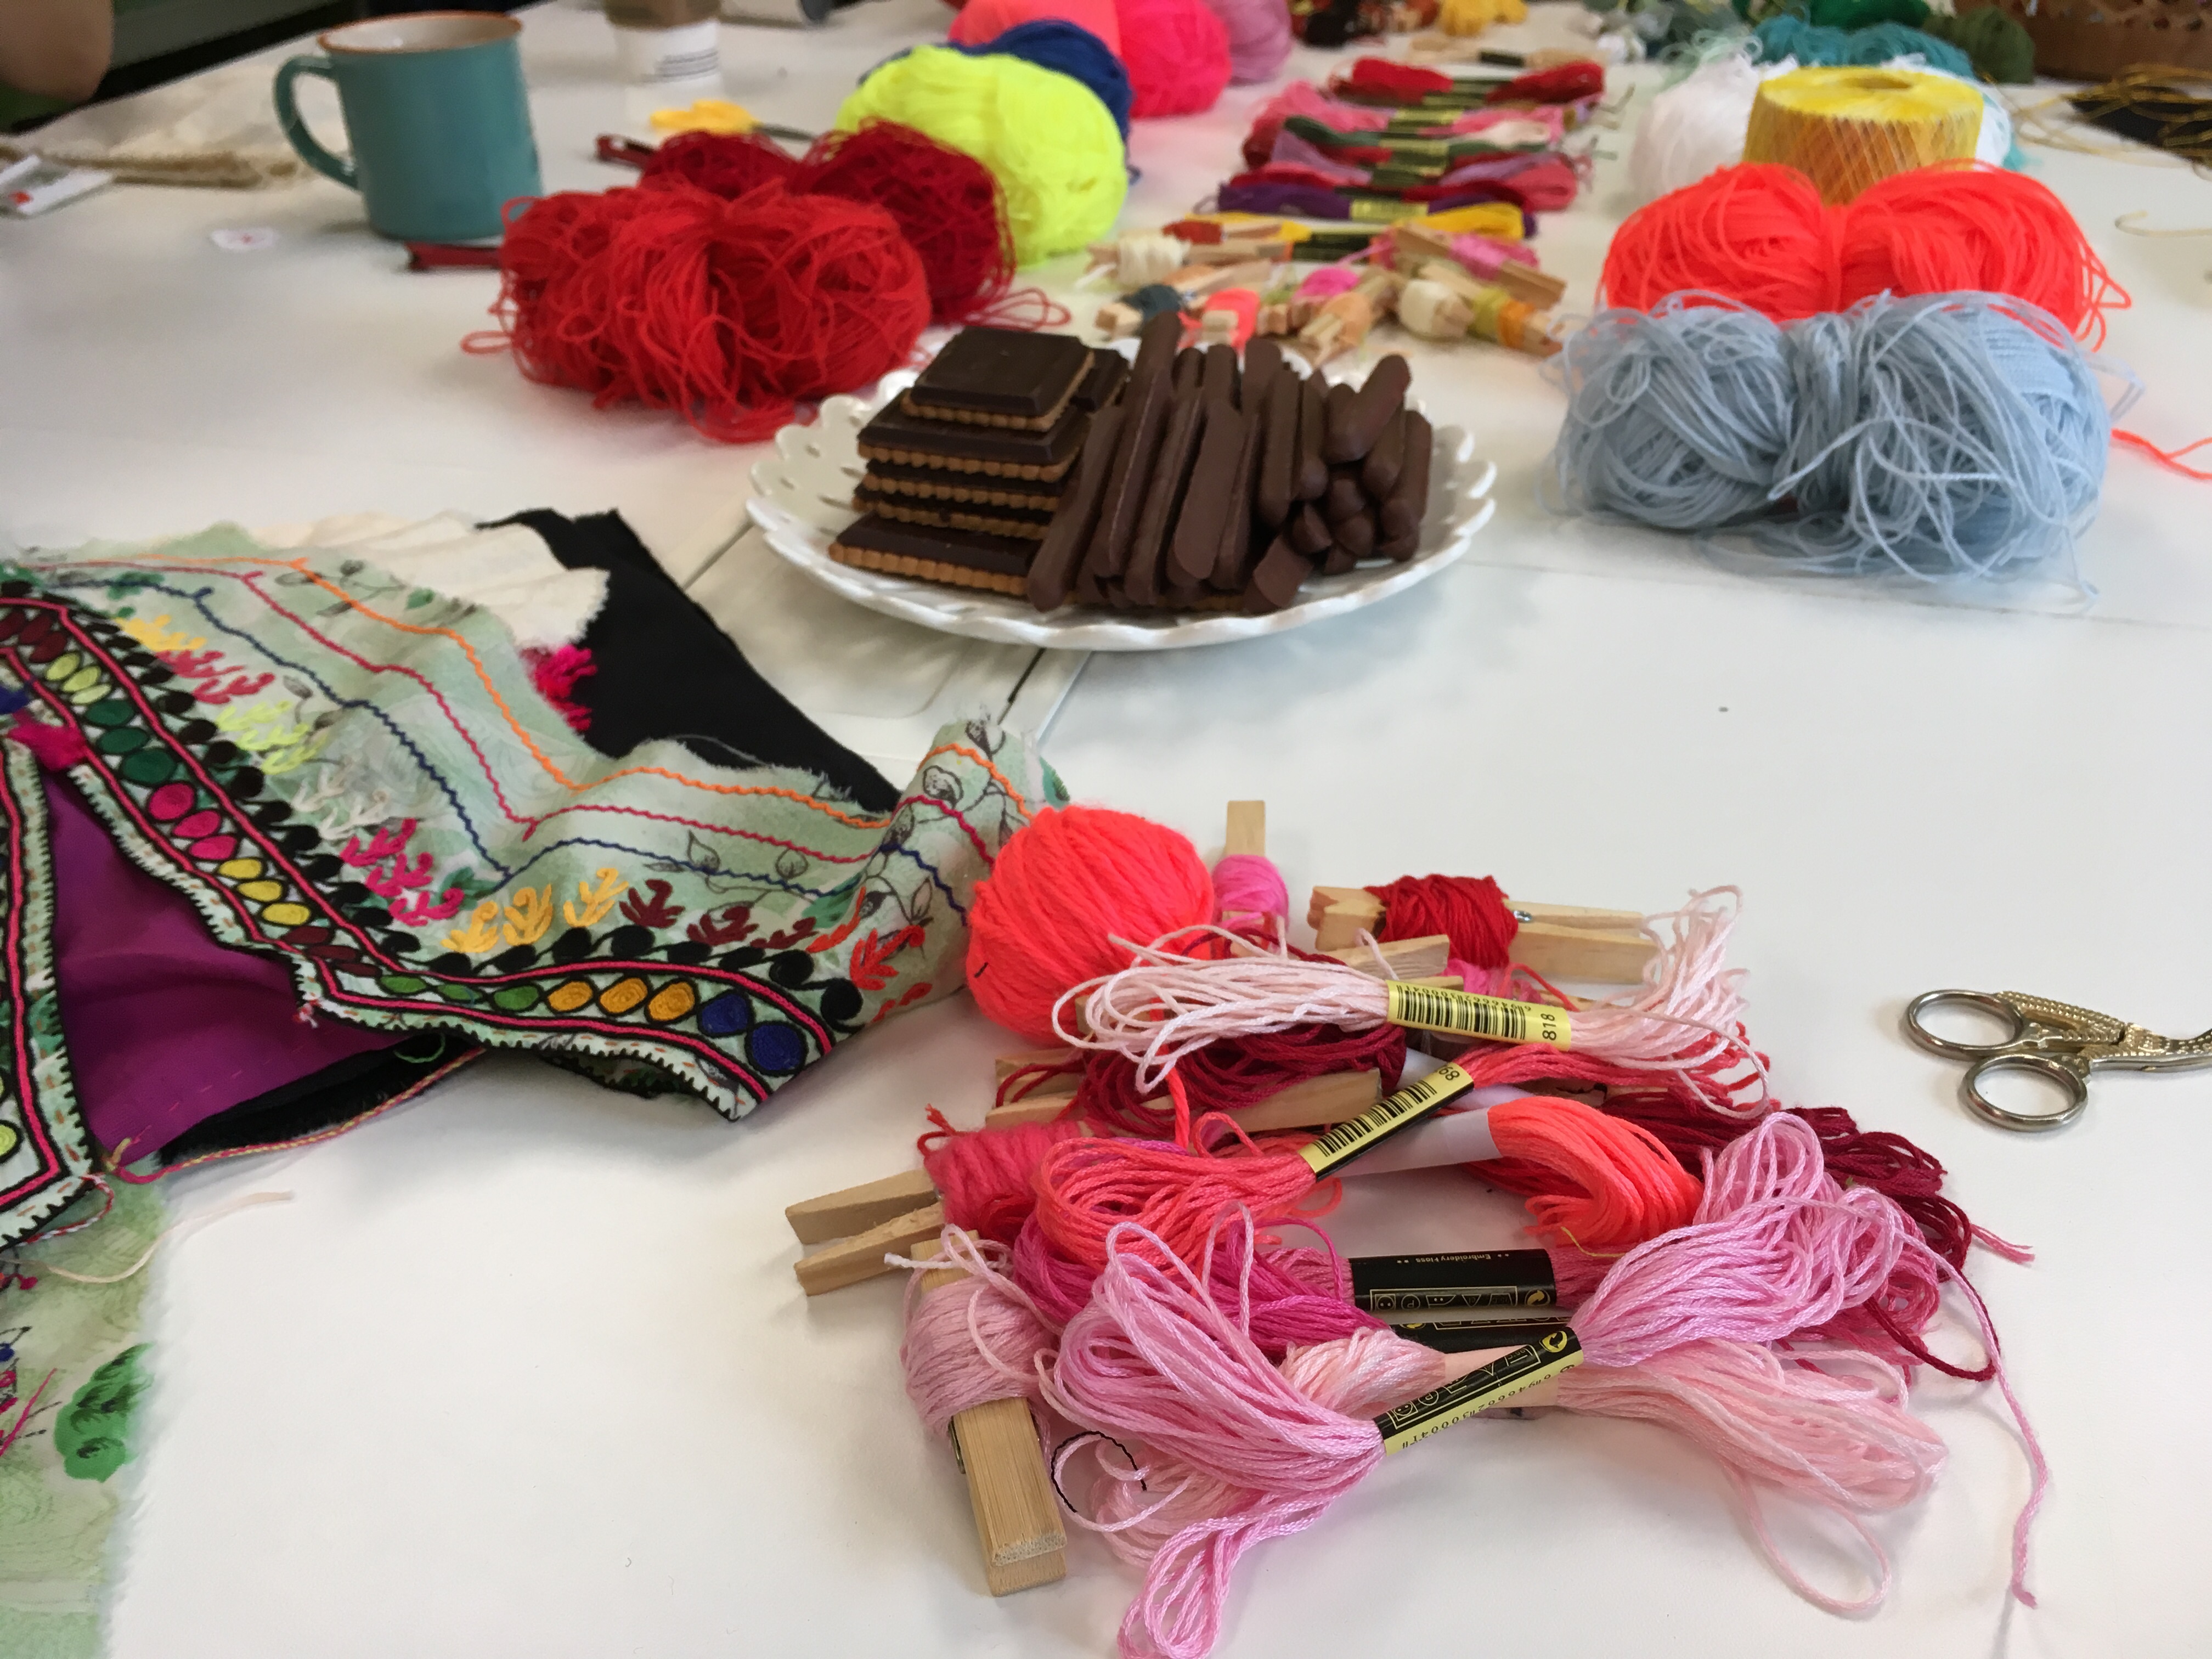
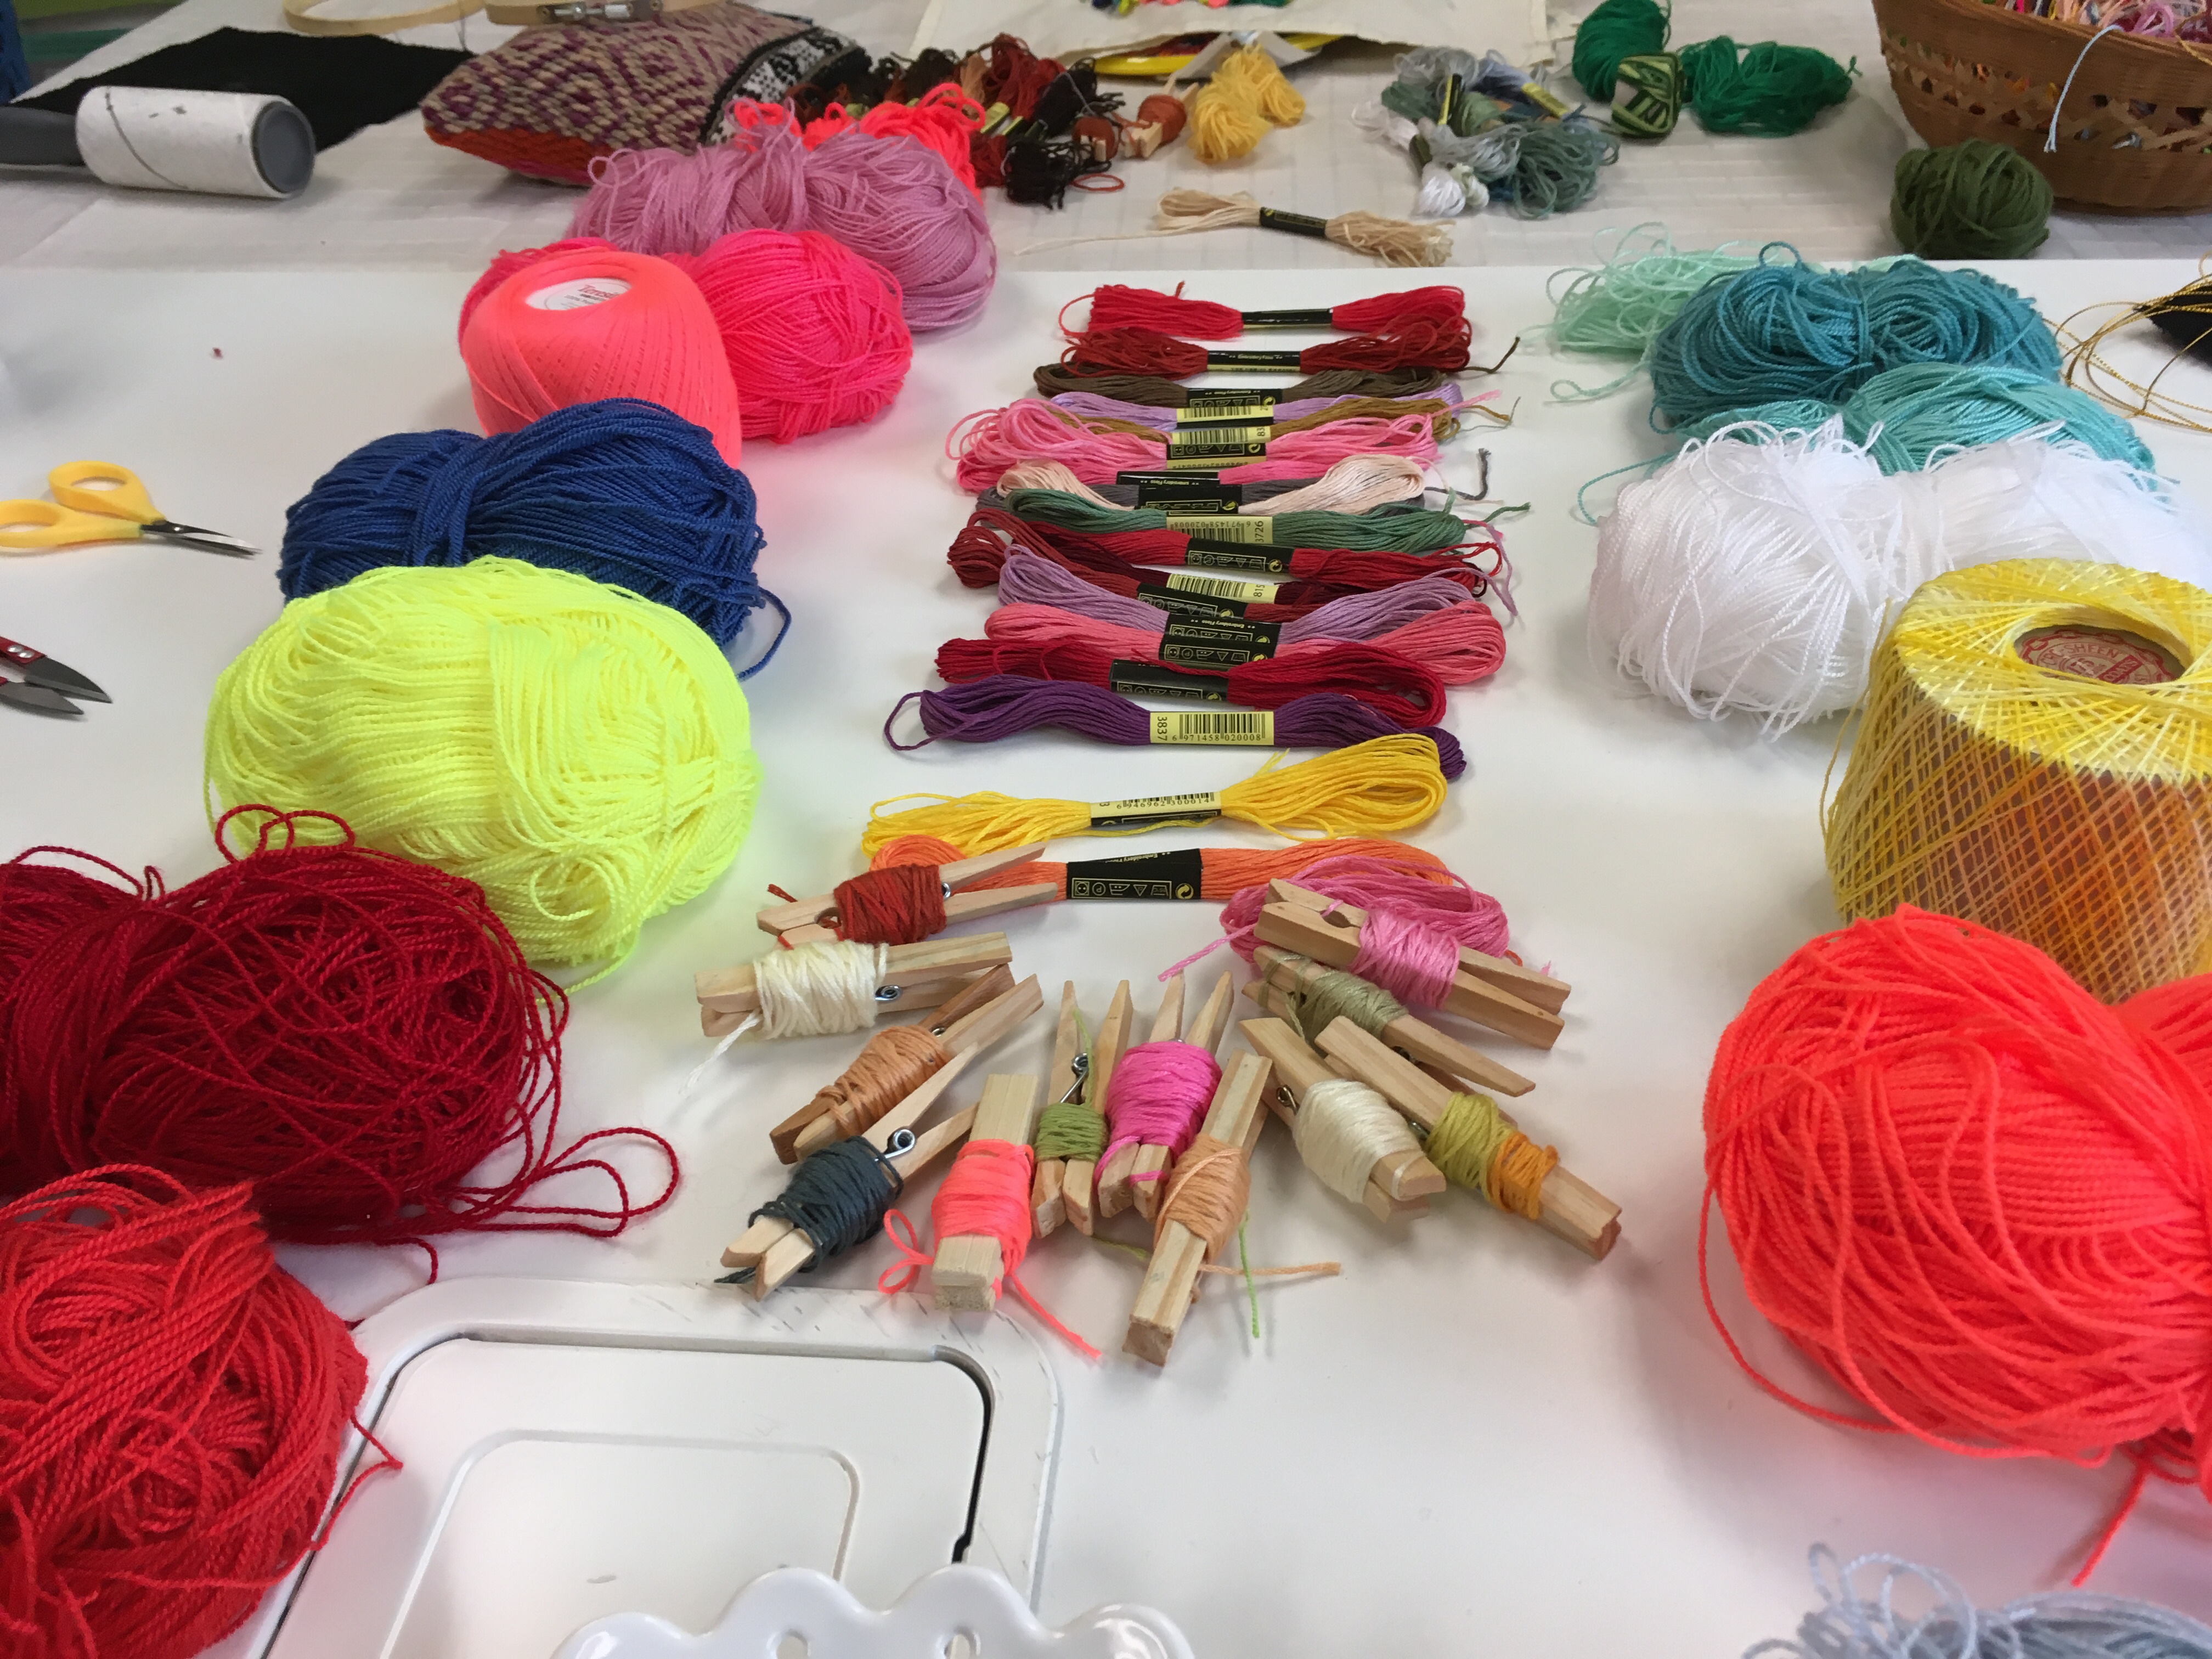
We worked with a bright colour palette, which was very fun, and used fibres and yarns that are thicker than traditional embroidery thread. I have a passionate dislike for the eight strand threads, so I really loved this part. We were all so absorbed in our work that the three and a half hour class flew by in no time.
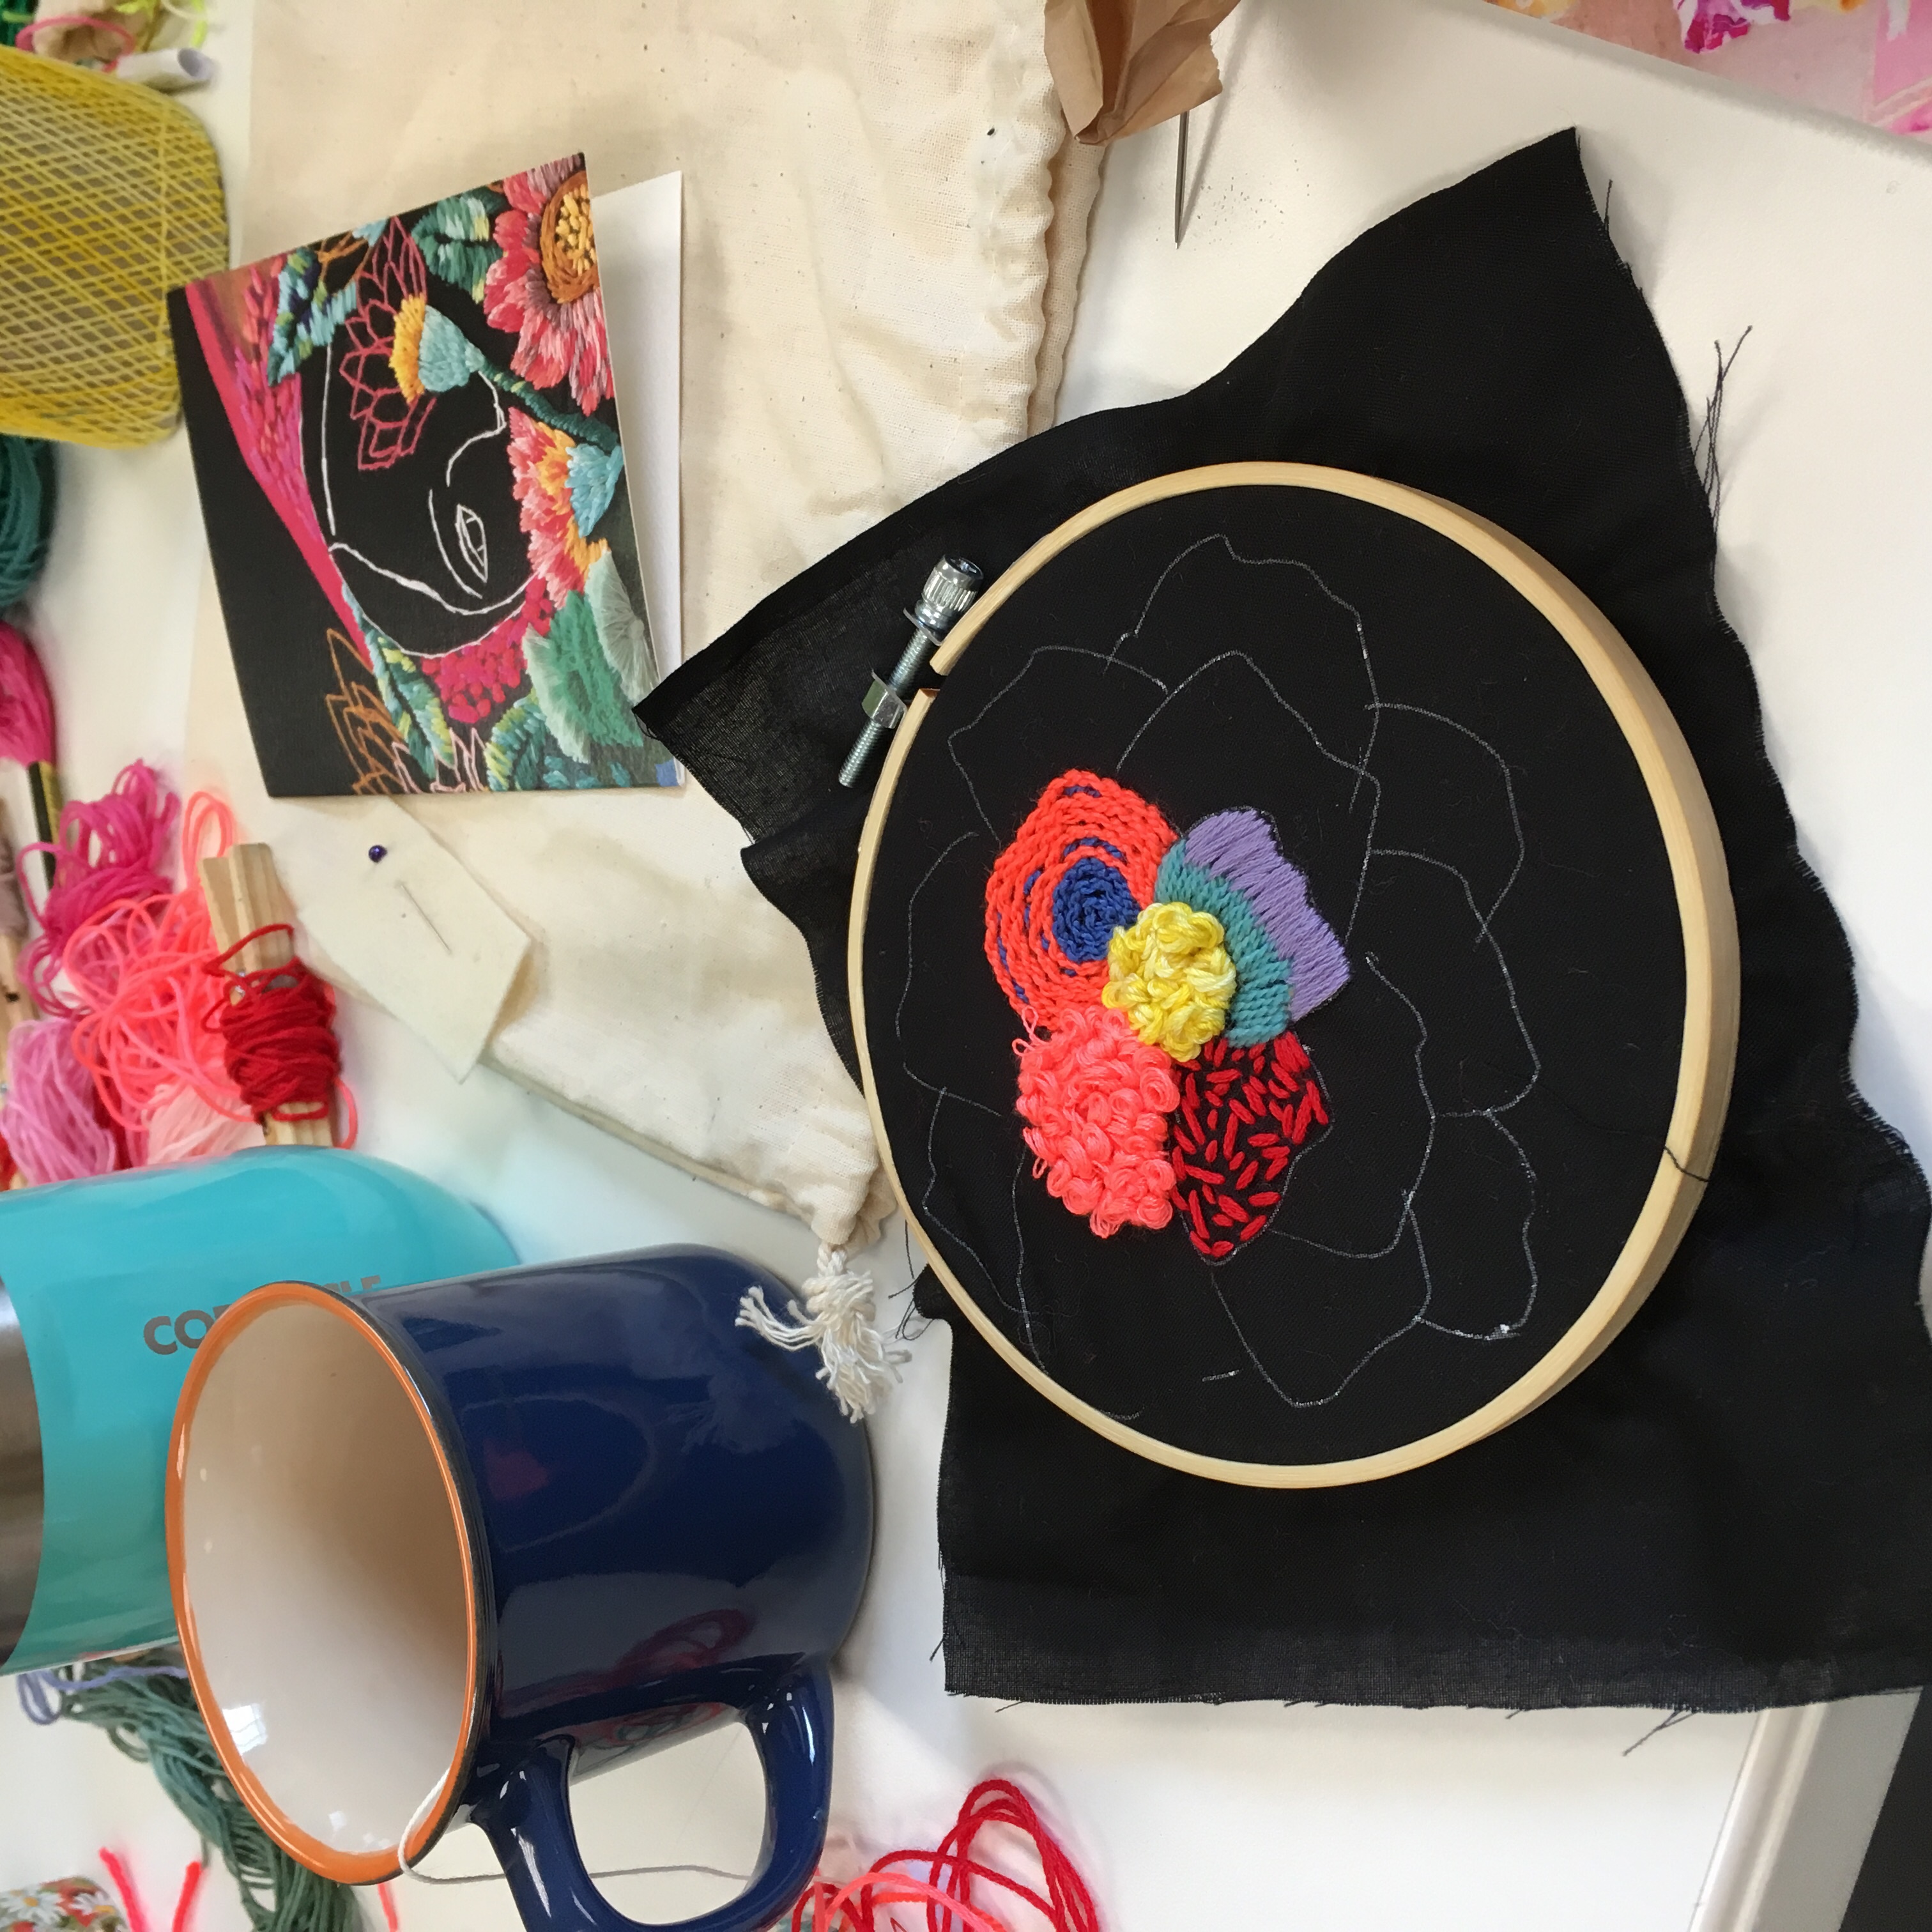
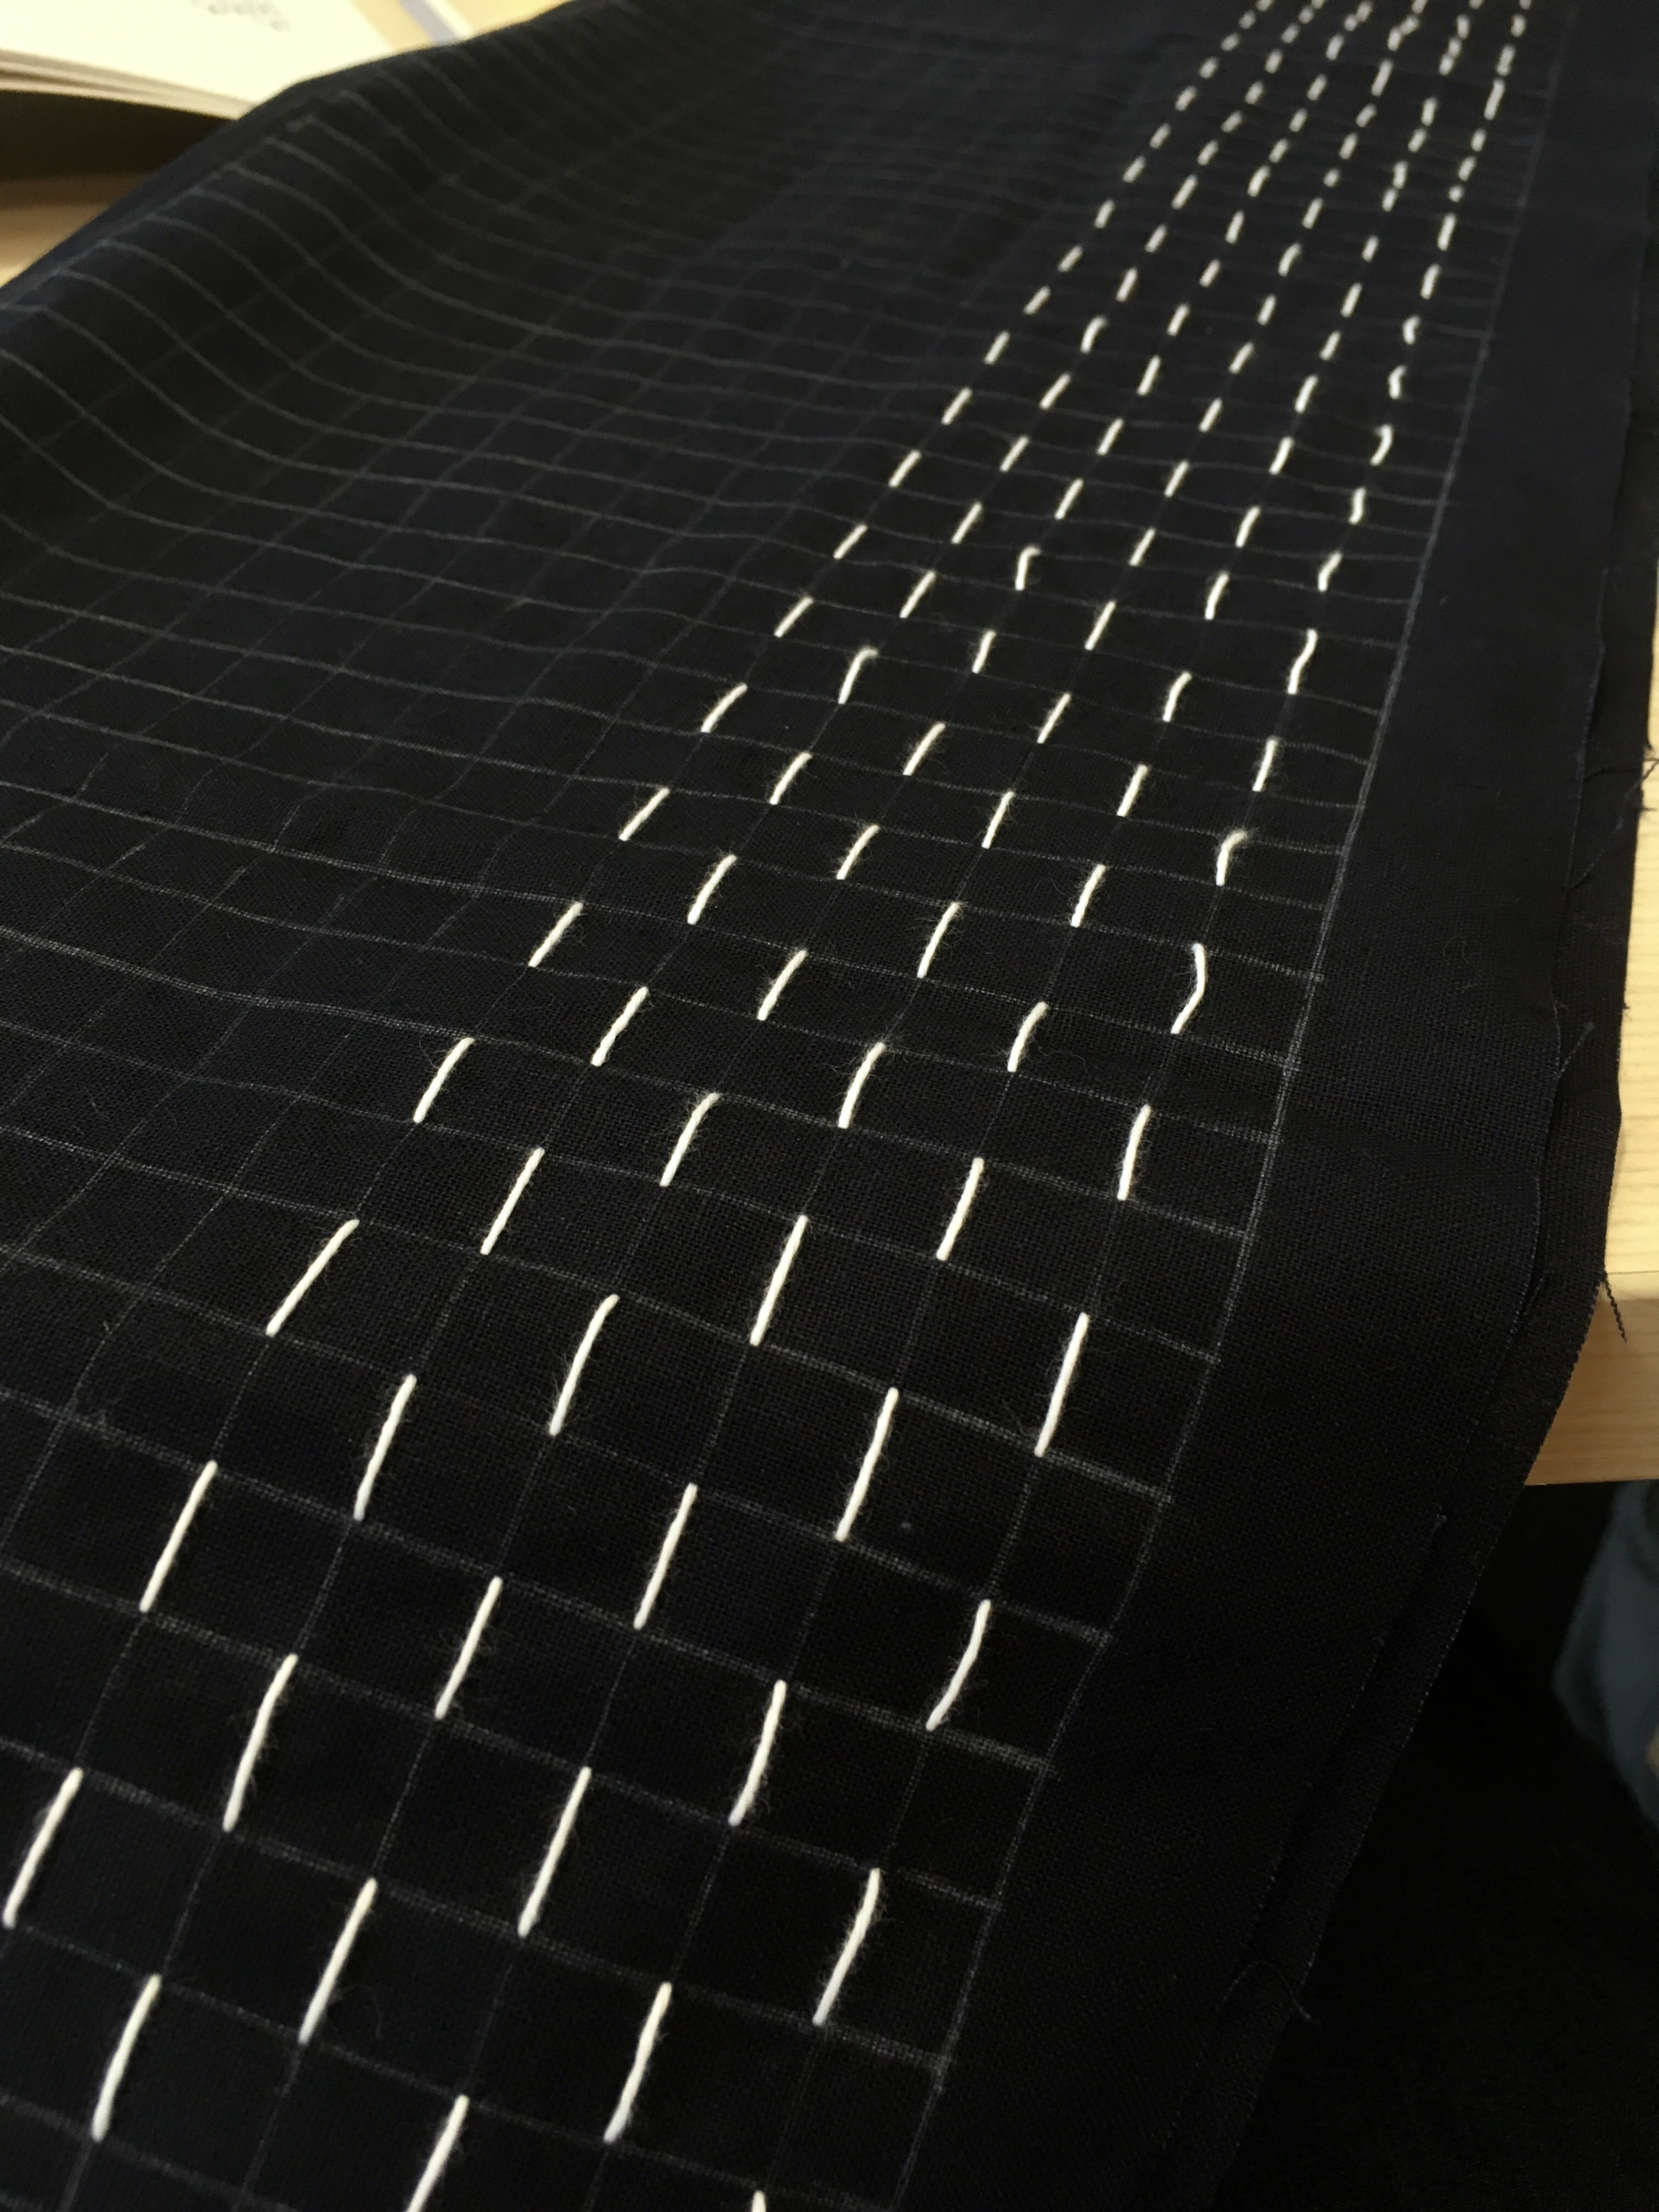
My work-in-progress sampler
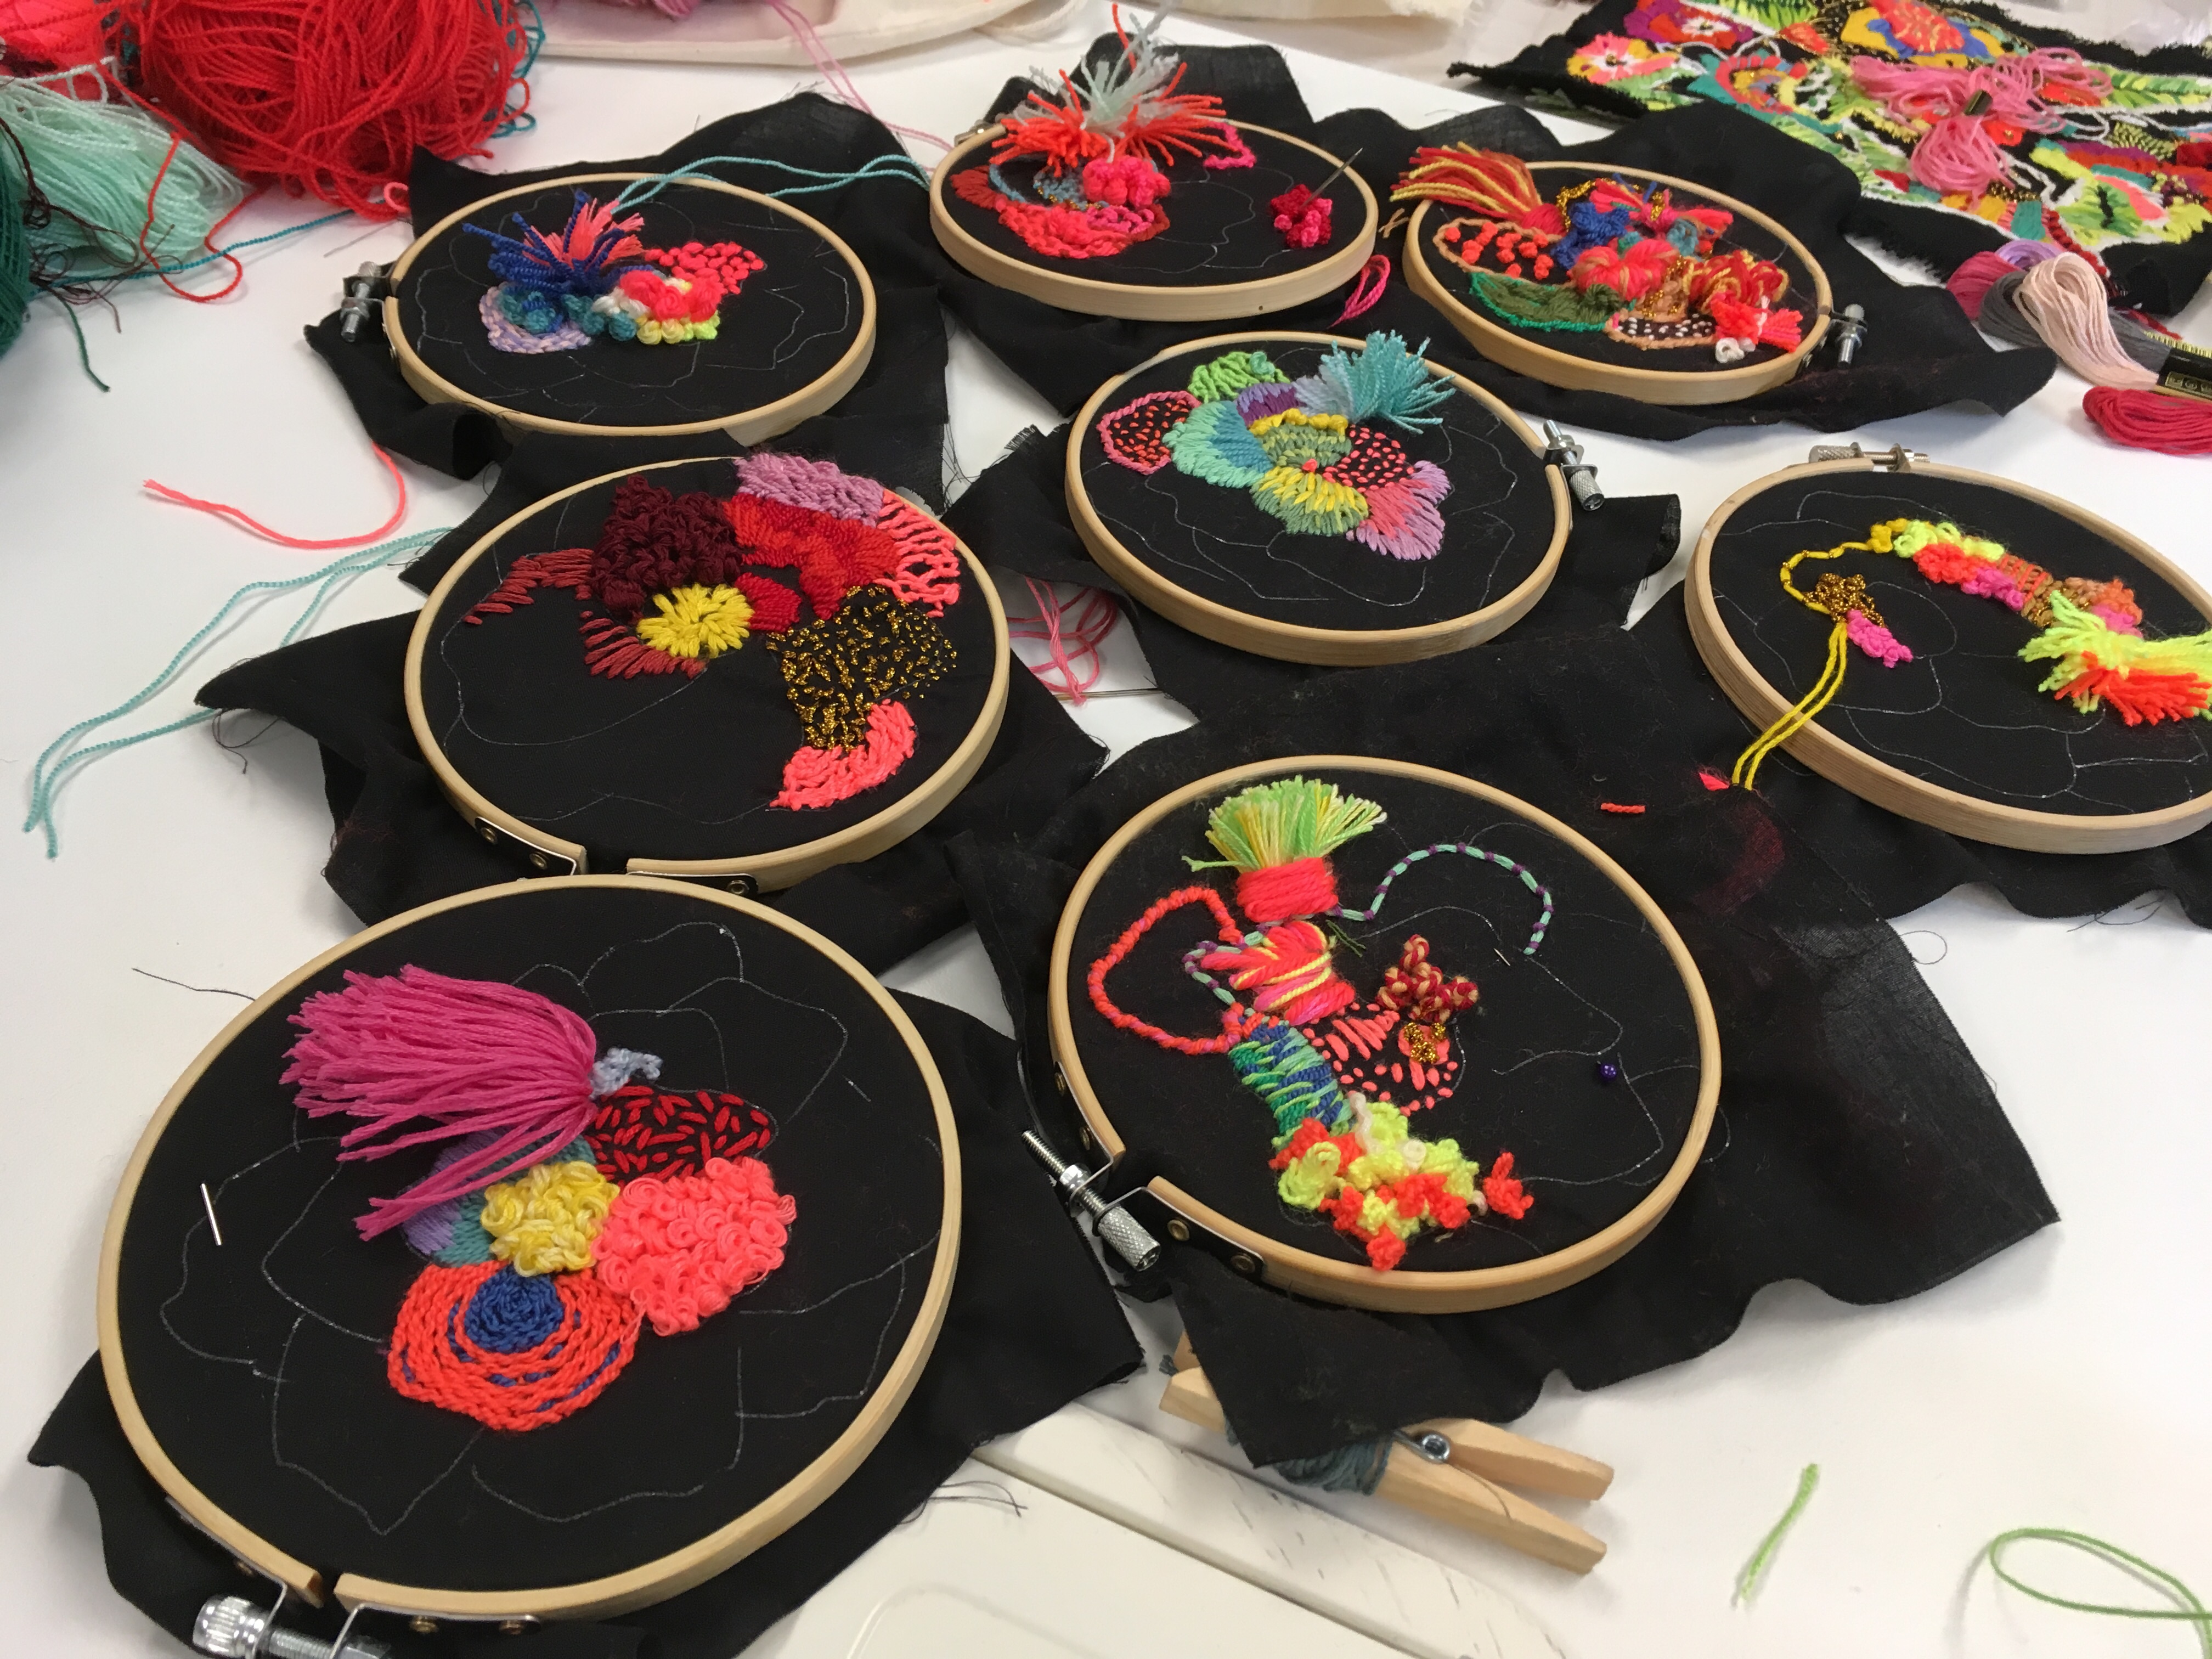
Samplers made by the entire class
The final stitch Katy taught us was the picot, which is like a tiny weaving in the shape of a petal. I ran out of time for trying it in the class, but have continued working on my sampler at home and am now obsessed with this new stitch. IT. IS. ADDICTIVE!
I am left feeling inspired by this wonderful learning experience and will continue working on my sampler until it is “finished”.