French Knot Embroidery in Paper

My experiments in making french knots on paper the other week led to working on a larger and more elaborate piece that I finished in the studio on Monday. I took many photos of my progress as I worked. The consistency of my French knots has seen a huge improvement from those first tentative test pieces.

French knots on paper

French knots on paper

I used pale grey embroidery thread on 90lb 11″ x 14″ Strathmore mixed media paper. I drew lines and concentric circles on the back to guide me and made up the design as I went along.

French knots on paper

I pre-punched the holes with the needle before adding the stitches, as you can see in the photo below.

French knots on paper

French knots on paper

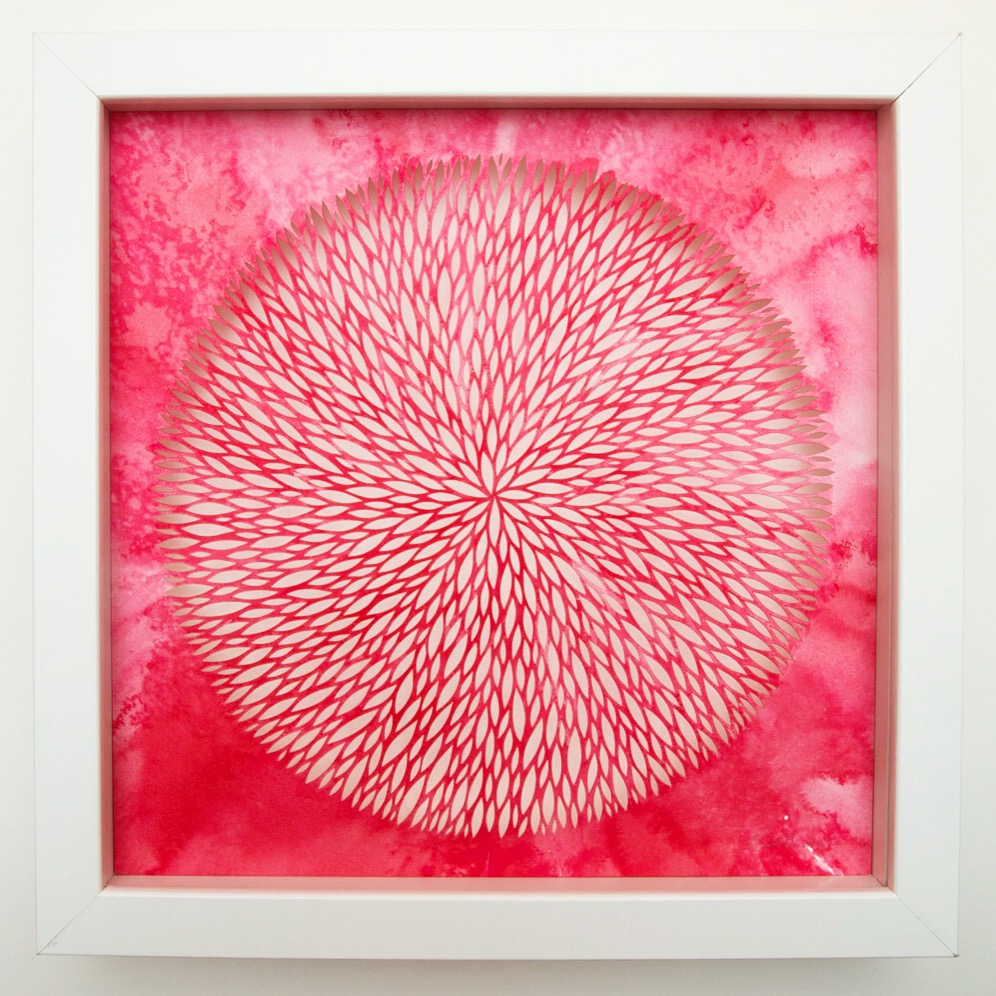
The finished piece is lovely and seems to come across as a mandala, which was not intentional. This is one of a few experimental embroidery pieces I will frame and show during the Eastside Culture Crawl in November.

Work In Progress: Embroidery on Paper Tests

I recently made the transition from stitching on cloth to paper, which was bound to happen sooner or later because I am a paper artist after all. I started with a small scrap piece of paper and made a circle of French knots in red thread. I added the paper cut design after the embroidery to see how those would work together.

If I combine stitching and paper cutting again I’ll have to do the cutting first because the textured knots make it so the paper can’t lie flat, and that makes things awkward. I made it work because the paper was small and it was a test.

French knots on paper

With my second test piece I worked with heavier card stock and did a more intricate design that I made up as I went along. I drew lines and circles on the back to guide me, and punched the holes with the needle before I did the stitching.

French knots on paper

With my third test piece I pulled out a line drawing from last year and decided to add French knots to create texture, and see how the two mediums work together. Despite the busy nature of the drawing the French knots look terrific on the piece (more so than what comes across in this photo).

French knots on paper

The three pieces have been great practice in getting a feel for handling paper carefully while trying to stitch, and I’ve gotten so much better at creating nice even French knots. I could make them all day. It the same way I feel about the other mediums and techniques I love.

Behind the Scenes While I Work

Last week I did a quick paper cut piece as both a warm up and a painting experiment using acrylic ink. I shot two time lapse videos with my iPhone during the cutting process, and then during the painting process and shared these on Instagram. It’s a great way to step back from my own process and see it from an outside perspective.

A video posted by Paper artist (@rachael_ashe) on


I especially love the painting video because it makes me seem better at applying paint than I actually am. I paint very little so I was nervous about sharing this part of the process.

A video posted by Paper artist (@rachael_ashe) on


The finished piece is 9″ x 9″, hand cut from white paper painted with red acrylic ink.

Expanding the Stitching Repertoire

Sashiko stitching has been a gateway technique fuelling my long-held desire to learn how to embroider. I decided I wanted to expand from the straight stitch used in sashiko, and learn how to add texture with thread. I borrowed a book from the library just before the Labour Day weekend, and started working on a sampler of stitches.

Embroidery practice

Embroidery practice

I really love the cable chain, and the bullion knot the best out of the ones I’ve used in the sampler. I’m dying to start embroidering on a favourite worn red coat to give it new life, but I’m making myself practice further on the sampler to get more consistent with the stitches.

Embroidery practice

The book I’m using is called, Embroidery by Lucinda Ganderton, which has a step by step breakdown of over two hundred stitches. I like this book because it focuses on basic techniques rather than cutesy projects, like so many of the other books seemed to.

New Iteration of the Flowerburst Installation

Hammer Cut Stitch Repeat opened yesterday evening at Circle Craft gallery, and one of the pieces included in the show is my Flowerburst installation. This is the third time I’ve shown the piece, and every time I present a new iteration. You can see previous versions at Mary E. Black gallery in Halifax, and at Hot Art Wet City.

Untitled

The original work was blue and last year I started making yellow and red ones to expand the work further. When I started putting things together for this installation I decided to incorporate some of the red pieces, and chose white foam core as the base instead of black. The photo below is a small part of the installation at Circle Craft gallery with one of the paper wearables positioned beside it. I love how these two works tie into one another in terms of colour and technique.

Untitled

It was a really terrific opening night for the show with many friendly faces in attendance, and plenty of enthusiasm for the work. The show continues until October 11th, so there is plenty of time still to see.

Work In Progress: Re-Working an old paper cut piece

I think I initially created this piece of work two years ago, and I’ve never been completely satisfied with it. I made it with two separate cut layers, and it didn’t quite work. I decided it was time to take it apart and do something more to it. I drew a third concentric circle (that my compass was almost not large enough to handle) and started cutting it more. You can see the original version of this on Flickr, photographed with the layers flat.

Work in progress

I always photograph pieces as I go along because it helps me realize how quickly I can work. I pushed myself at the end of last week to make it to the half-way point with the third circle.

Work in progress 2

Work in progress 3

Today I pushed myself to finish off the remaining second half, and I managed to do it. Pictured here is the point I reached just before taking a lunch break. It feels good to have made this piece larger. I think it makes it stronger than the original layered version.

I took a short Hyperlapse video of me working on this towards the end. It’s another interesting way to record and reflect on my process and progress.

A video posted by Paper artist (@rachael_ashe) on

Deconstructed Screen Printing

My friend Michelle Sirois Silver very generously hosted a small group of artists in her studio last week to do a quick workshop on deconstructed screen printing. It’s similar to regular screen printing but we made our screens by placing textured surfaces under the screen and then coating the screen until fully saturated with ink. The screens are left to dry and take on the texture of the surfaces underneath.

Untitled

My composition of textures before the ink is applied.

Untitled

The pot of ink before I applied it to the screen.

Untitled

The screen after all the ink is fully loaded into the screen.

Untitled

It took ages for the screen to dry, and in the meantime we worked on a freeform version of deconstructed screen printing, which I did not photograph. I used a rust coloured dye to create the screen and then printed it using a dark blue-grey onto fabric. Below is my final print with all the lovely textures.

Untitled

I am thinking about what do with these pieces of cloth I have printed. They may end up as patches on clothing or I could use the for a future sashiko stitching project.

Check out the work of Michelle Sirois Silver here.

Wearable Paper Art in Blue

Last week felt productive in the studio when I finally finished two of the three wearable art pieces. I cut the remaining blue flower bits and figured out how to bring it all together into a necklace using wire, beads, and a pre-made metal neck-sized ring that I found at DeSerres. I could have done a victory lap around the block because it felt so good to reach the end of some of this work.

Assembling the blue bits

The end, except for the nagging thought I just can’t seem to shake, that this needs a few more strands to REALLY make it awesome. I’m holding off on that for now until after I finish the third wearable.

Assembling the blue bits

The triangle piece is also finished, and I’m having similar thoughts about it – that it could use a few more strands of hand cut pieces (which probably means an additional forty).

Commissions: Paper Cut J

It’s been ages since I last took on a commission, or made a custom paper cut letter. Last week a client reached out through Etsy to inquire about having a letter cut and sent in a short turn around time to the UK. I loved making this J as it was a lovely shape to work with. I love the work in progress photos

Untitled

I create these by drawing the shape of the letter, and then freeform cutting the design within that shape. I managed to do this piece very quickly and it was on its way to the client within a few days of the request.

Untitled

You can order a letter of your own right here »

Blue Bits and Pretty Scraps

This week I’ve switched projects again and I’m back working on paper wearable number two, or is it three?! There are definitely three of these on the go, but I think I originally started this second, and the red one first. I still need to go back to that first paper wearable and get it sorted out because it’s been sitting there unfinished for a couple of weeks.

These blue pieces are similar to the red ones as they are flower shapes cut from circles, but on a slightly smaller scale that is driving me a little nuts. It has to be this way in order for the wearable idea to work. I have about eight more of the above pieces to cut and then I can arrange and assemble them. I can hardly wait.

Offcut pieces from work in progress paper wearable

This pile of triangle pieces are the offcuts from the flowers, and they are incredibly tiny, around an eighth of an inch or so. They are adorable in person.